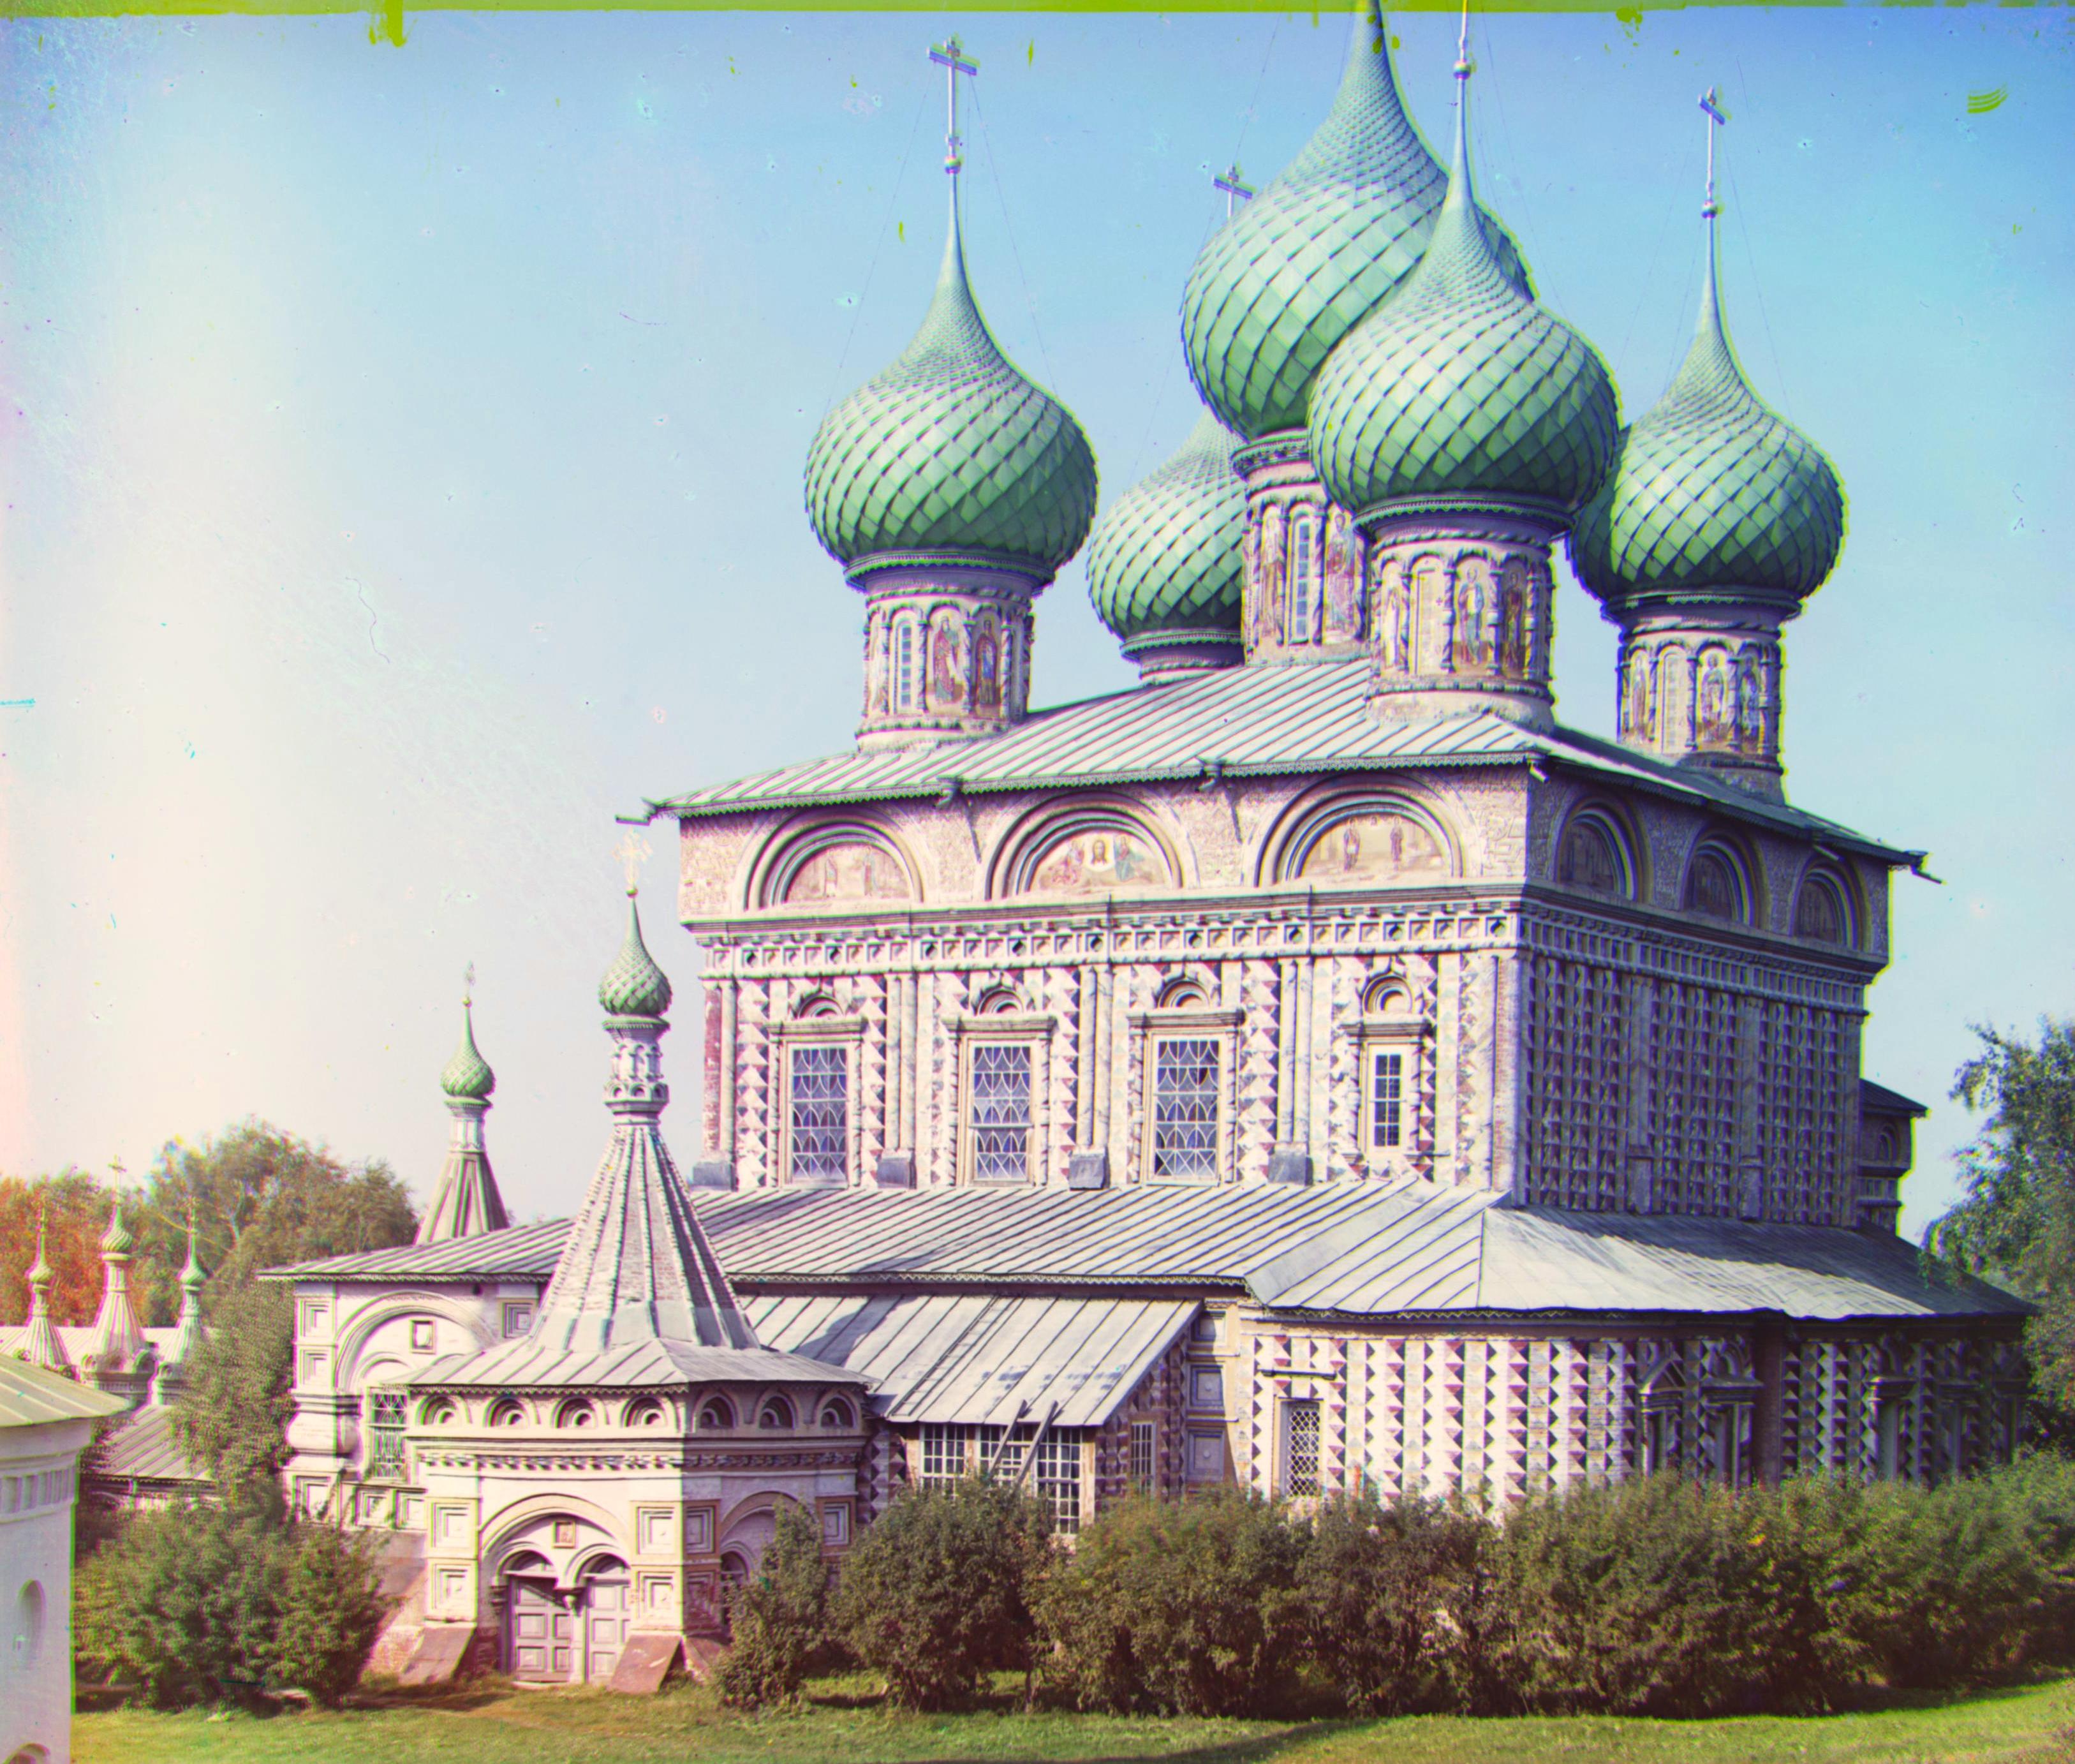
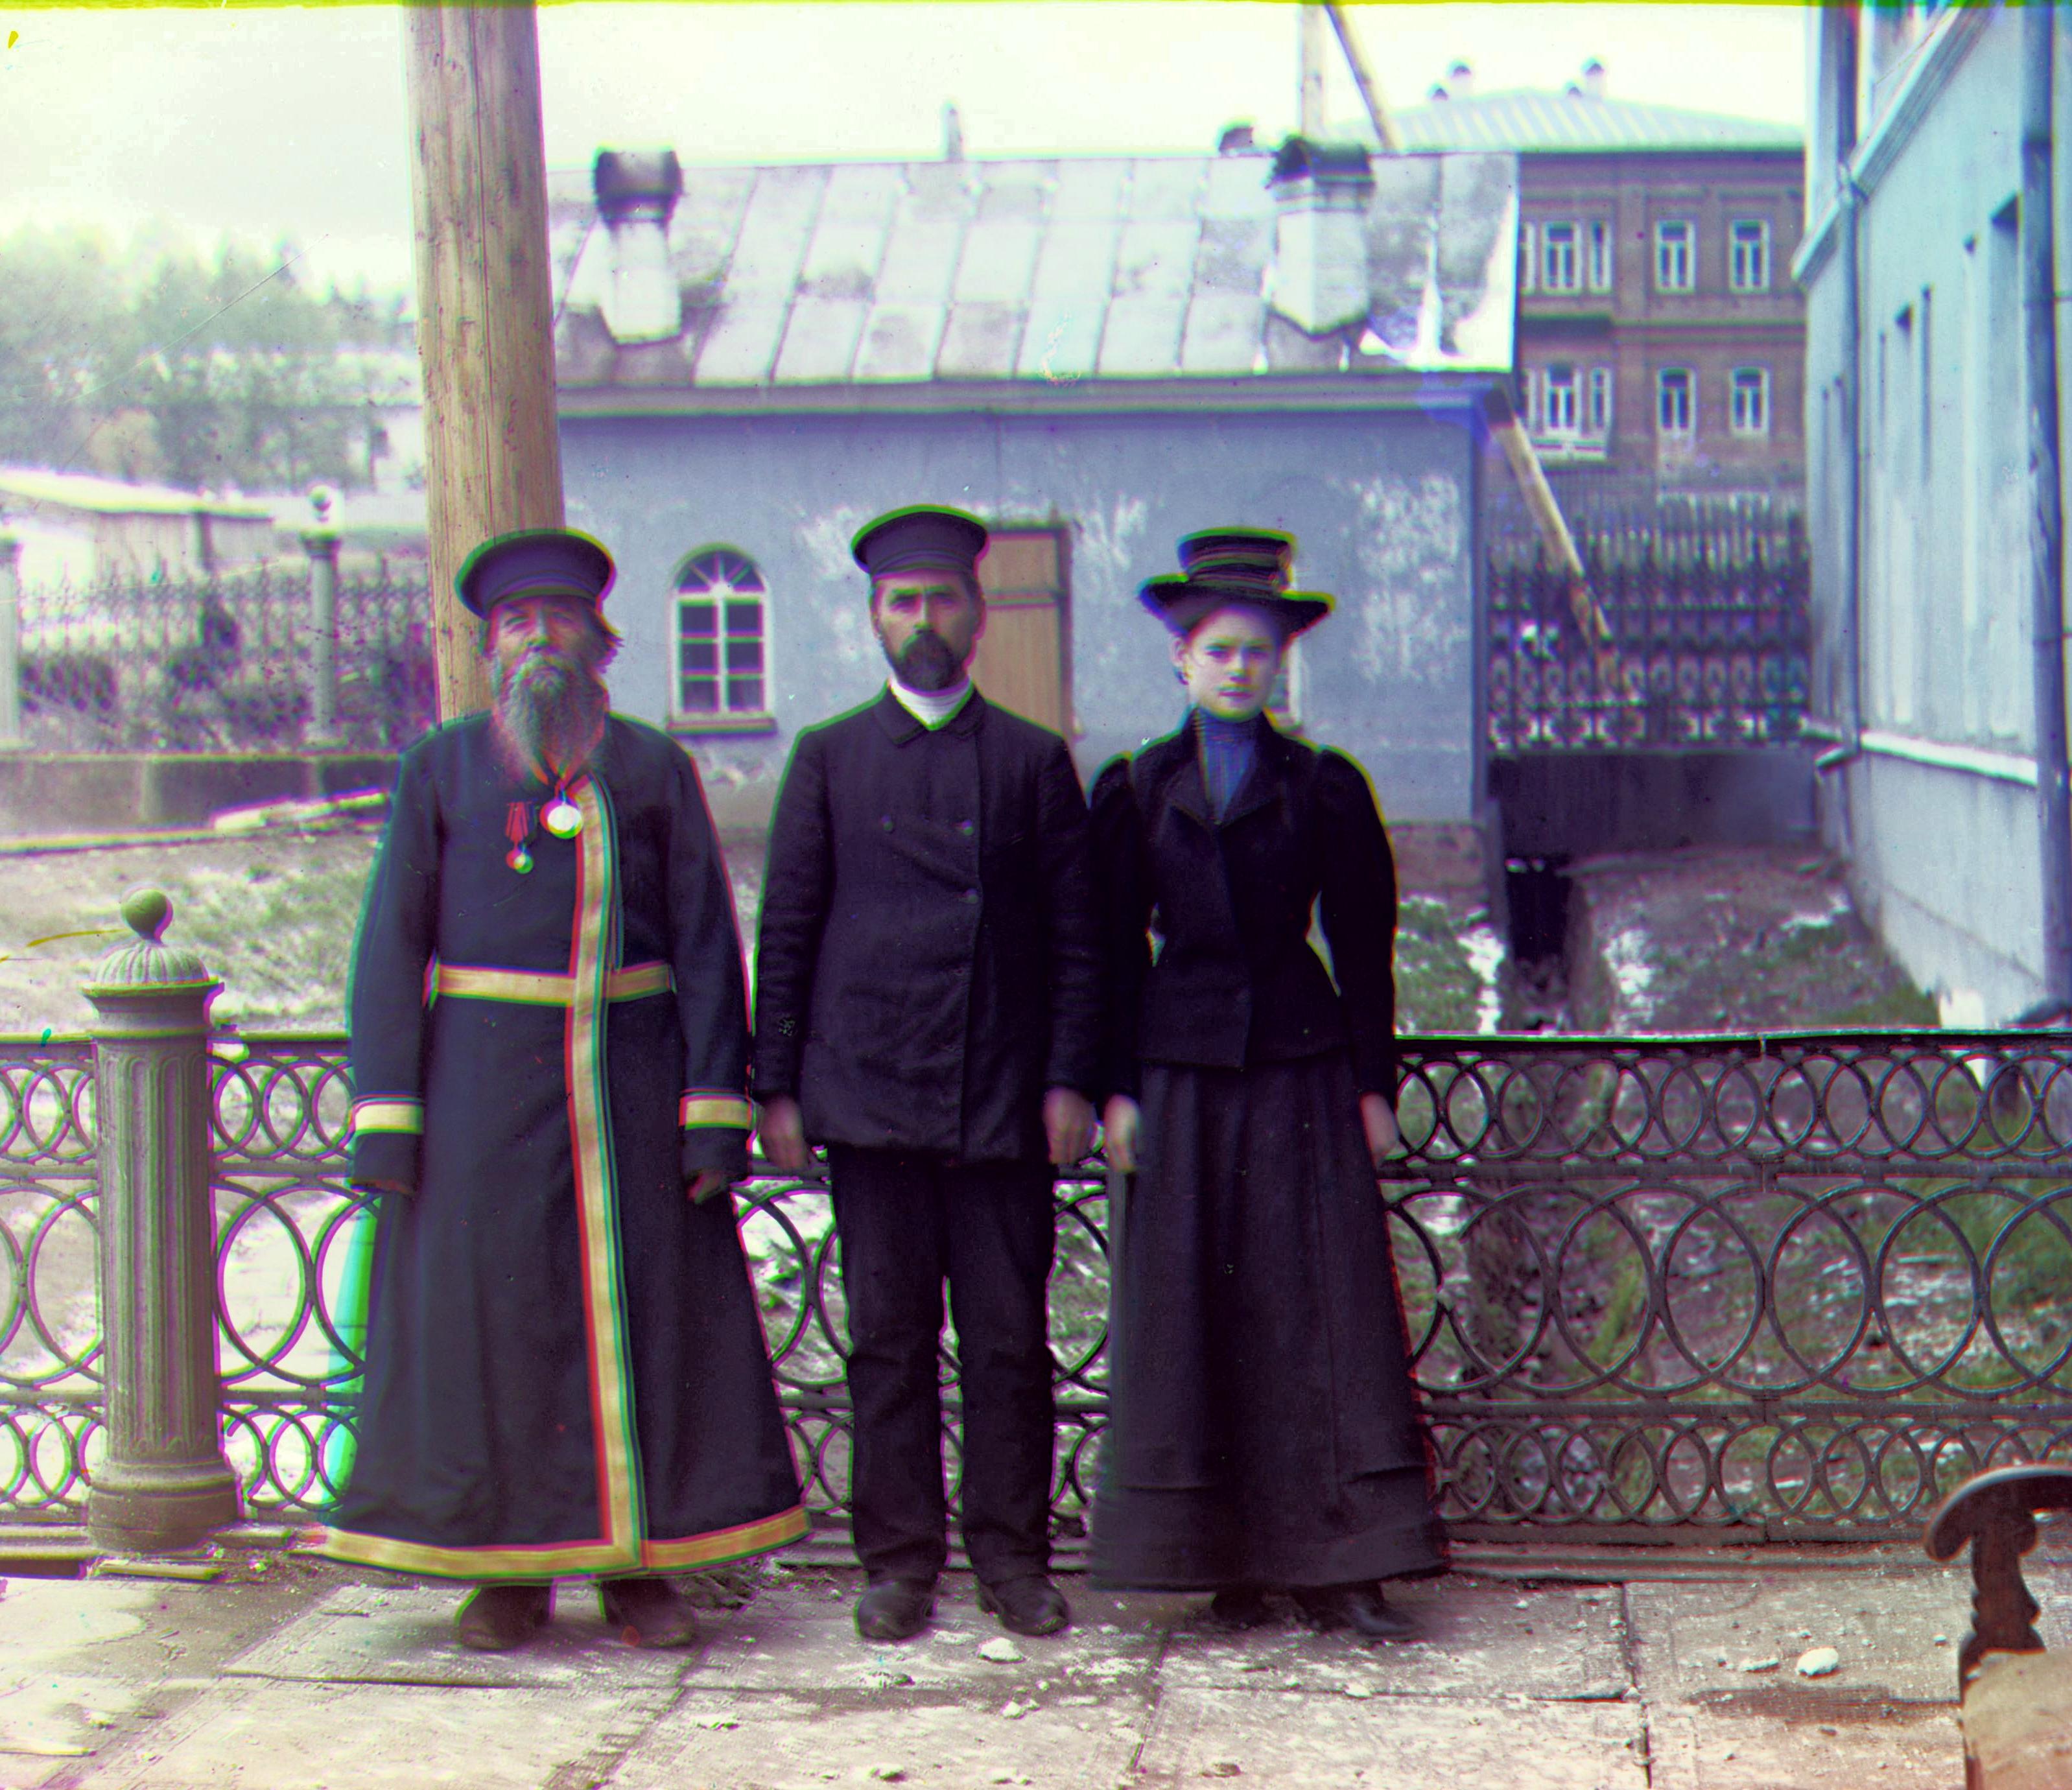
Naive Implementation and Image Pyramid
I am using the Euclidean Distance as metric, and during alignment (both naive and image pyramid) I try to minimize the Ecuclidean Distances between two image.
One problem that I met implementing the naive approach is that the border has too much noise and affects the metric calculation badly. The solution I used to deal with this is
only calculate the Euclidean distance between pixels that are not on the border area when scoring different displacements.
I used an iterative approach to implement image pyramid searching for larger photos, where I first iteratively downscale the photo by a factor of two, till the size of image
reach some threshold, and begin from the most coarse grained image, find the displacement, then use the rough estimate as a starting point to search over a given window for finer-grained images.
Bells and Whistles -- Adding edge as a new feature
For some images, simply calculating the Euclidean Distance using the raw pixels does not achieve good results.
For example, as we can see below, using naive raw pixels is apparently not enough. I added edge as a new feature,
extracting the edges of different images and calculating the Euclidean Distance between different edges as a new
feature to determine the best displacement. In theory, I can use edges + raw pixels to score displacement, but in practice,
I found only using edge is good enough. Another thing to mention is that calculating edge difference takes significantly more
time than the raw pixels, but implementing it with a similar image pyramid algorithm greatly improves speed. On the right are the
results of alignment using edge as a bonus feature.
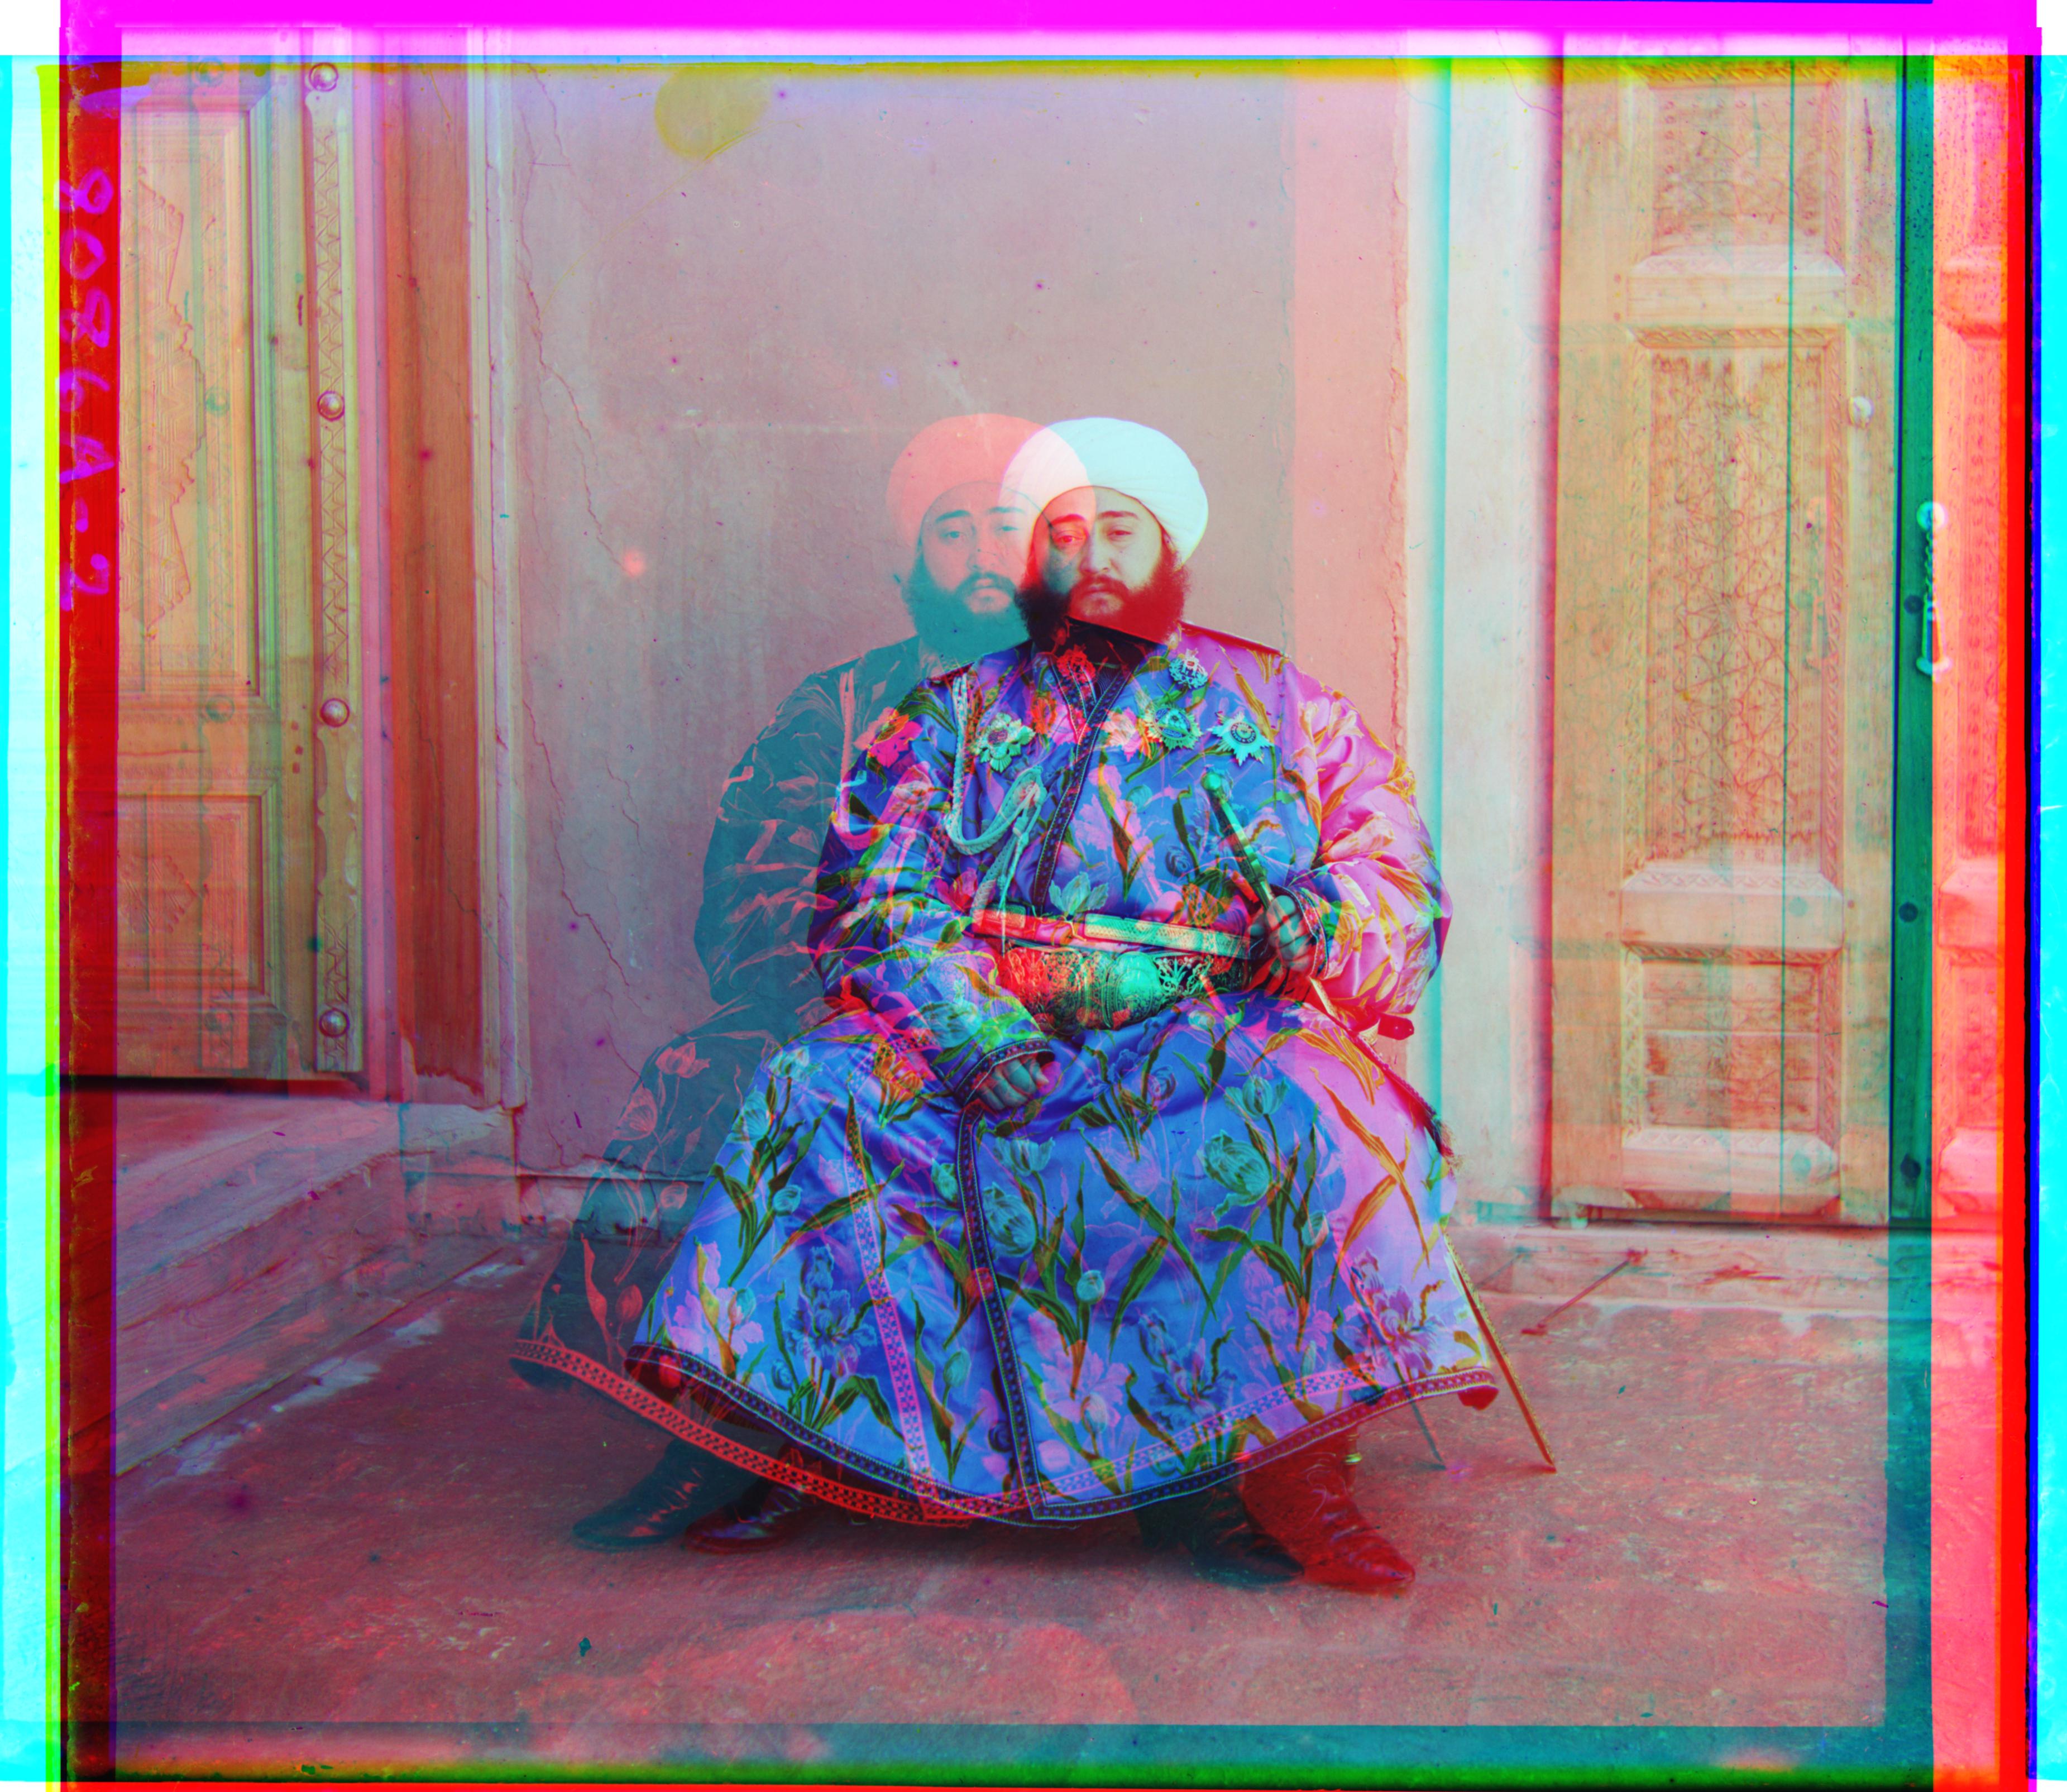
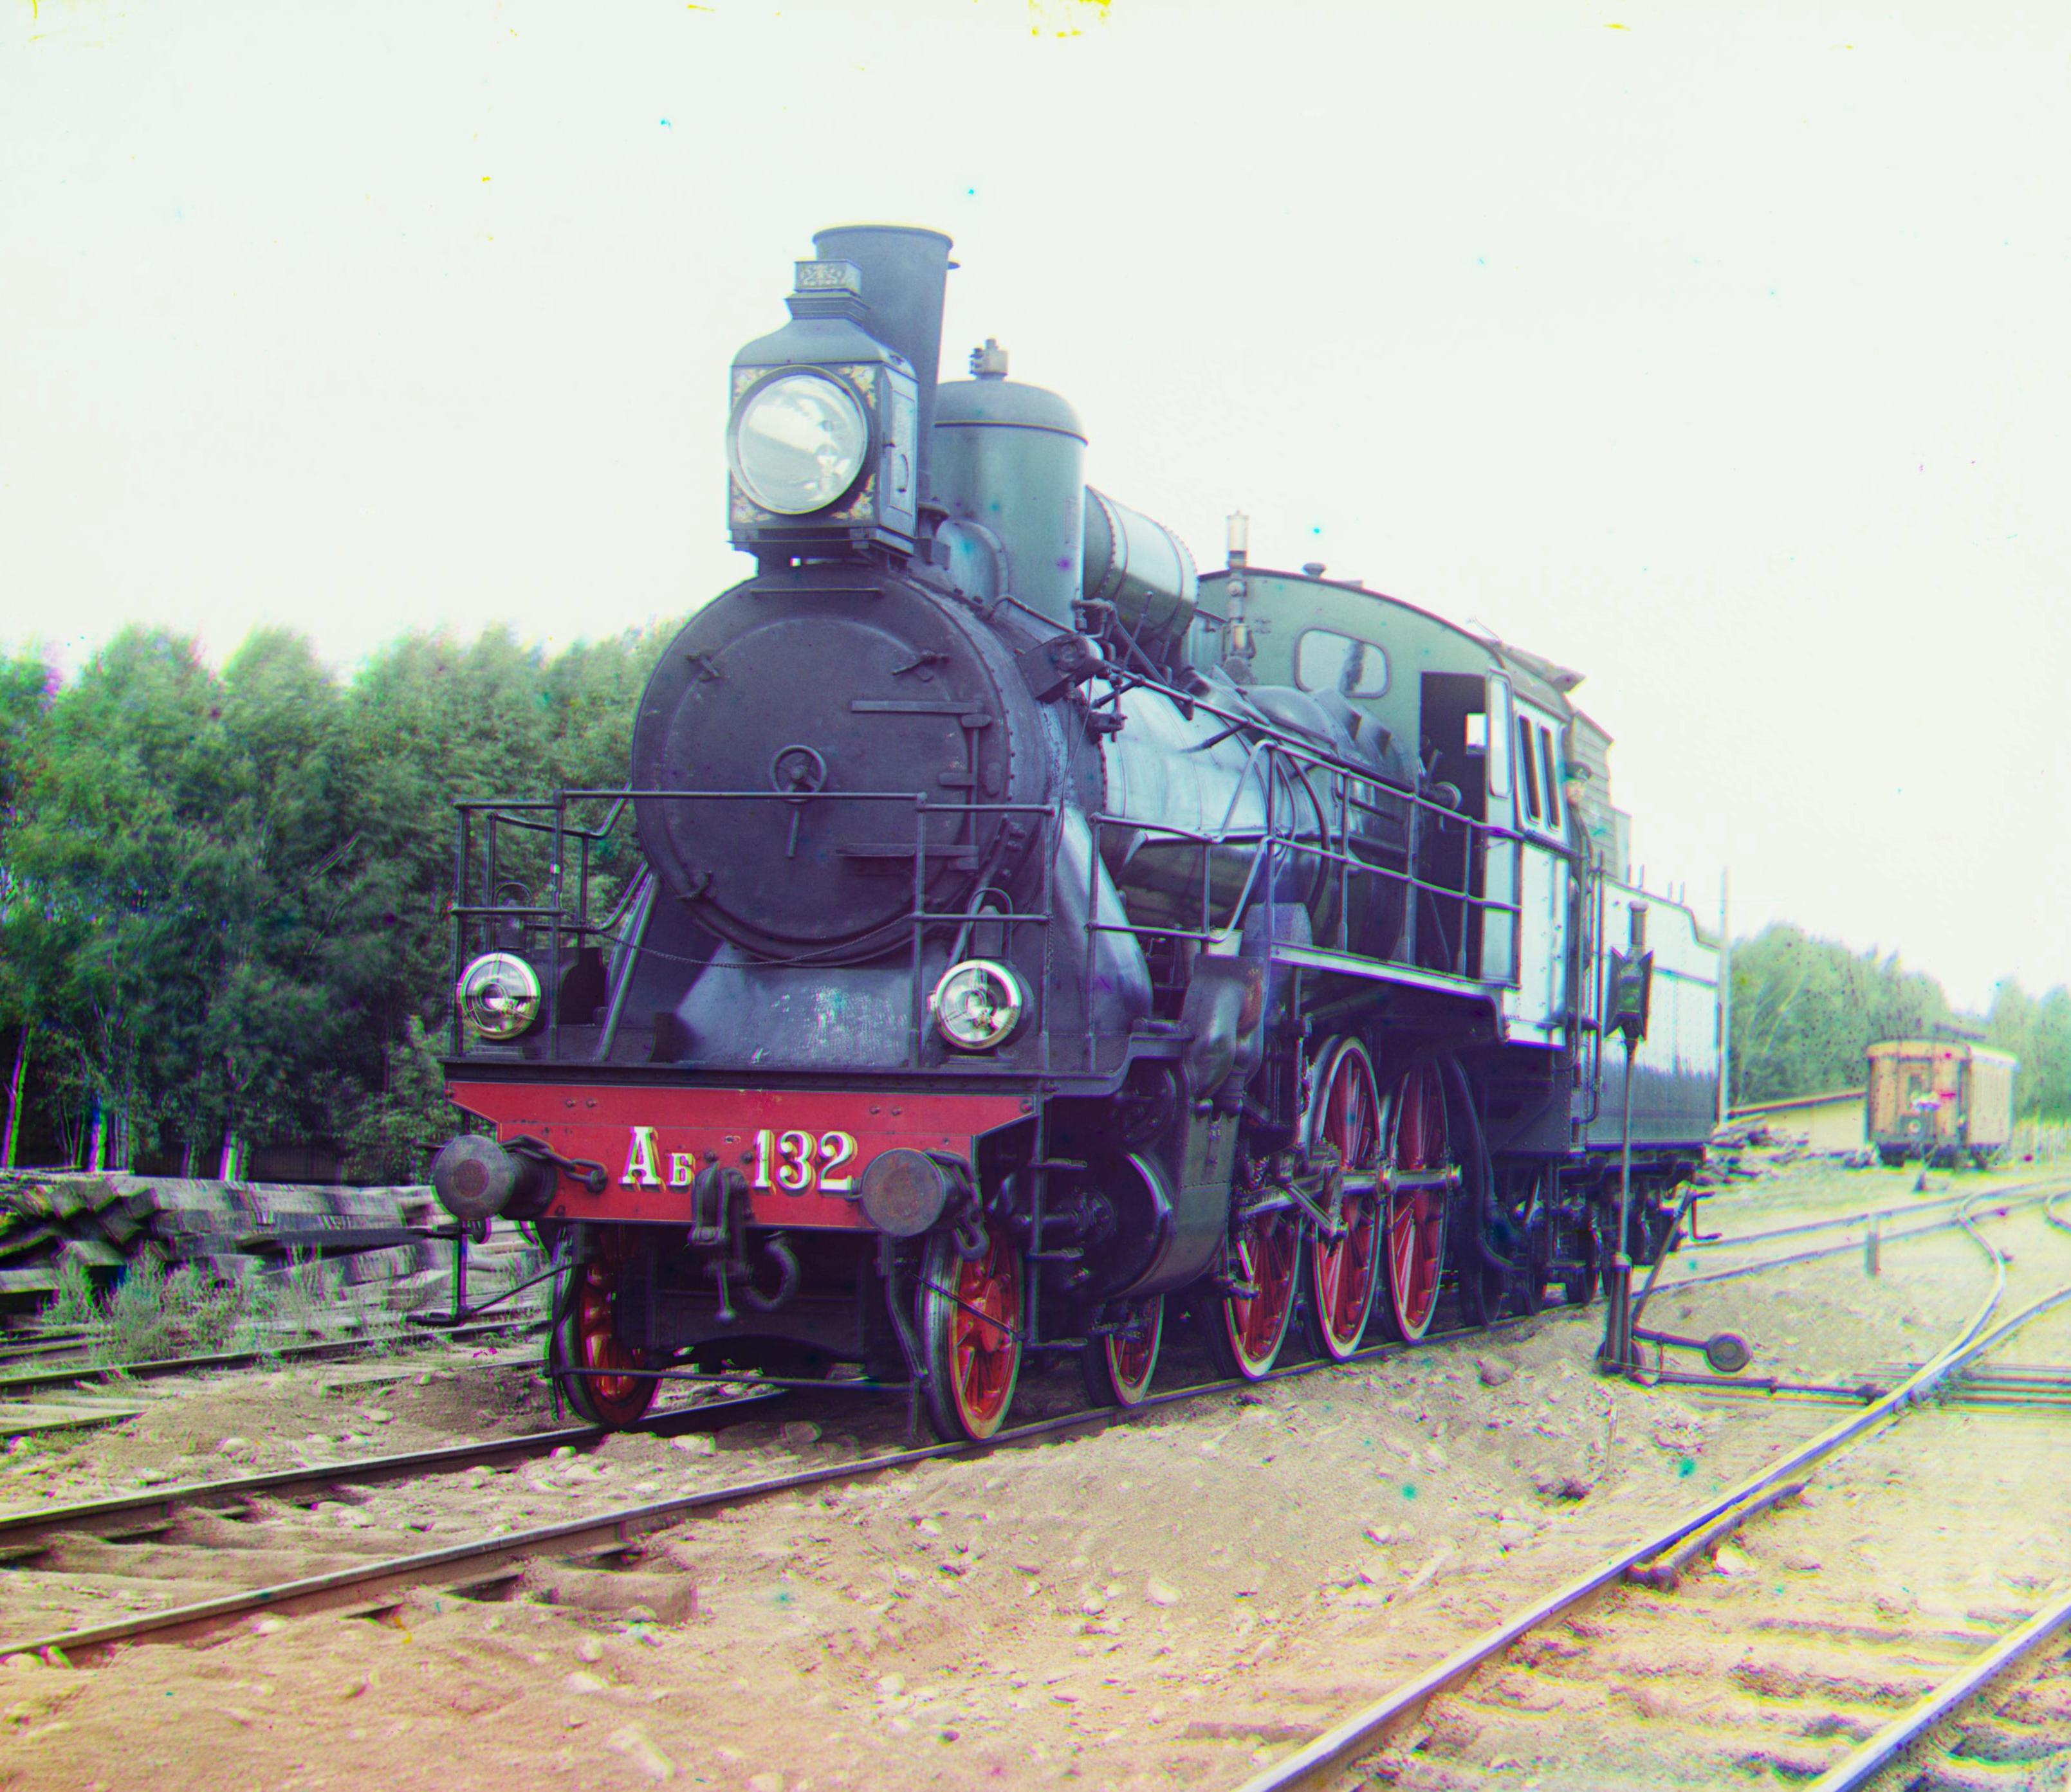
Using only raw pixels as feature, does not align well
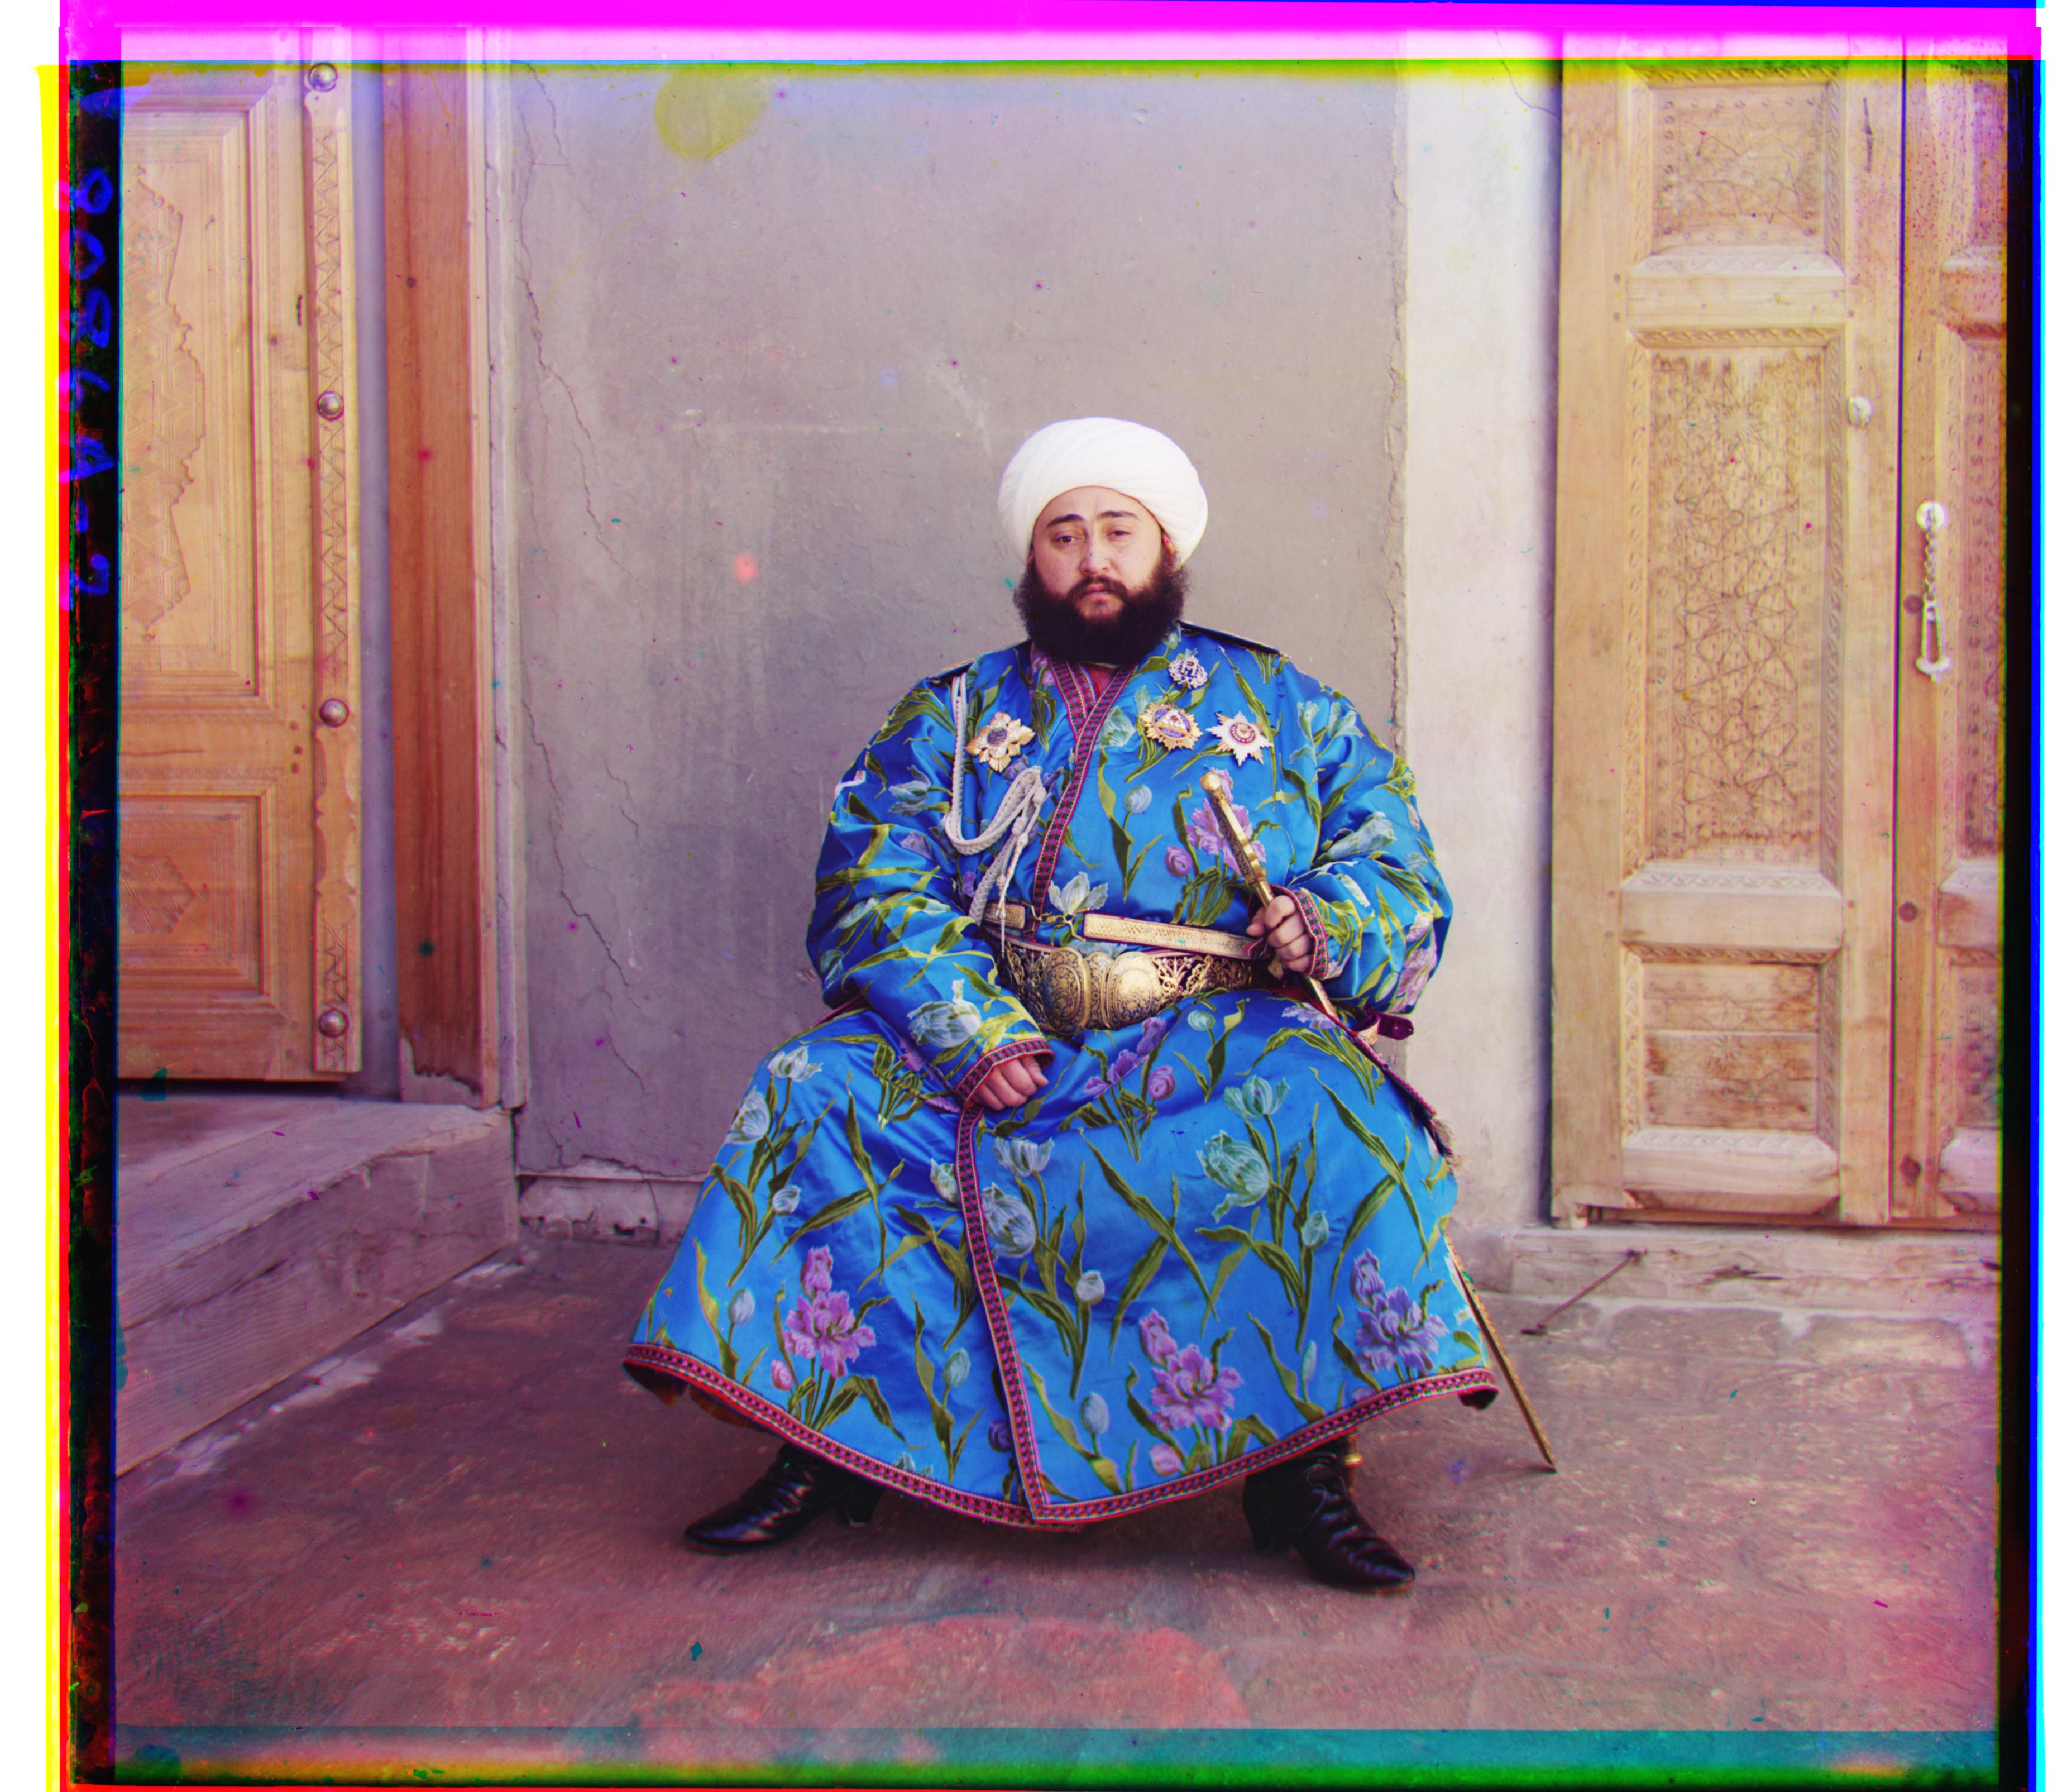
Using edge as a new feature to perfectly align
Bells and Whistles -- Automatic White Balancing
Even though now images can perfectly align, the color still looks off. I have implemented an automatic white balancing function to
adjust the color. I used the sad "world averages as grey" assumption, and my implementation is inspired by https://pippin.gimp.org/image-processing/chapter-automaticadjustments.html
The basic idea of the implementation is to normalize the color plates toward "grey value", which is roughly 128 in unit8 space. I performed a linear shift to the let the mean value of pixels toward This
grey value, and the magnitude for each individual pixel is proportional to the pixel value and how far the mean value of the whole image is away from the grey value.
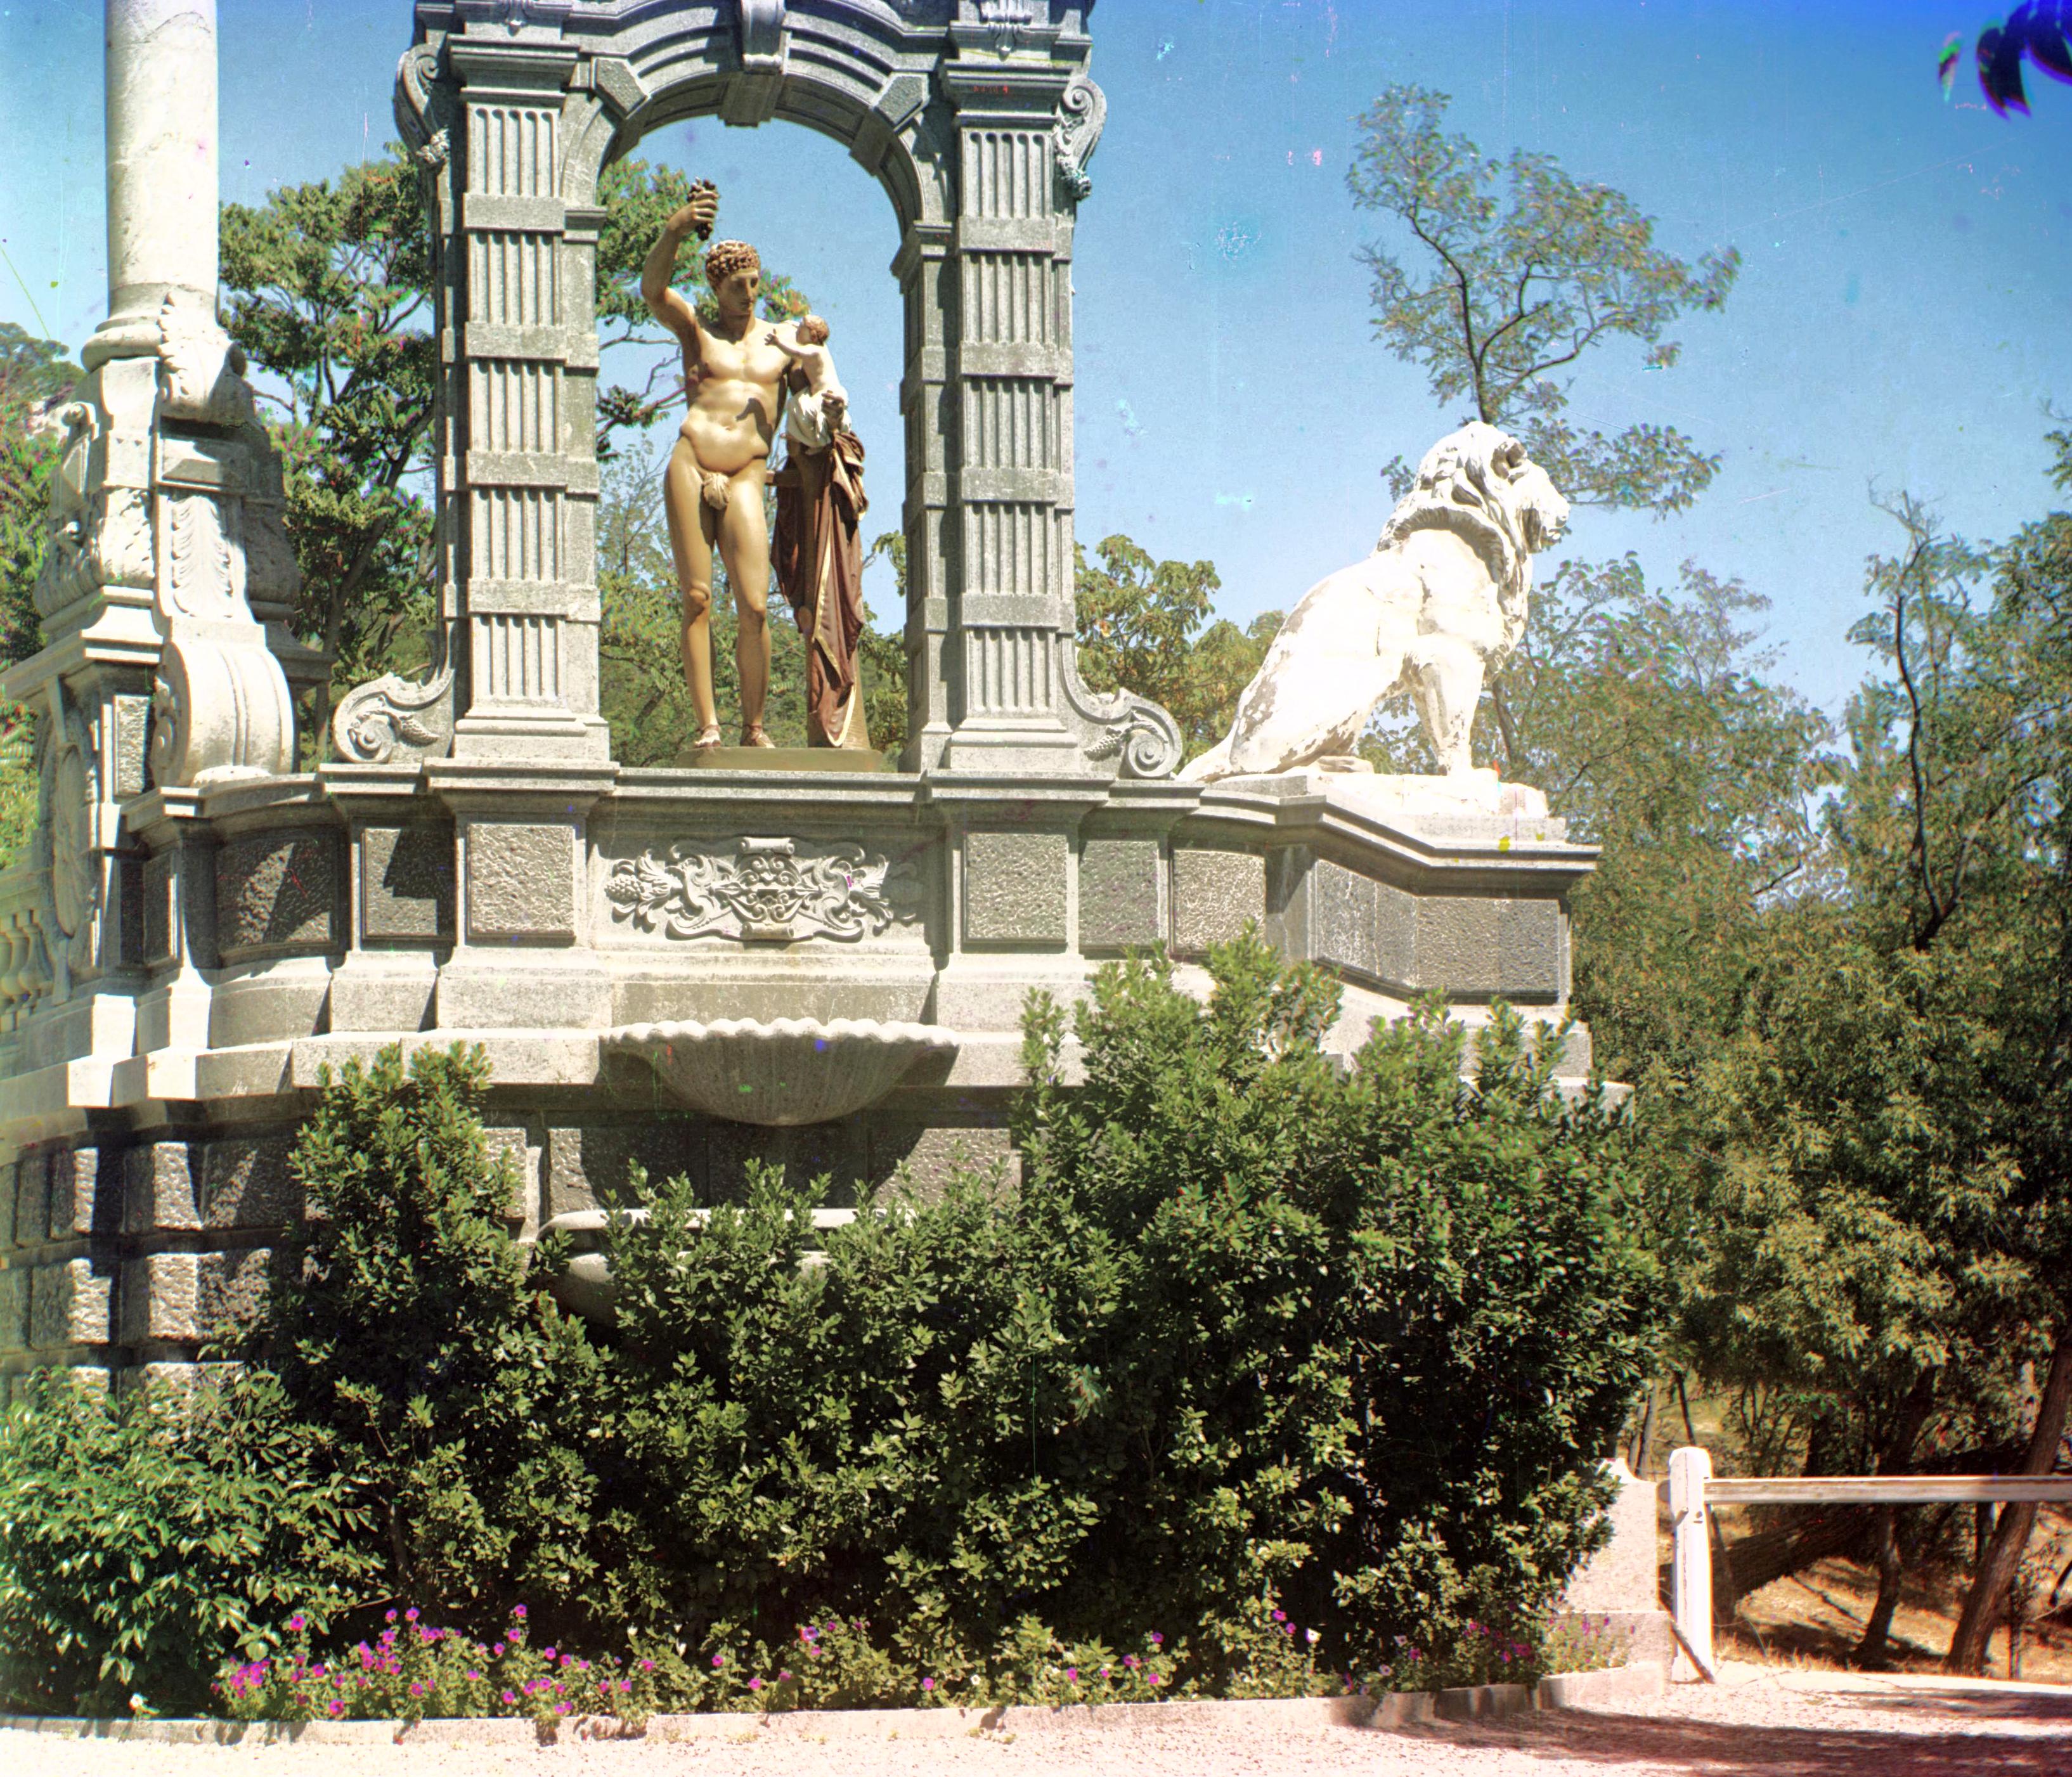
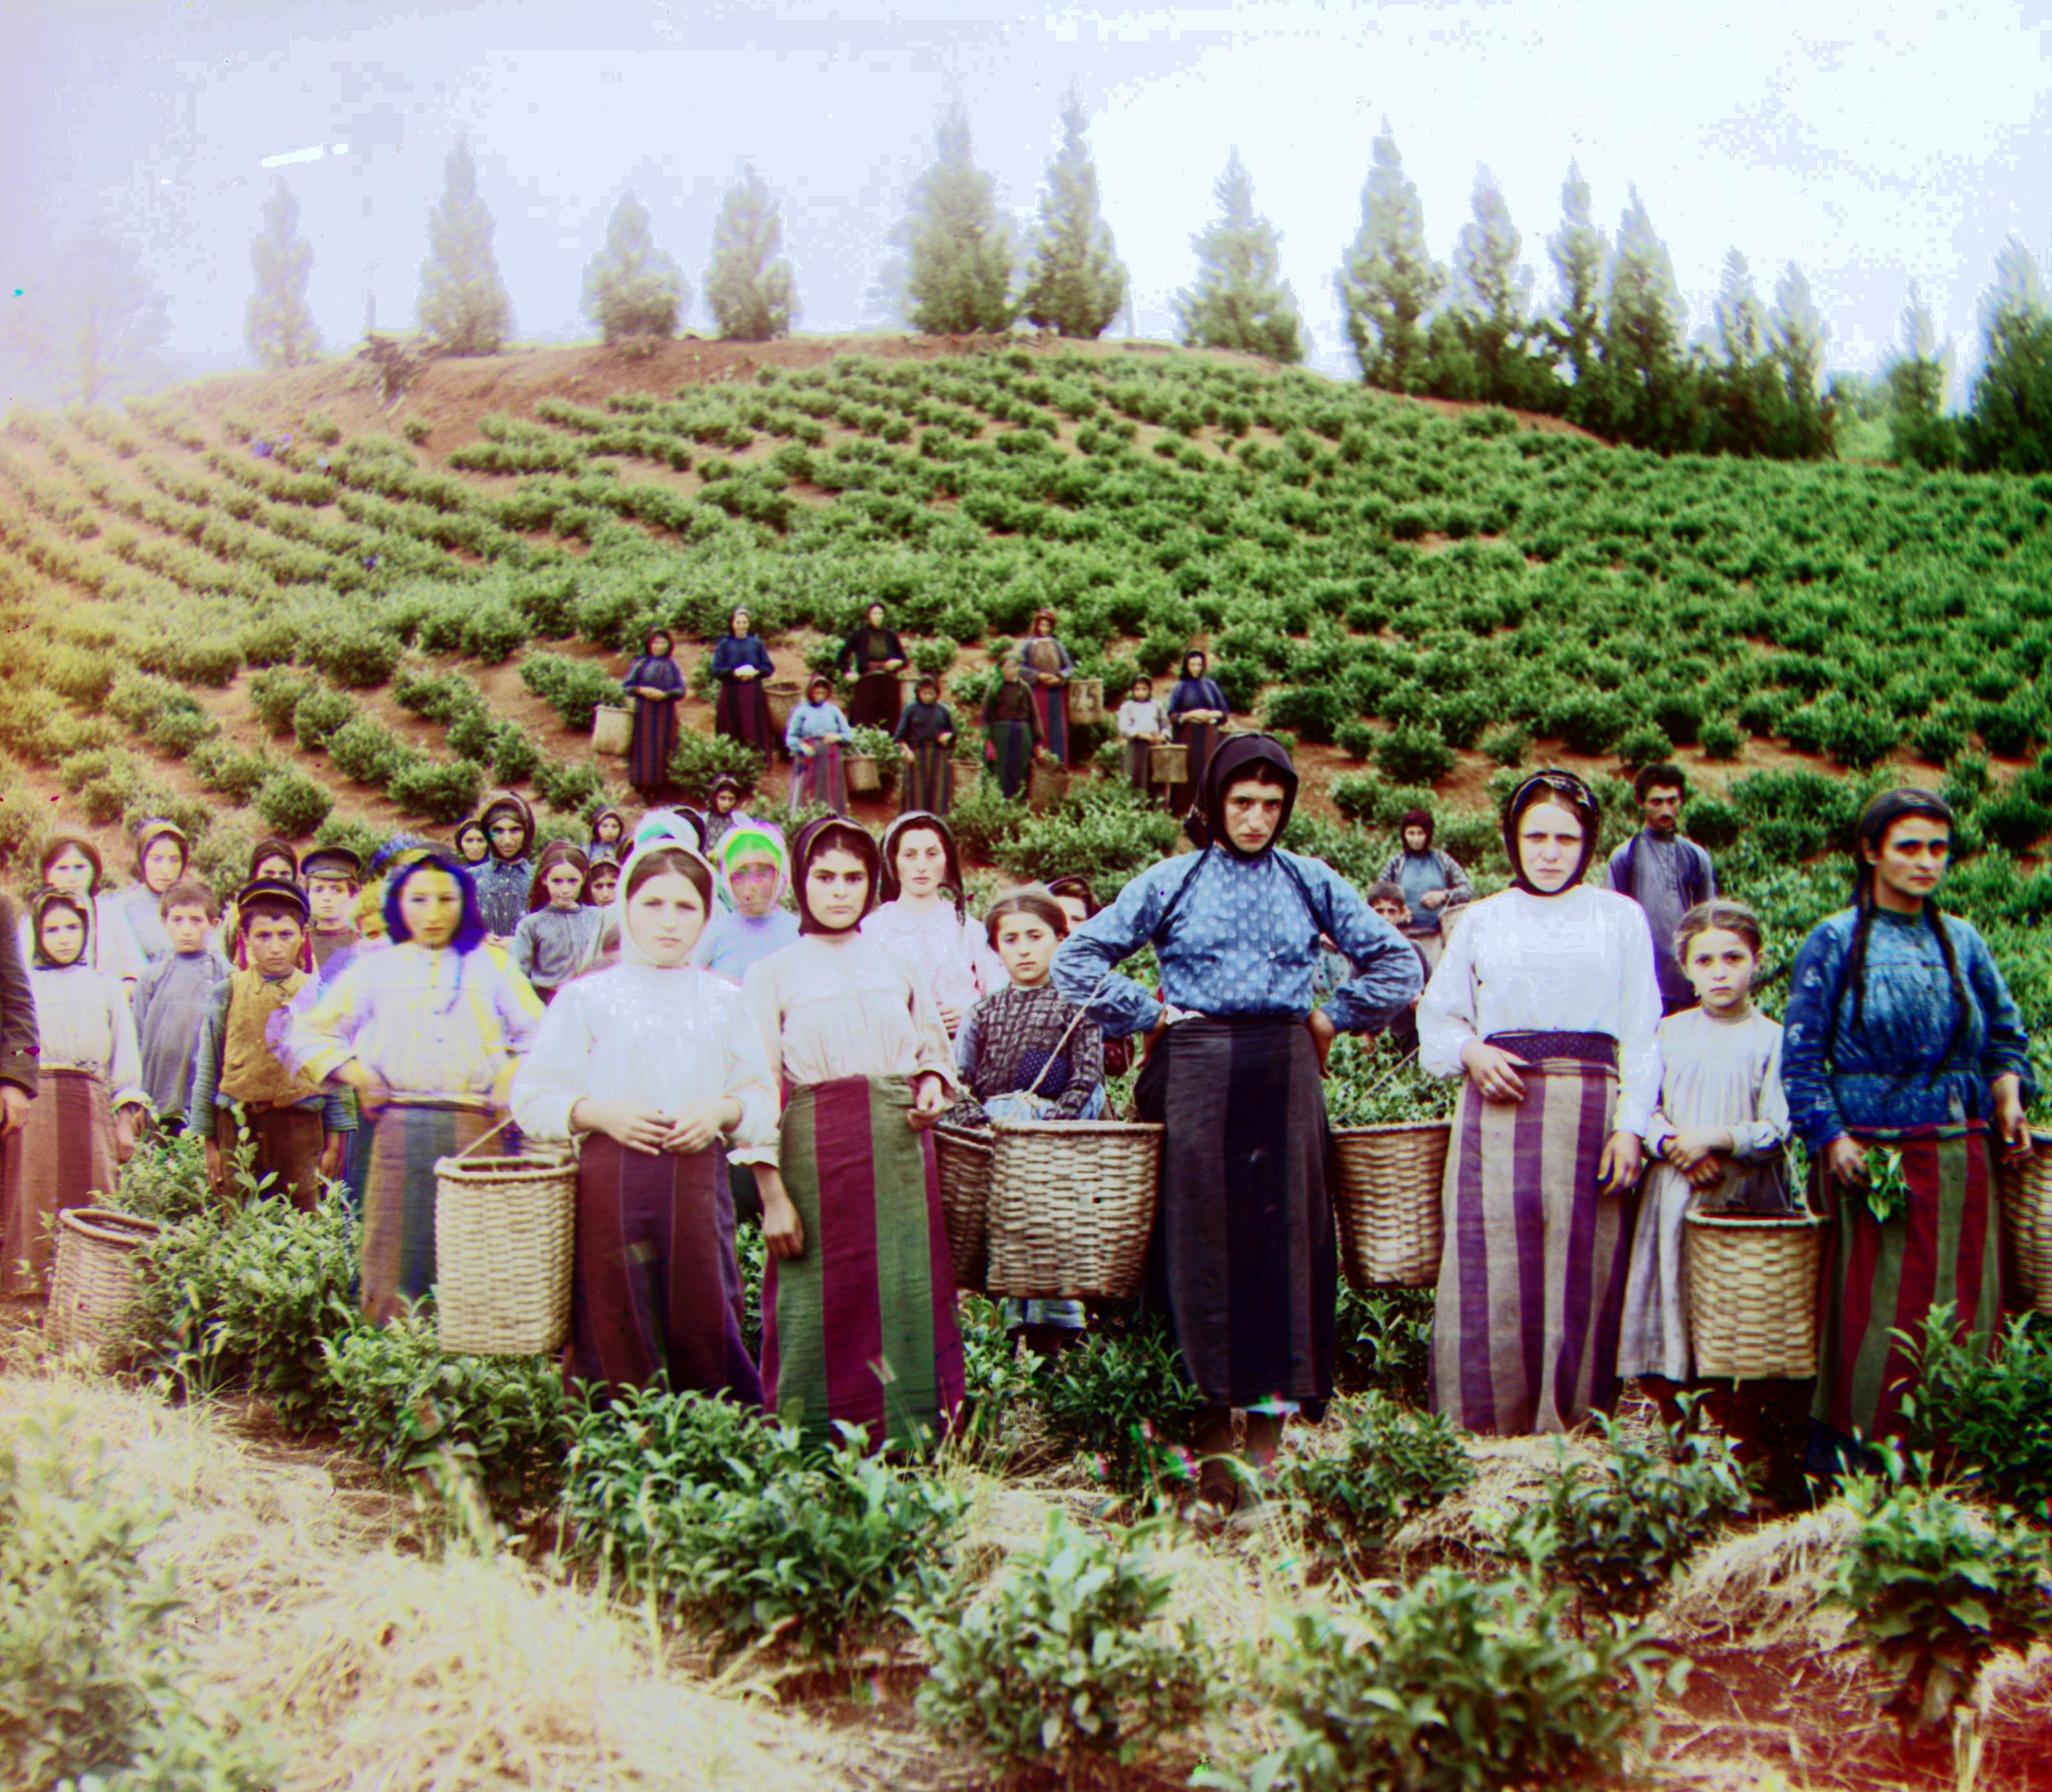
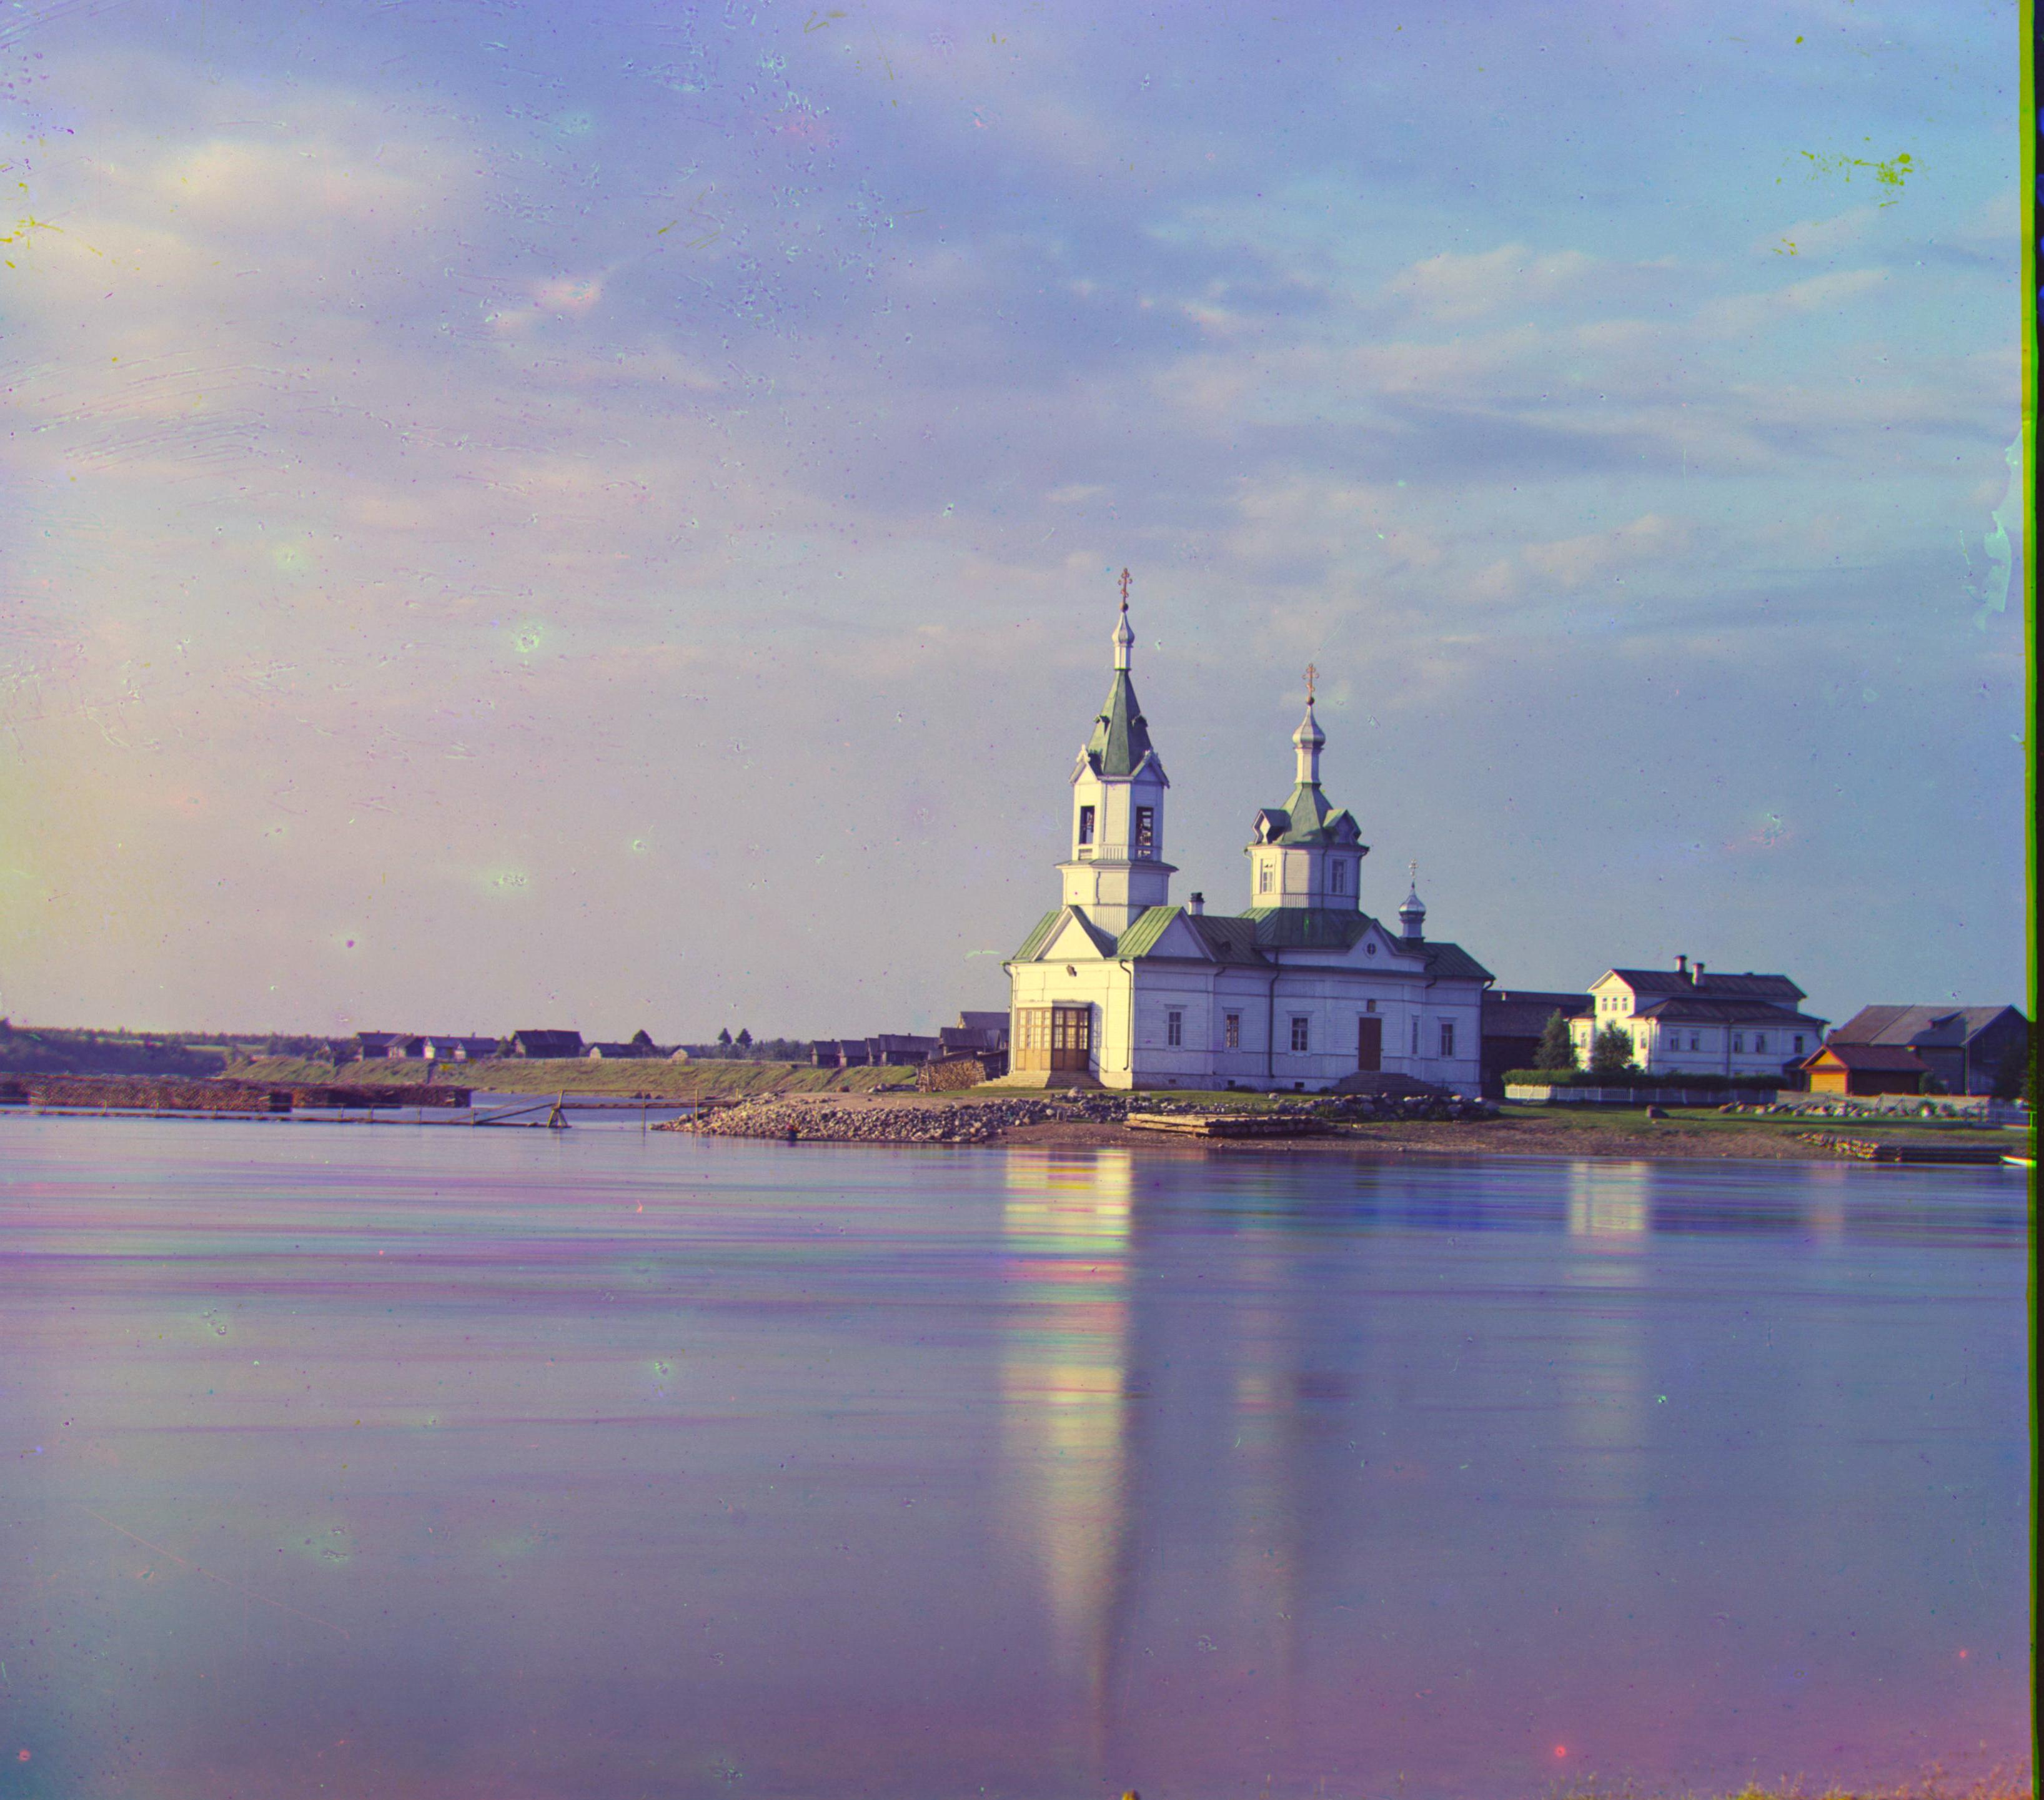
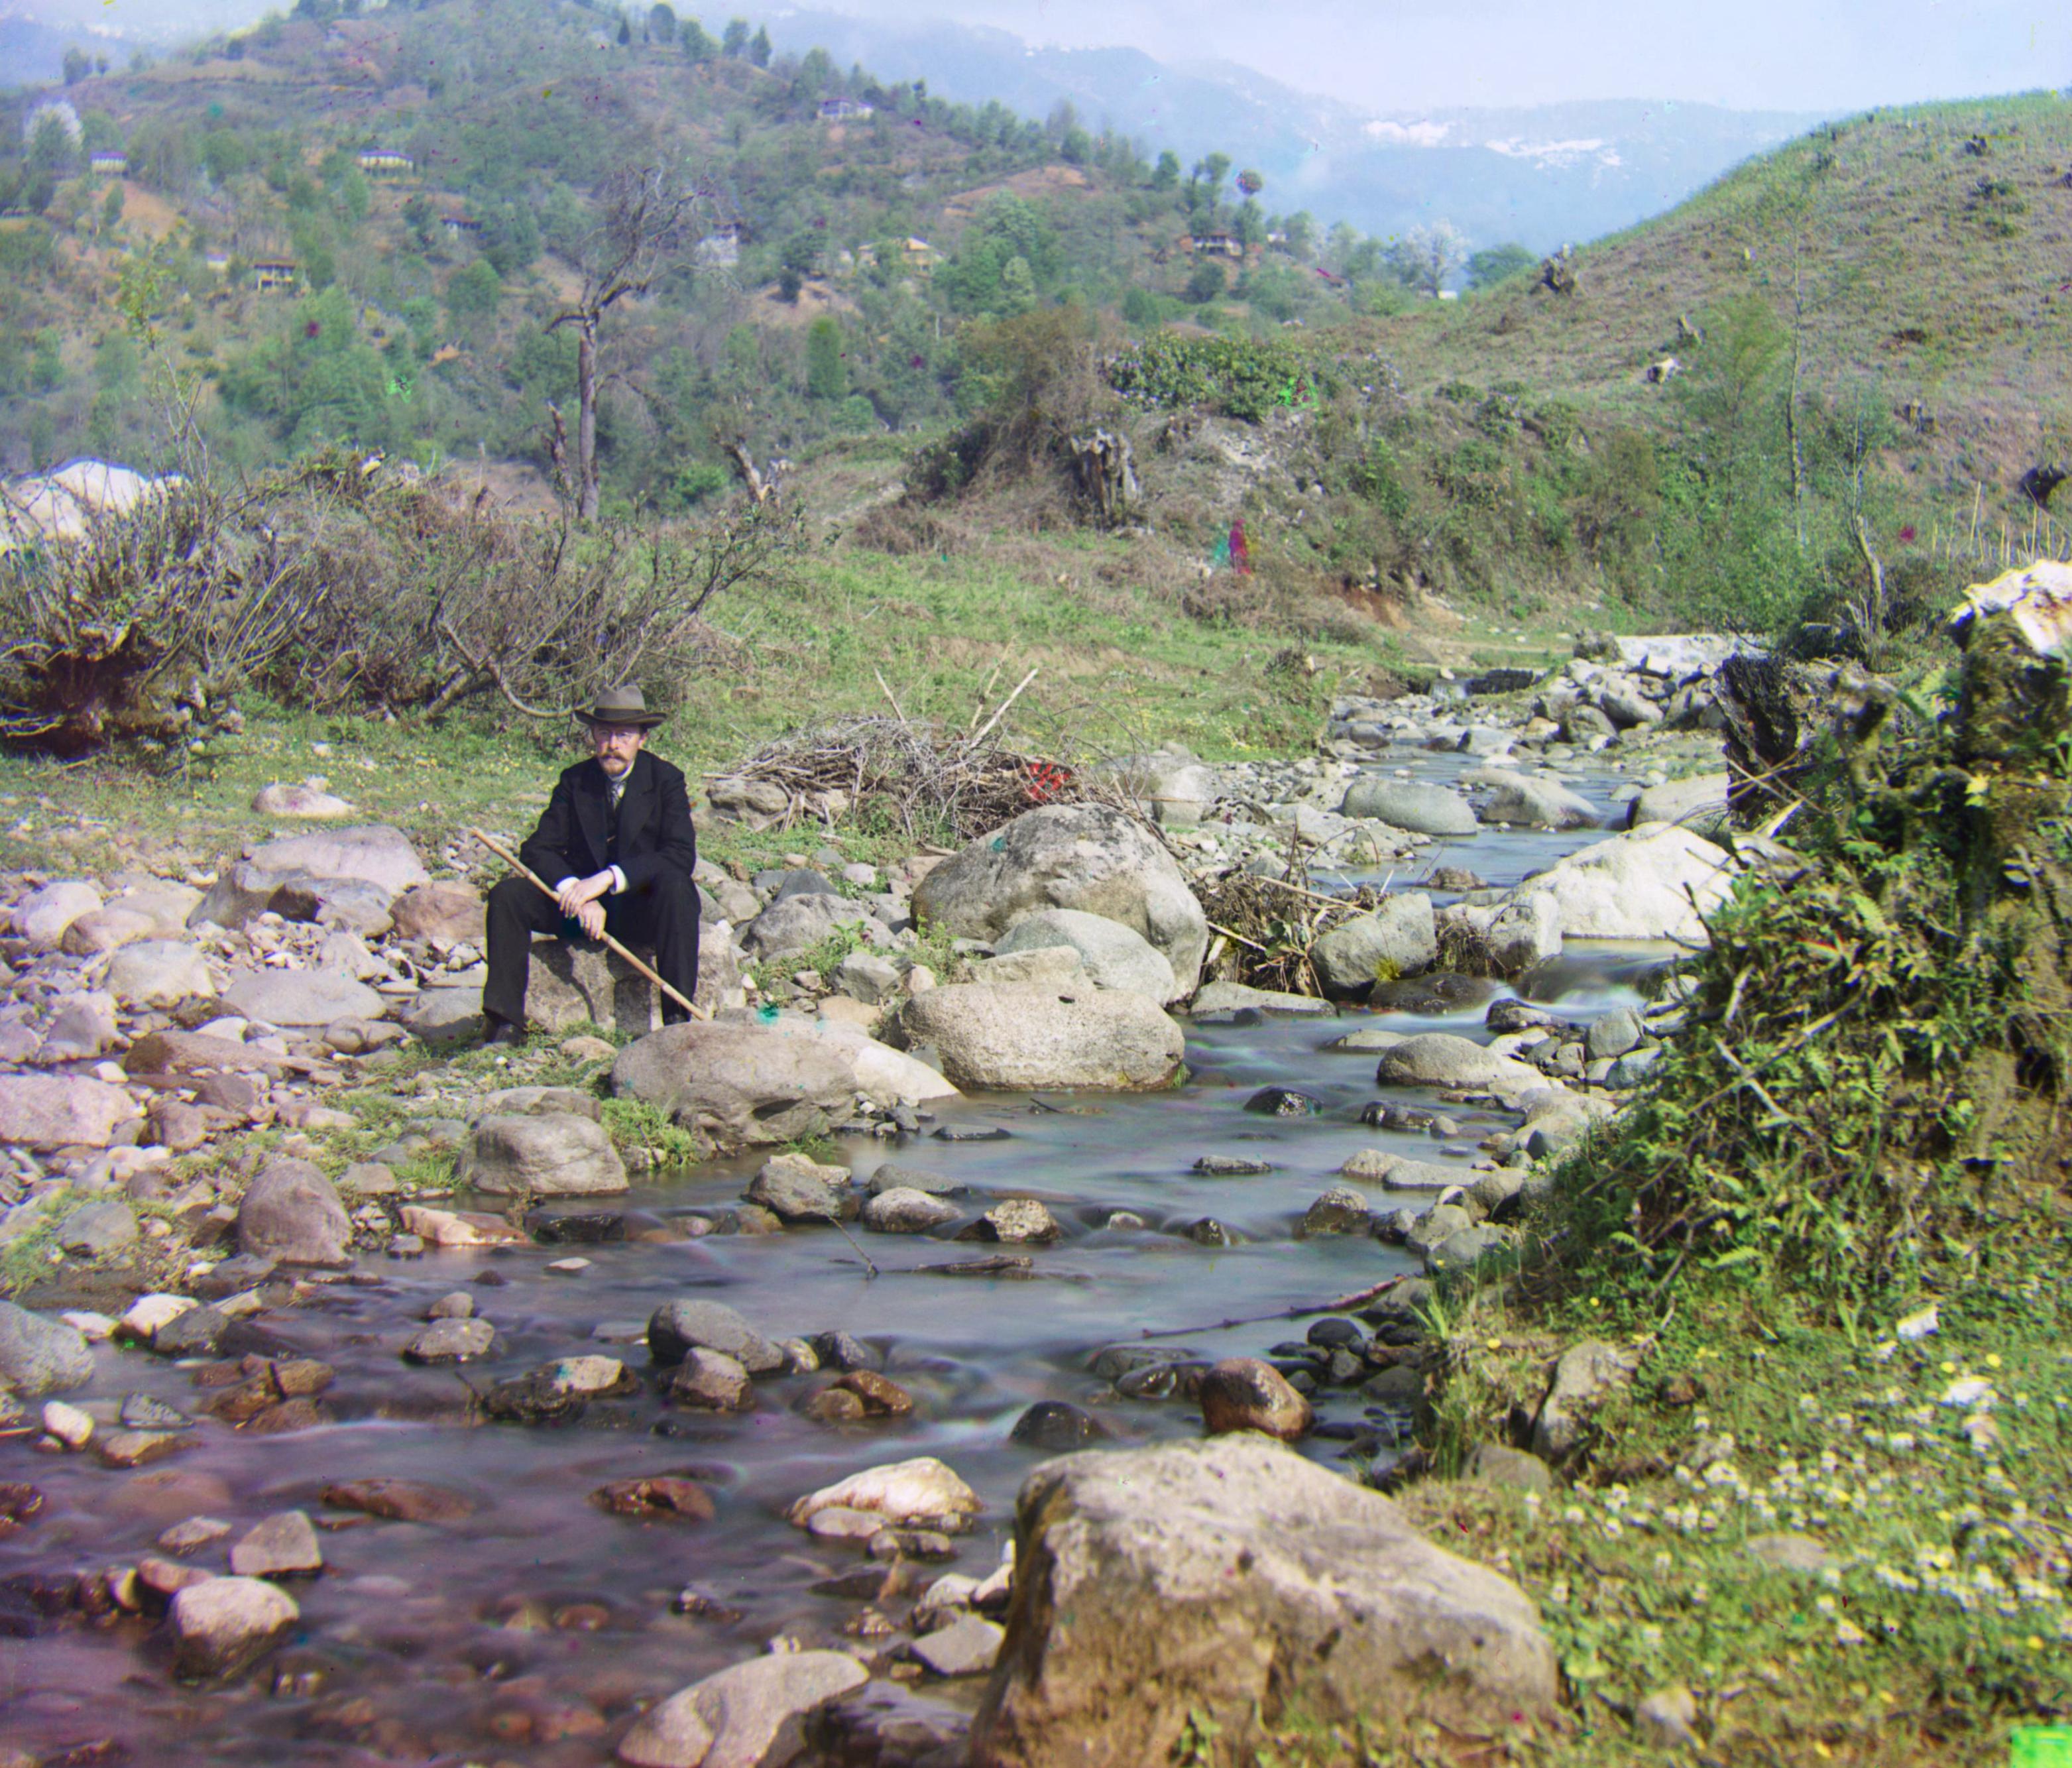
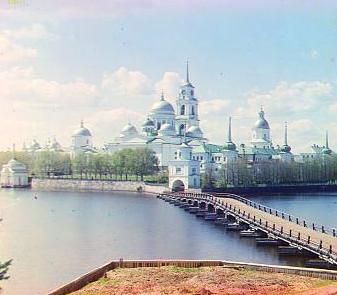
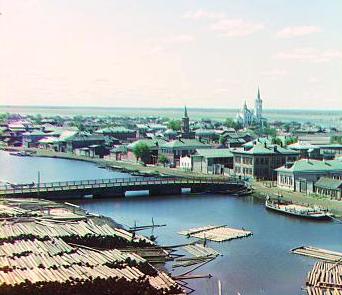
The results are appended below. We can see after automatic white balancing the color looks more "real".
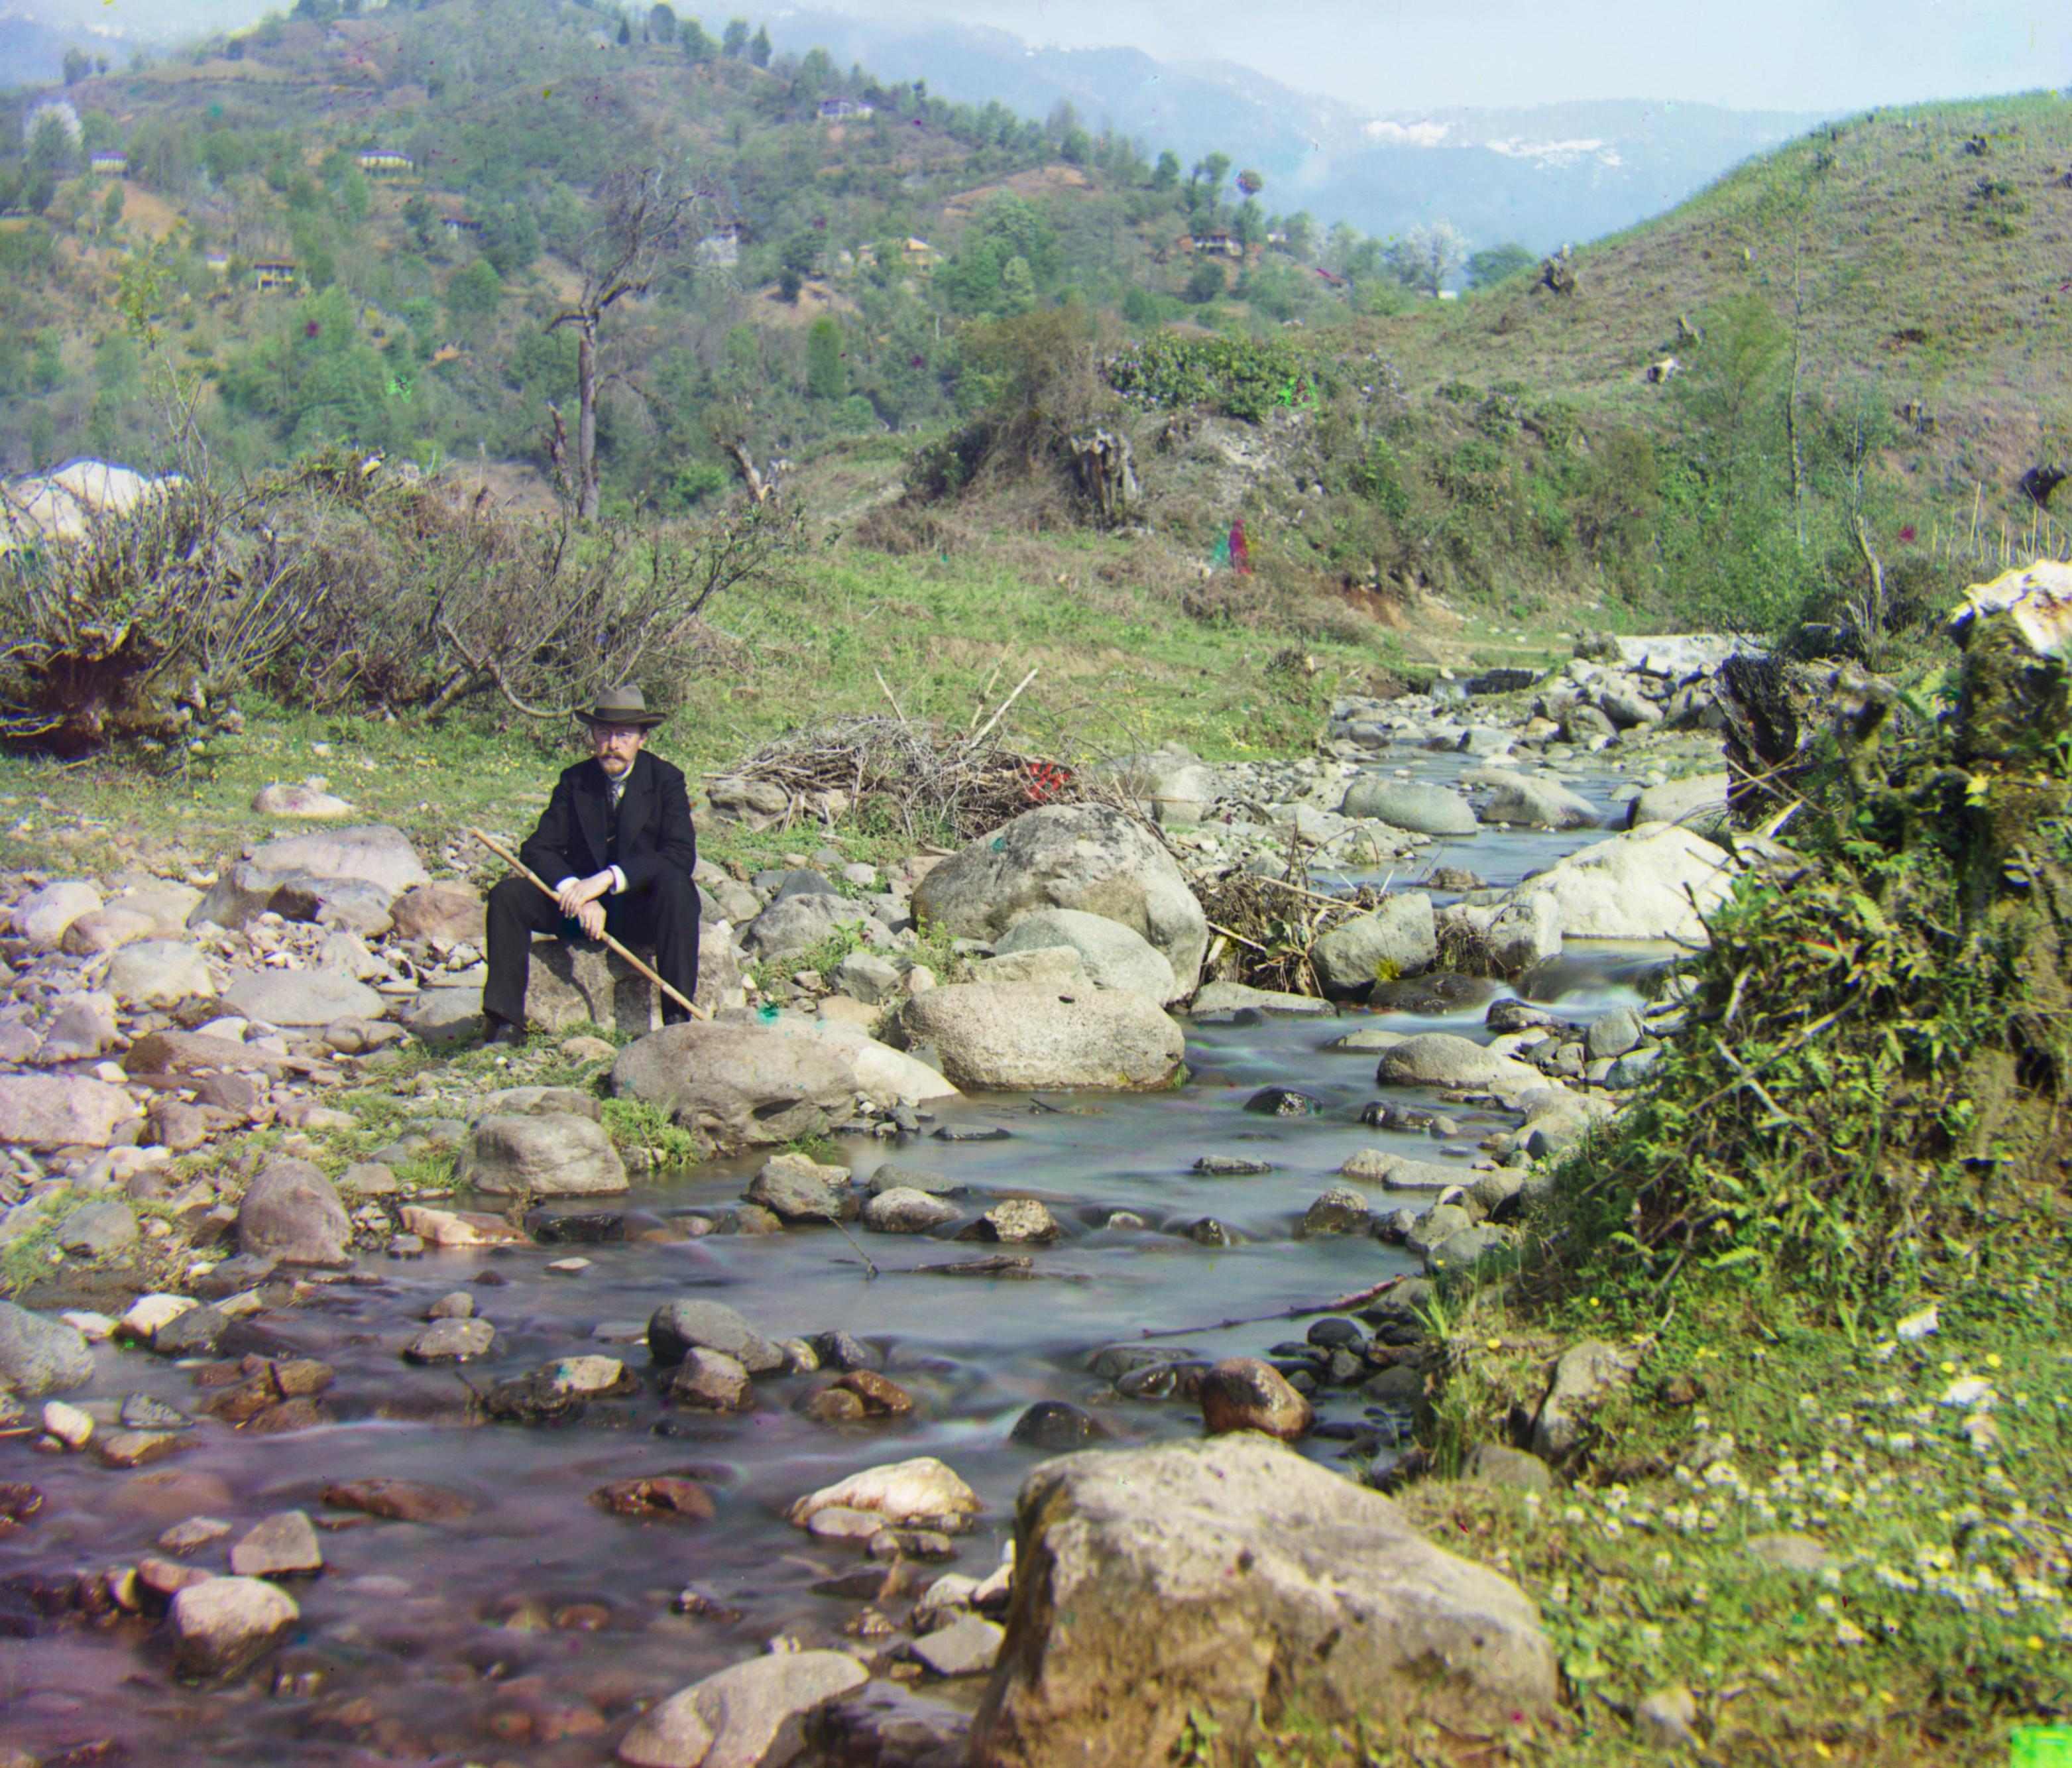
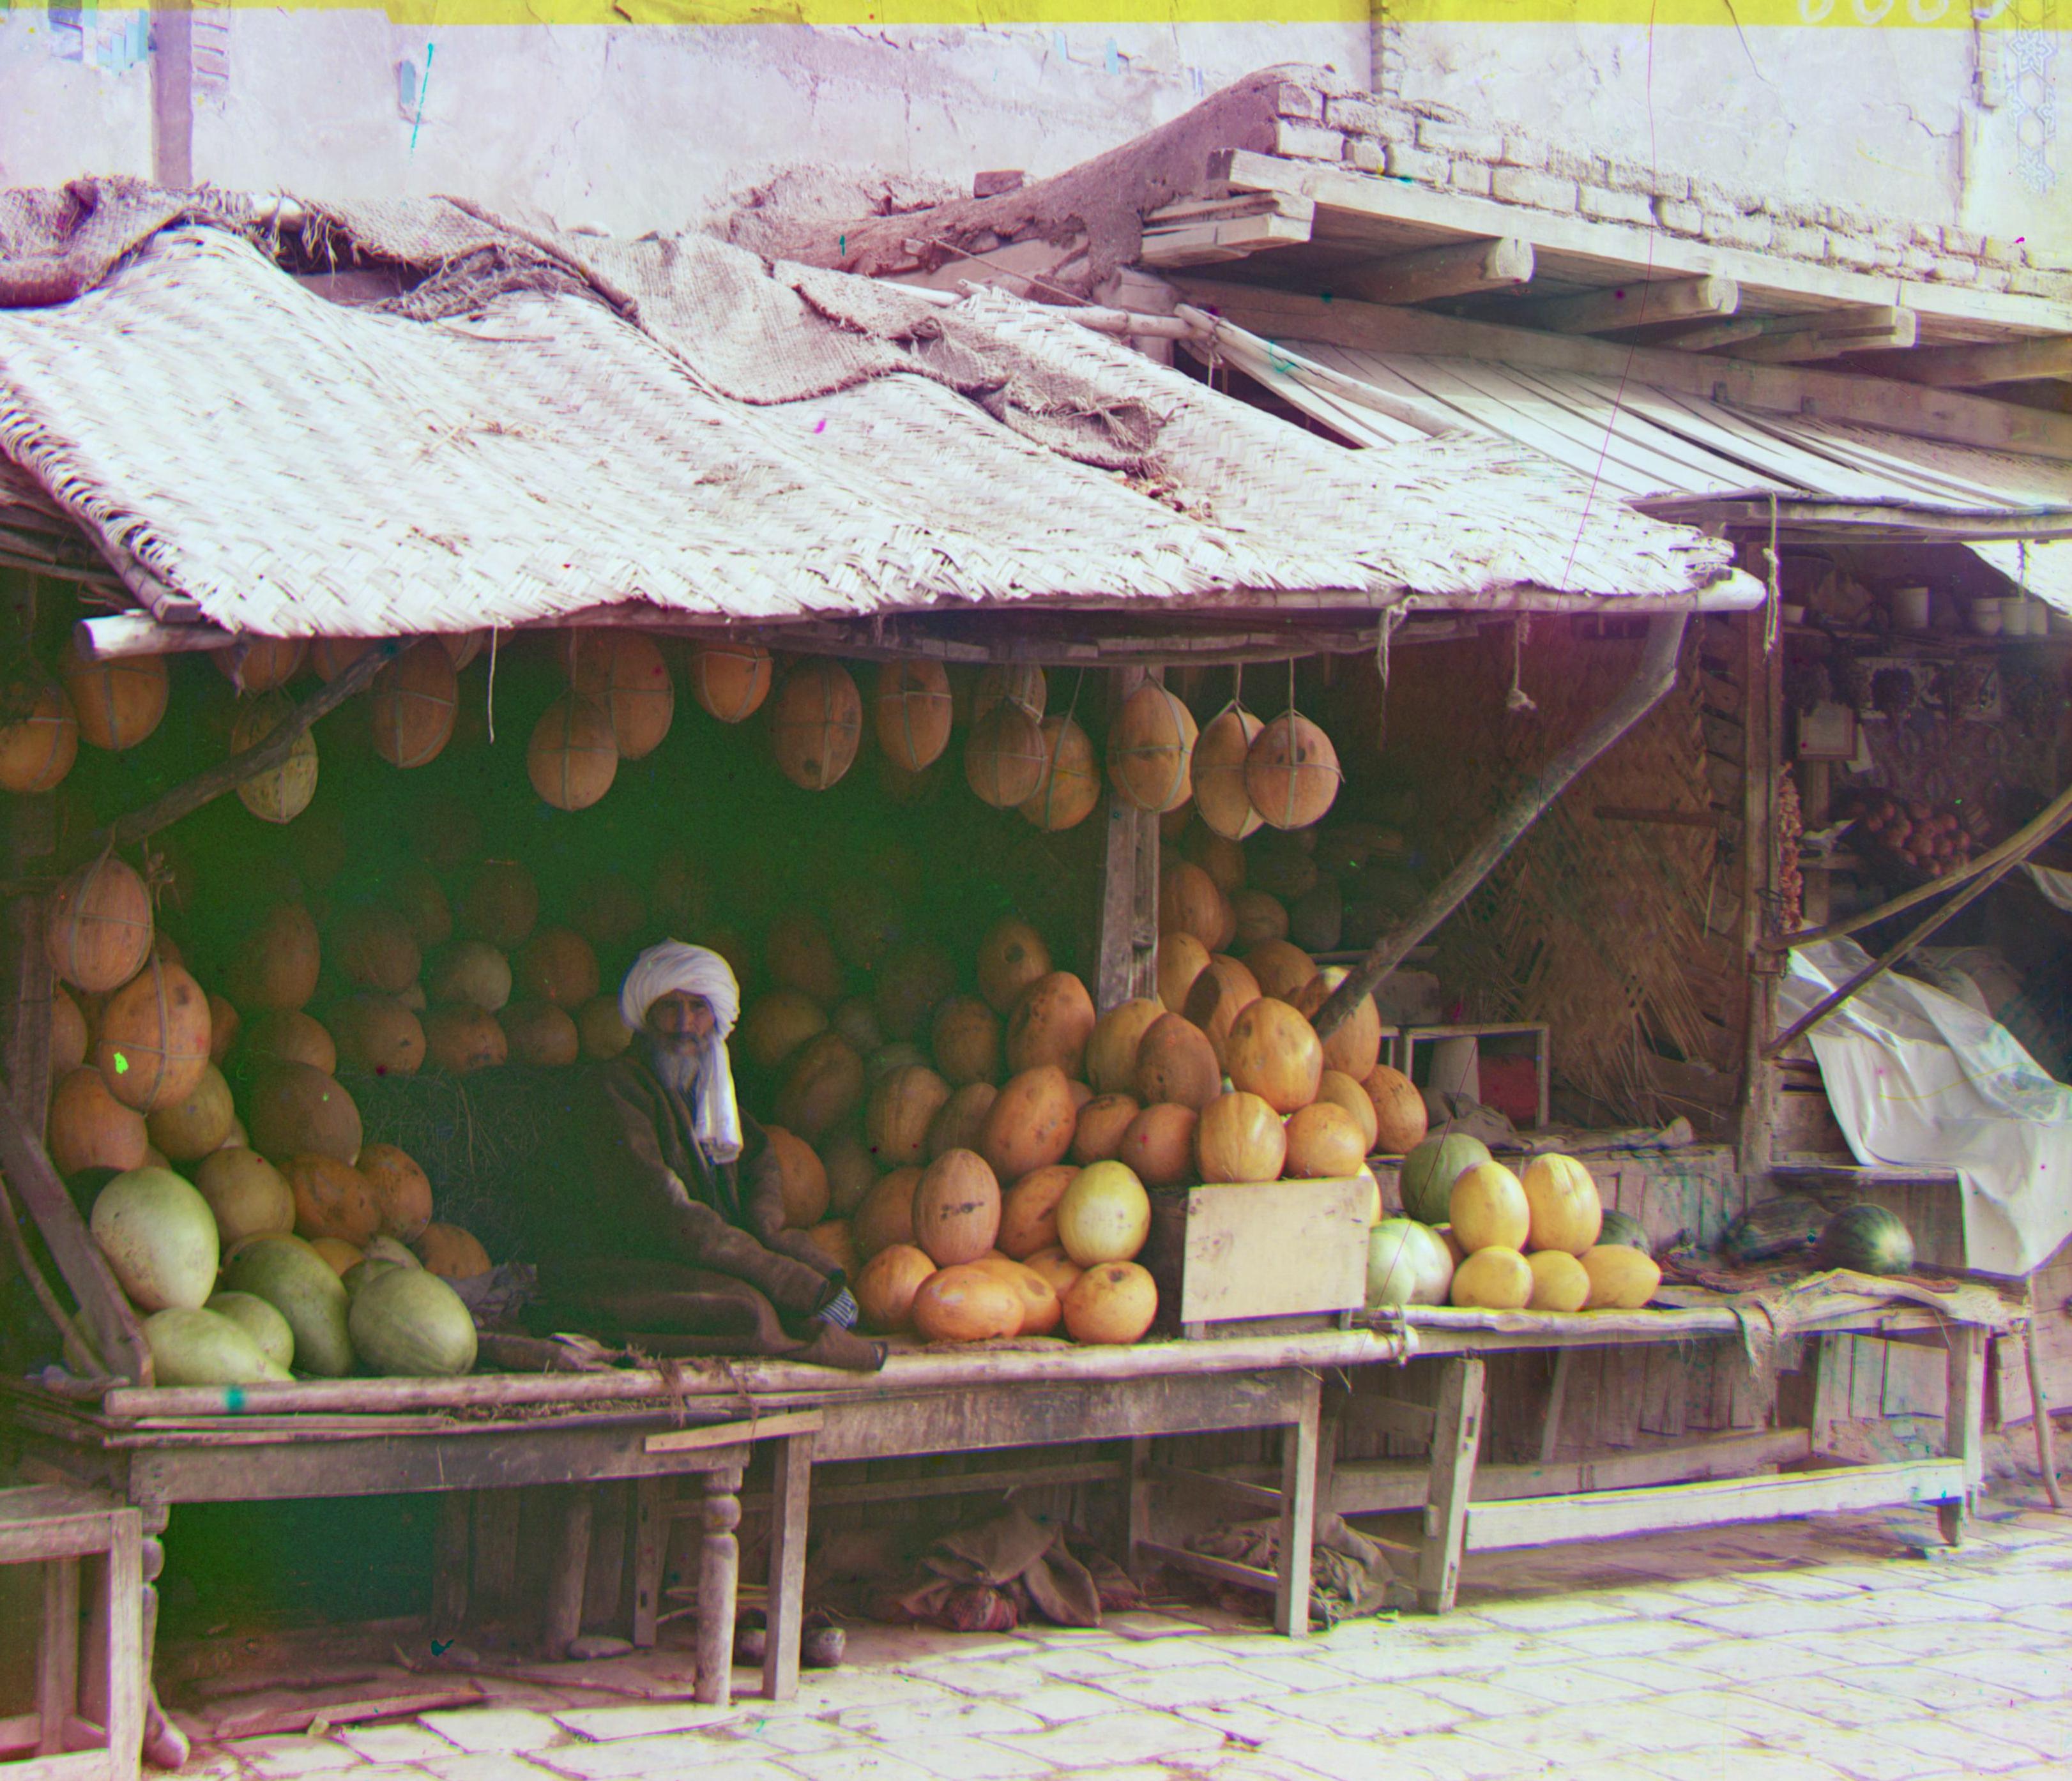
Without Auto White Balancing
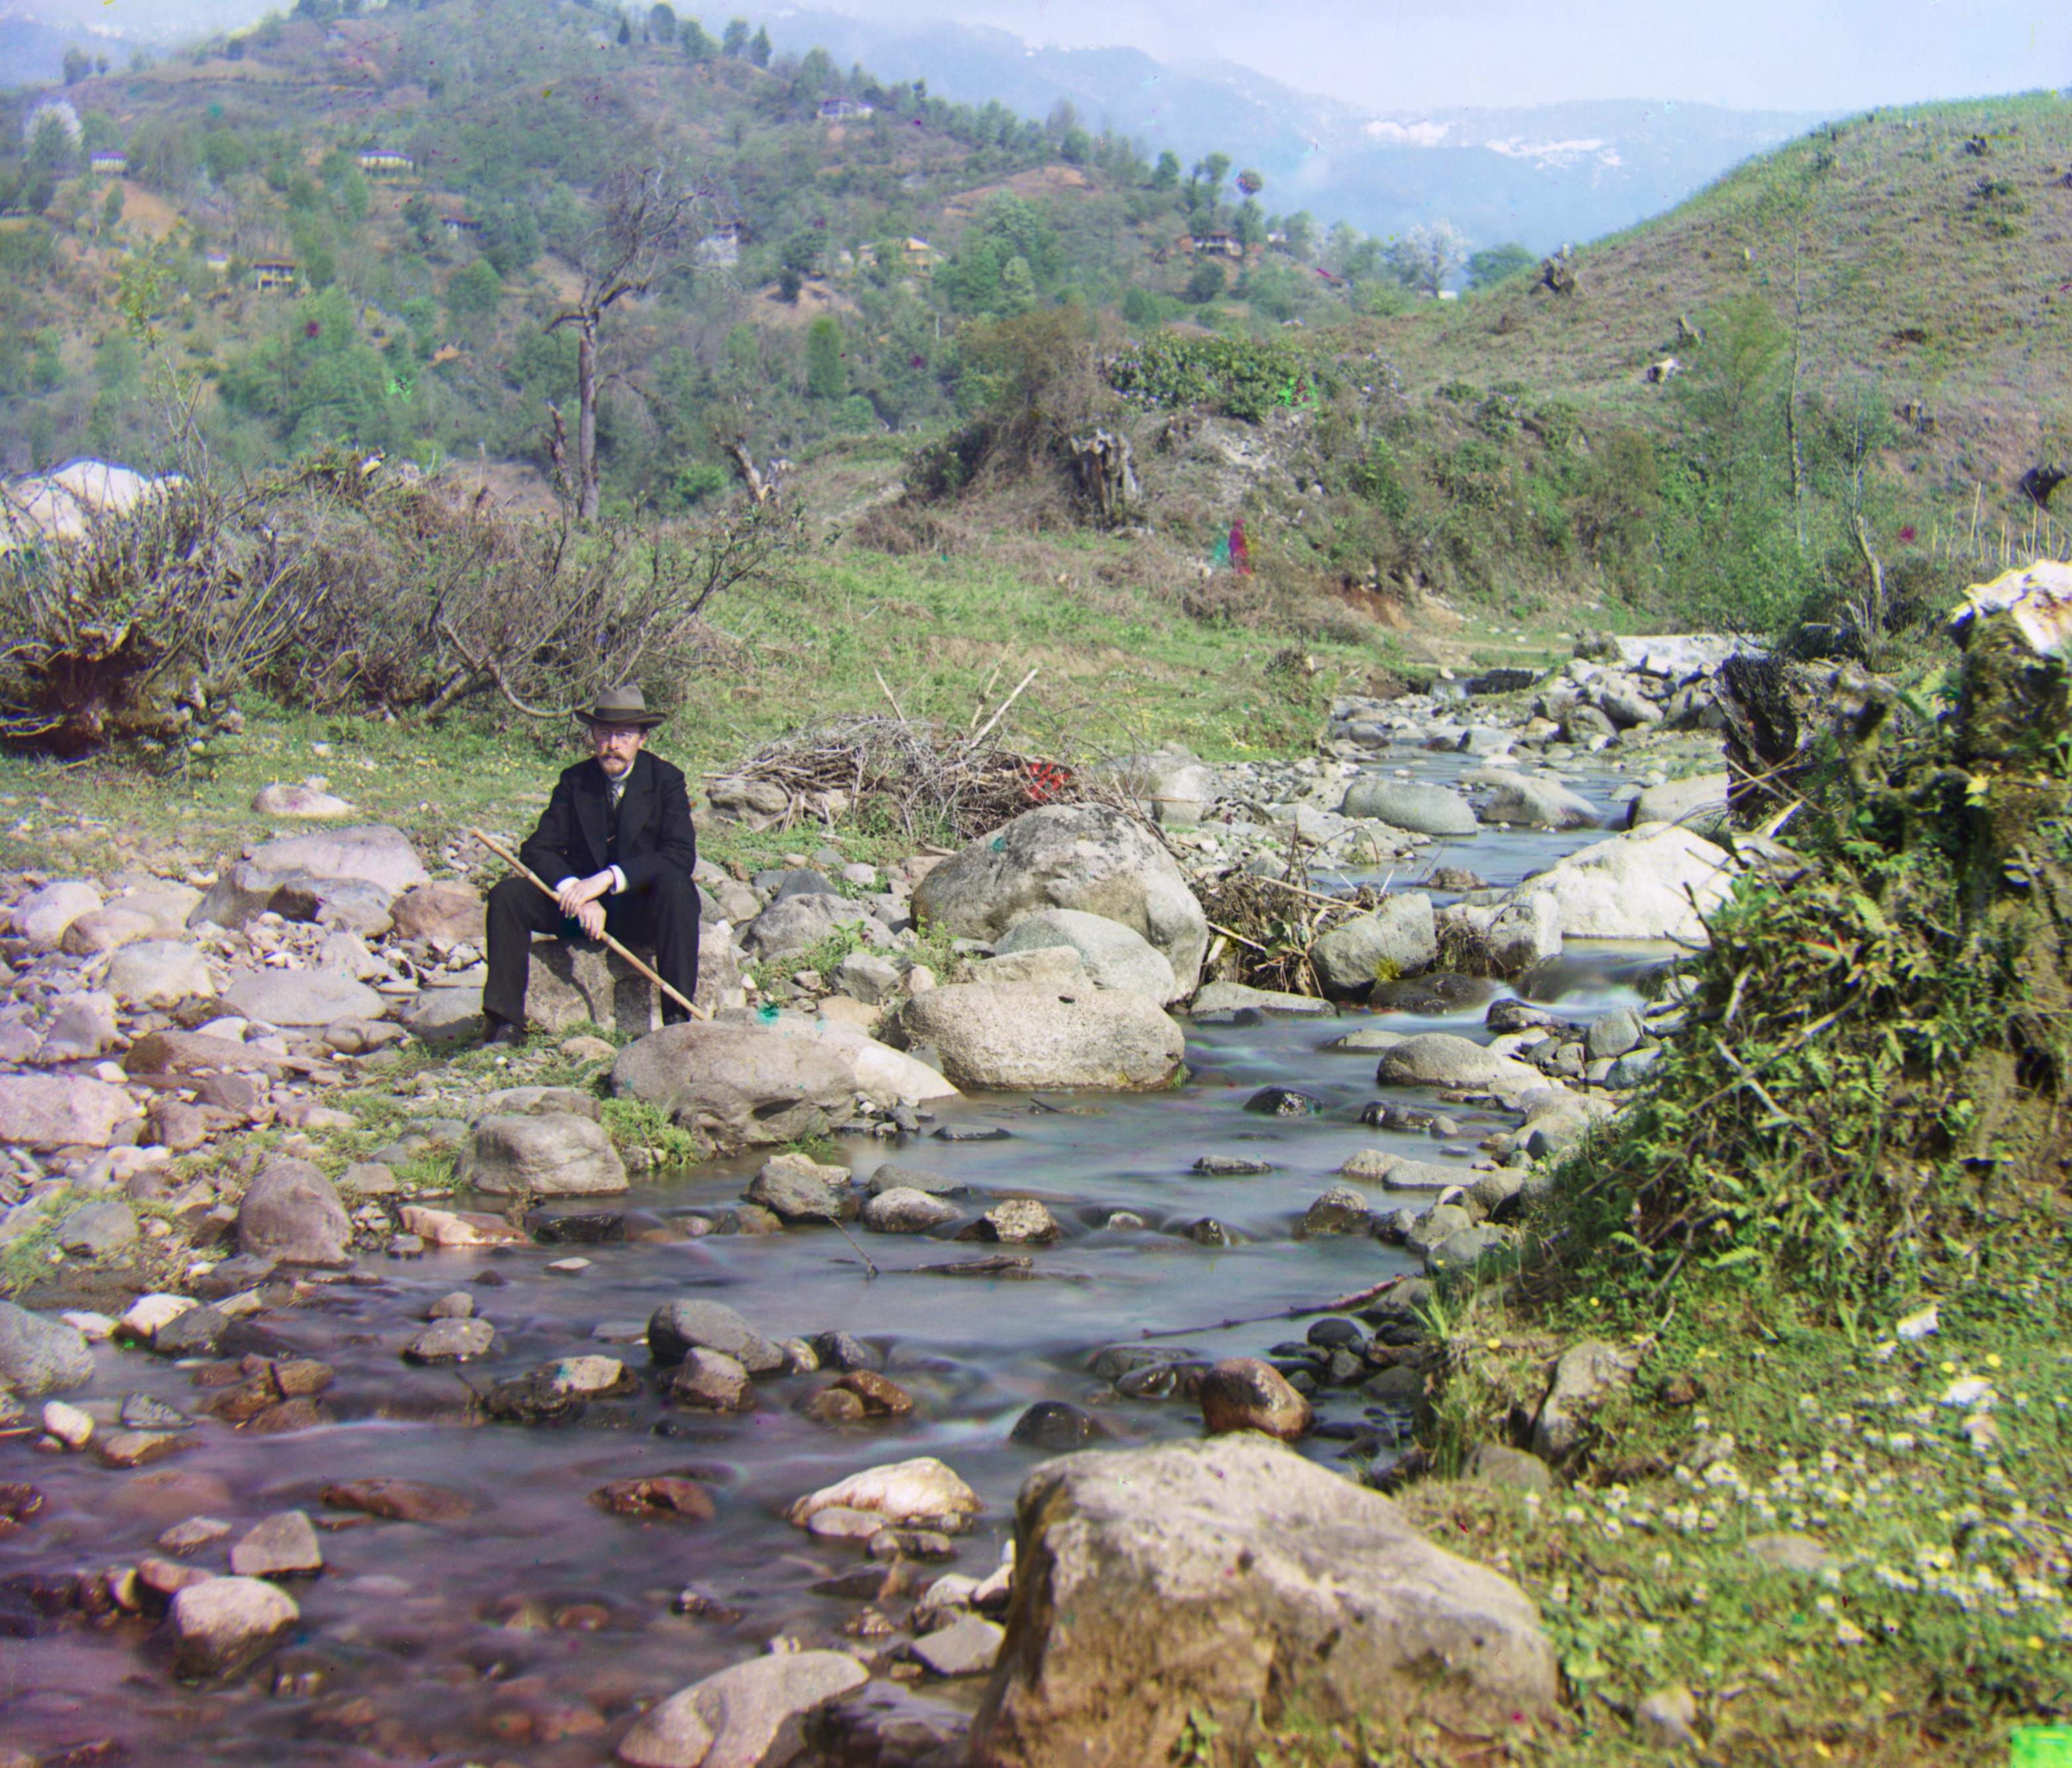
With Auto White Balancing, colors look better
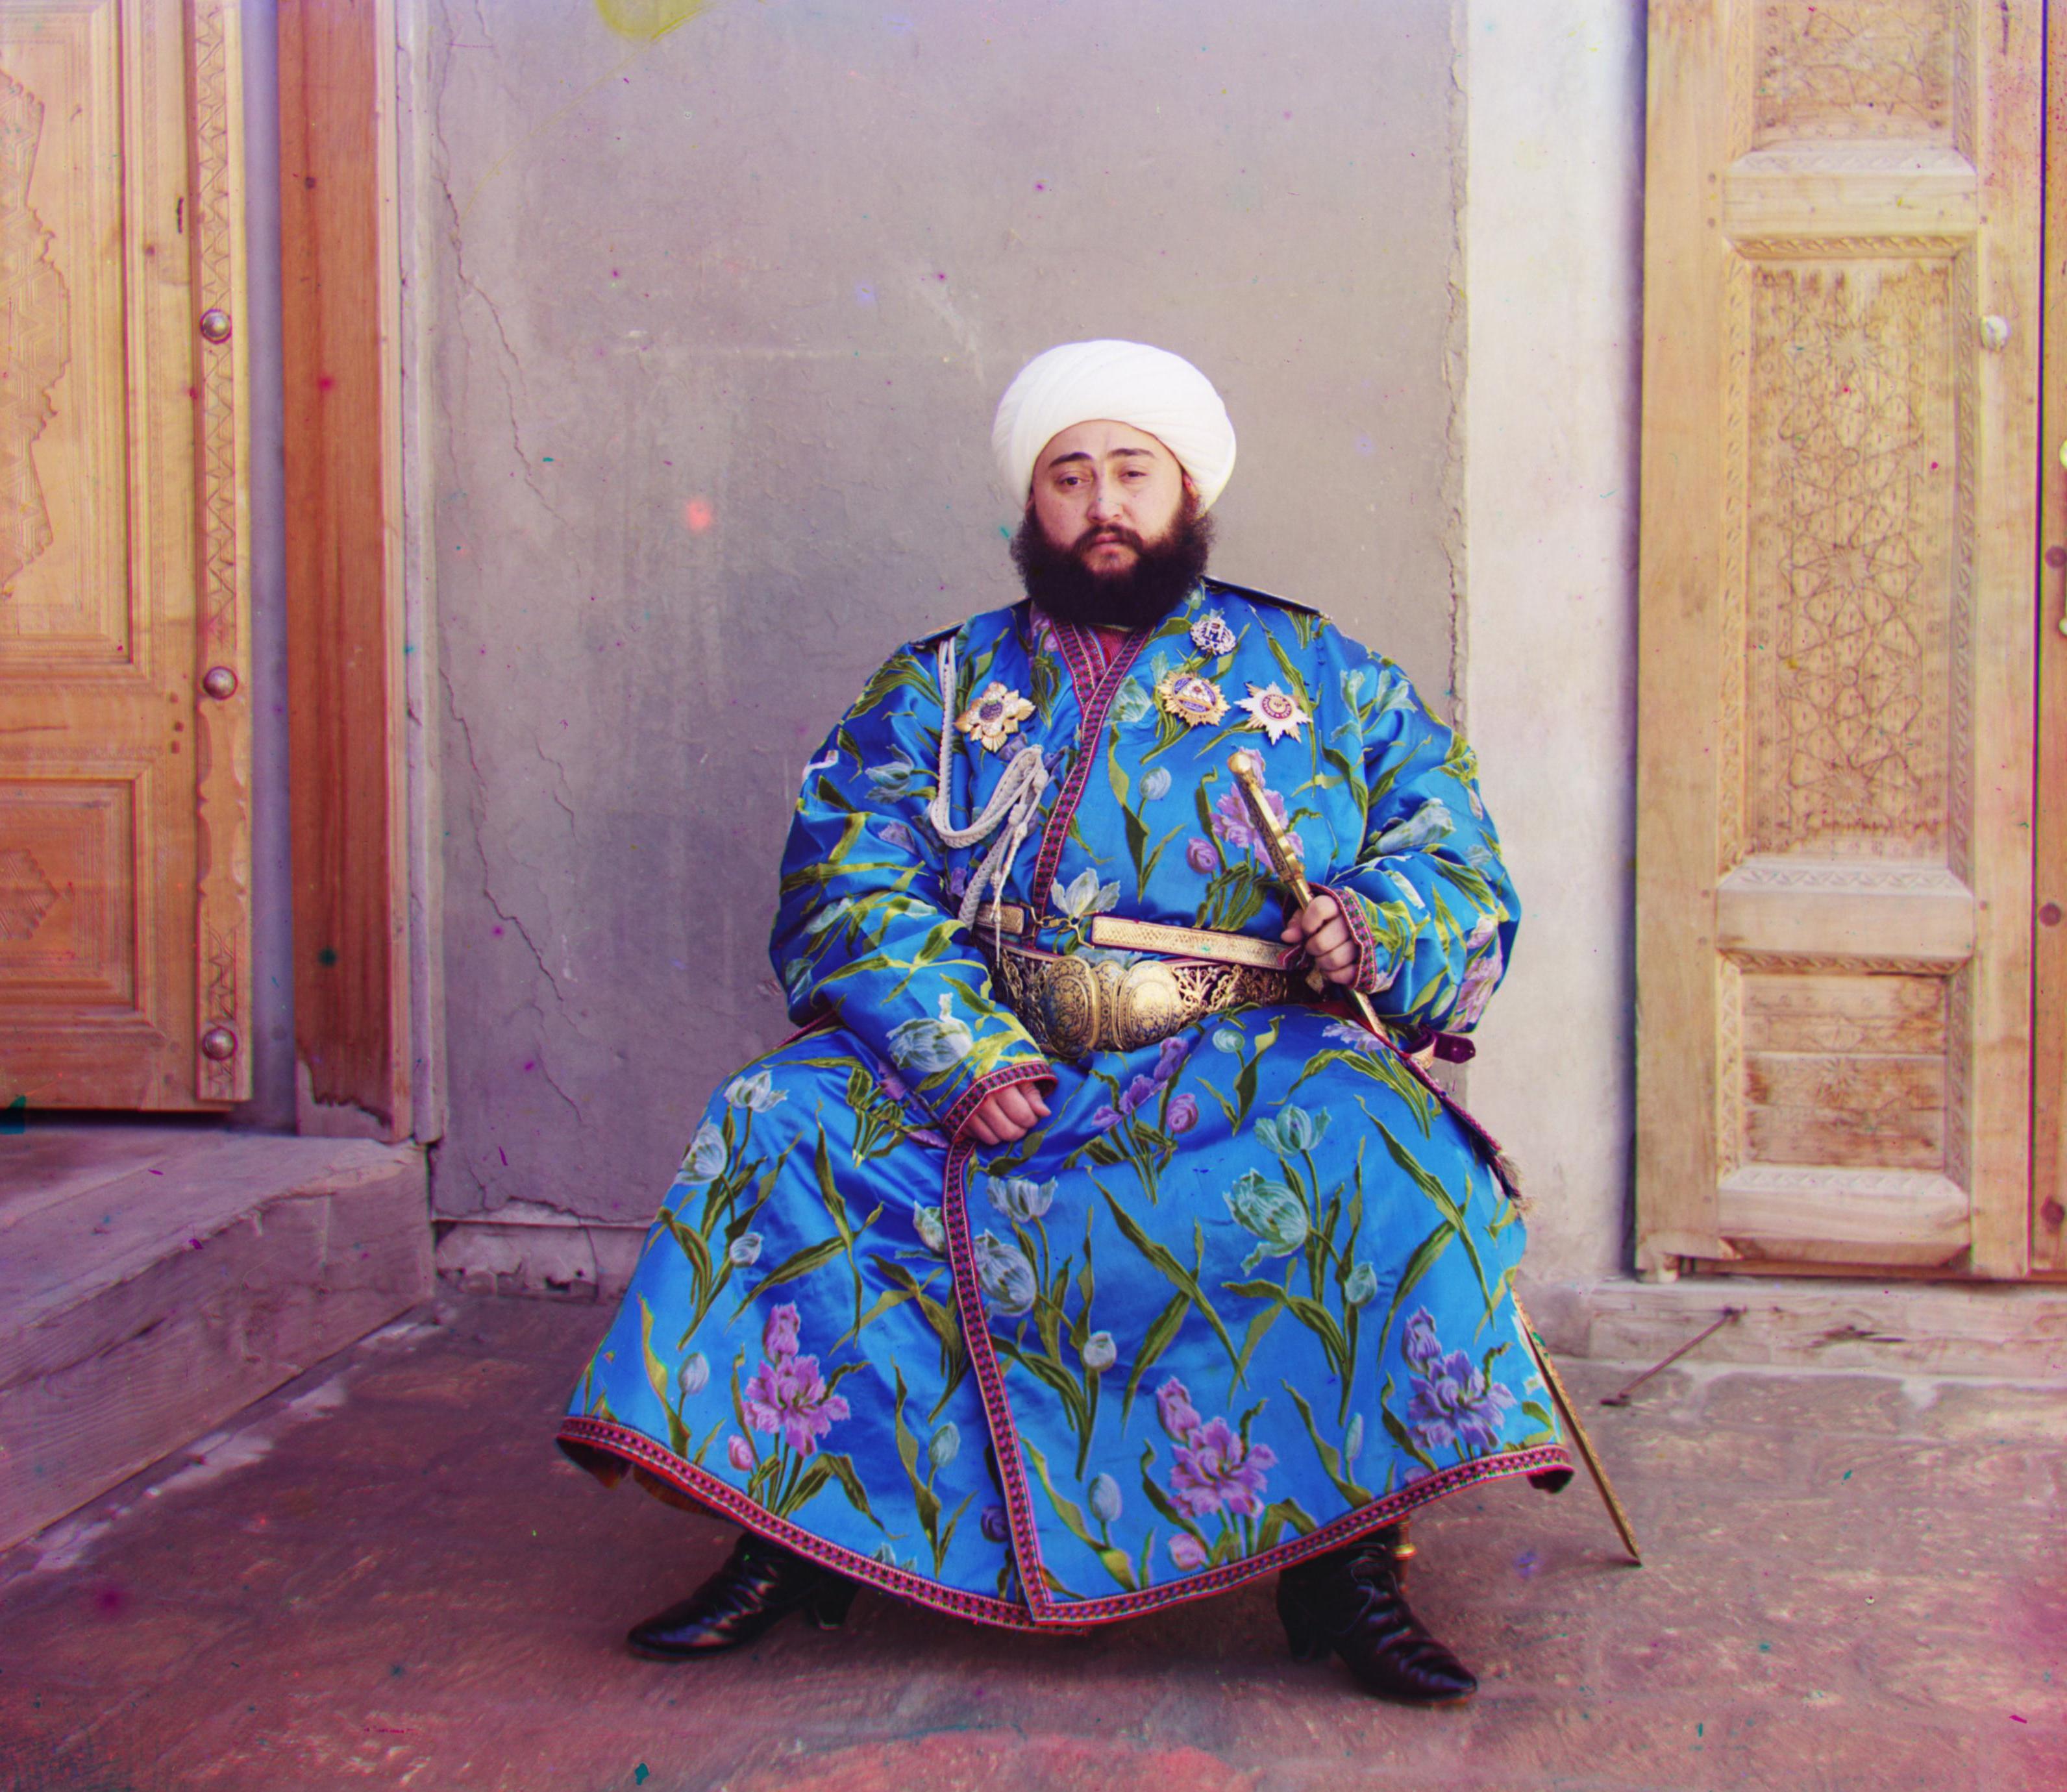
Without Auto White Balancing
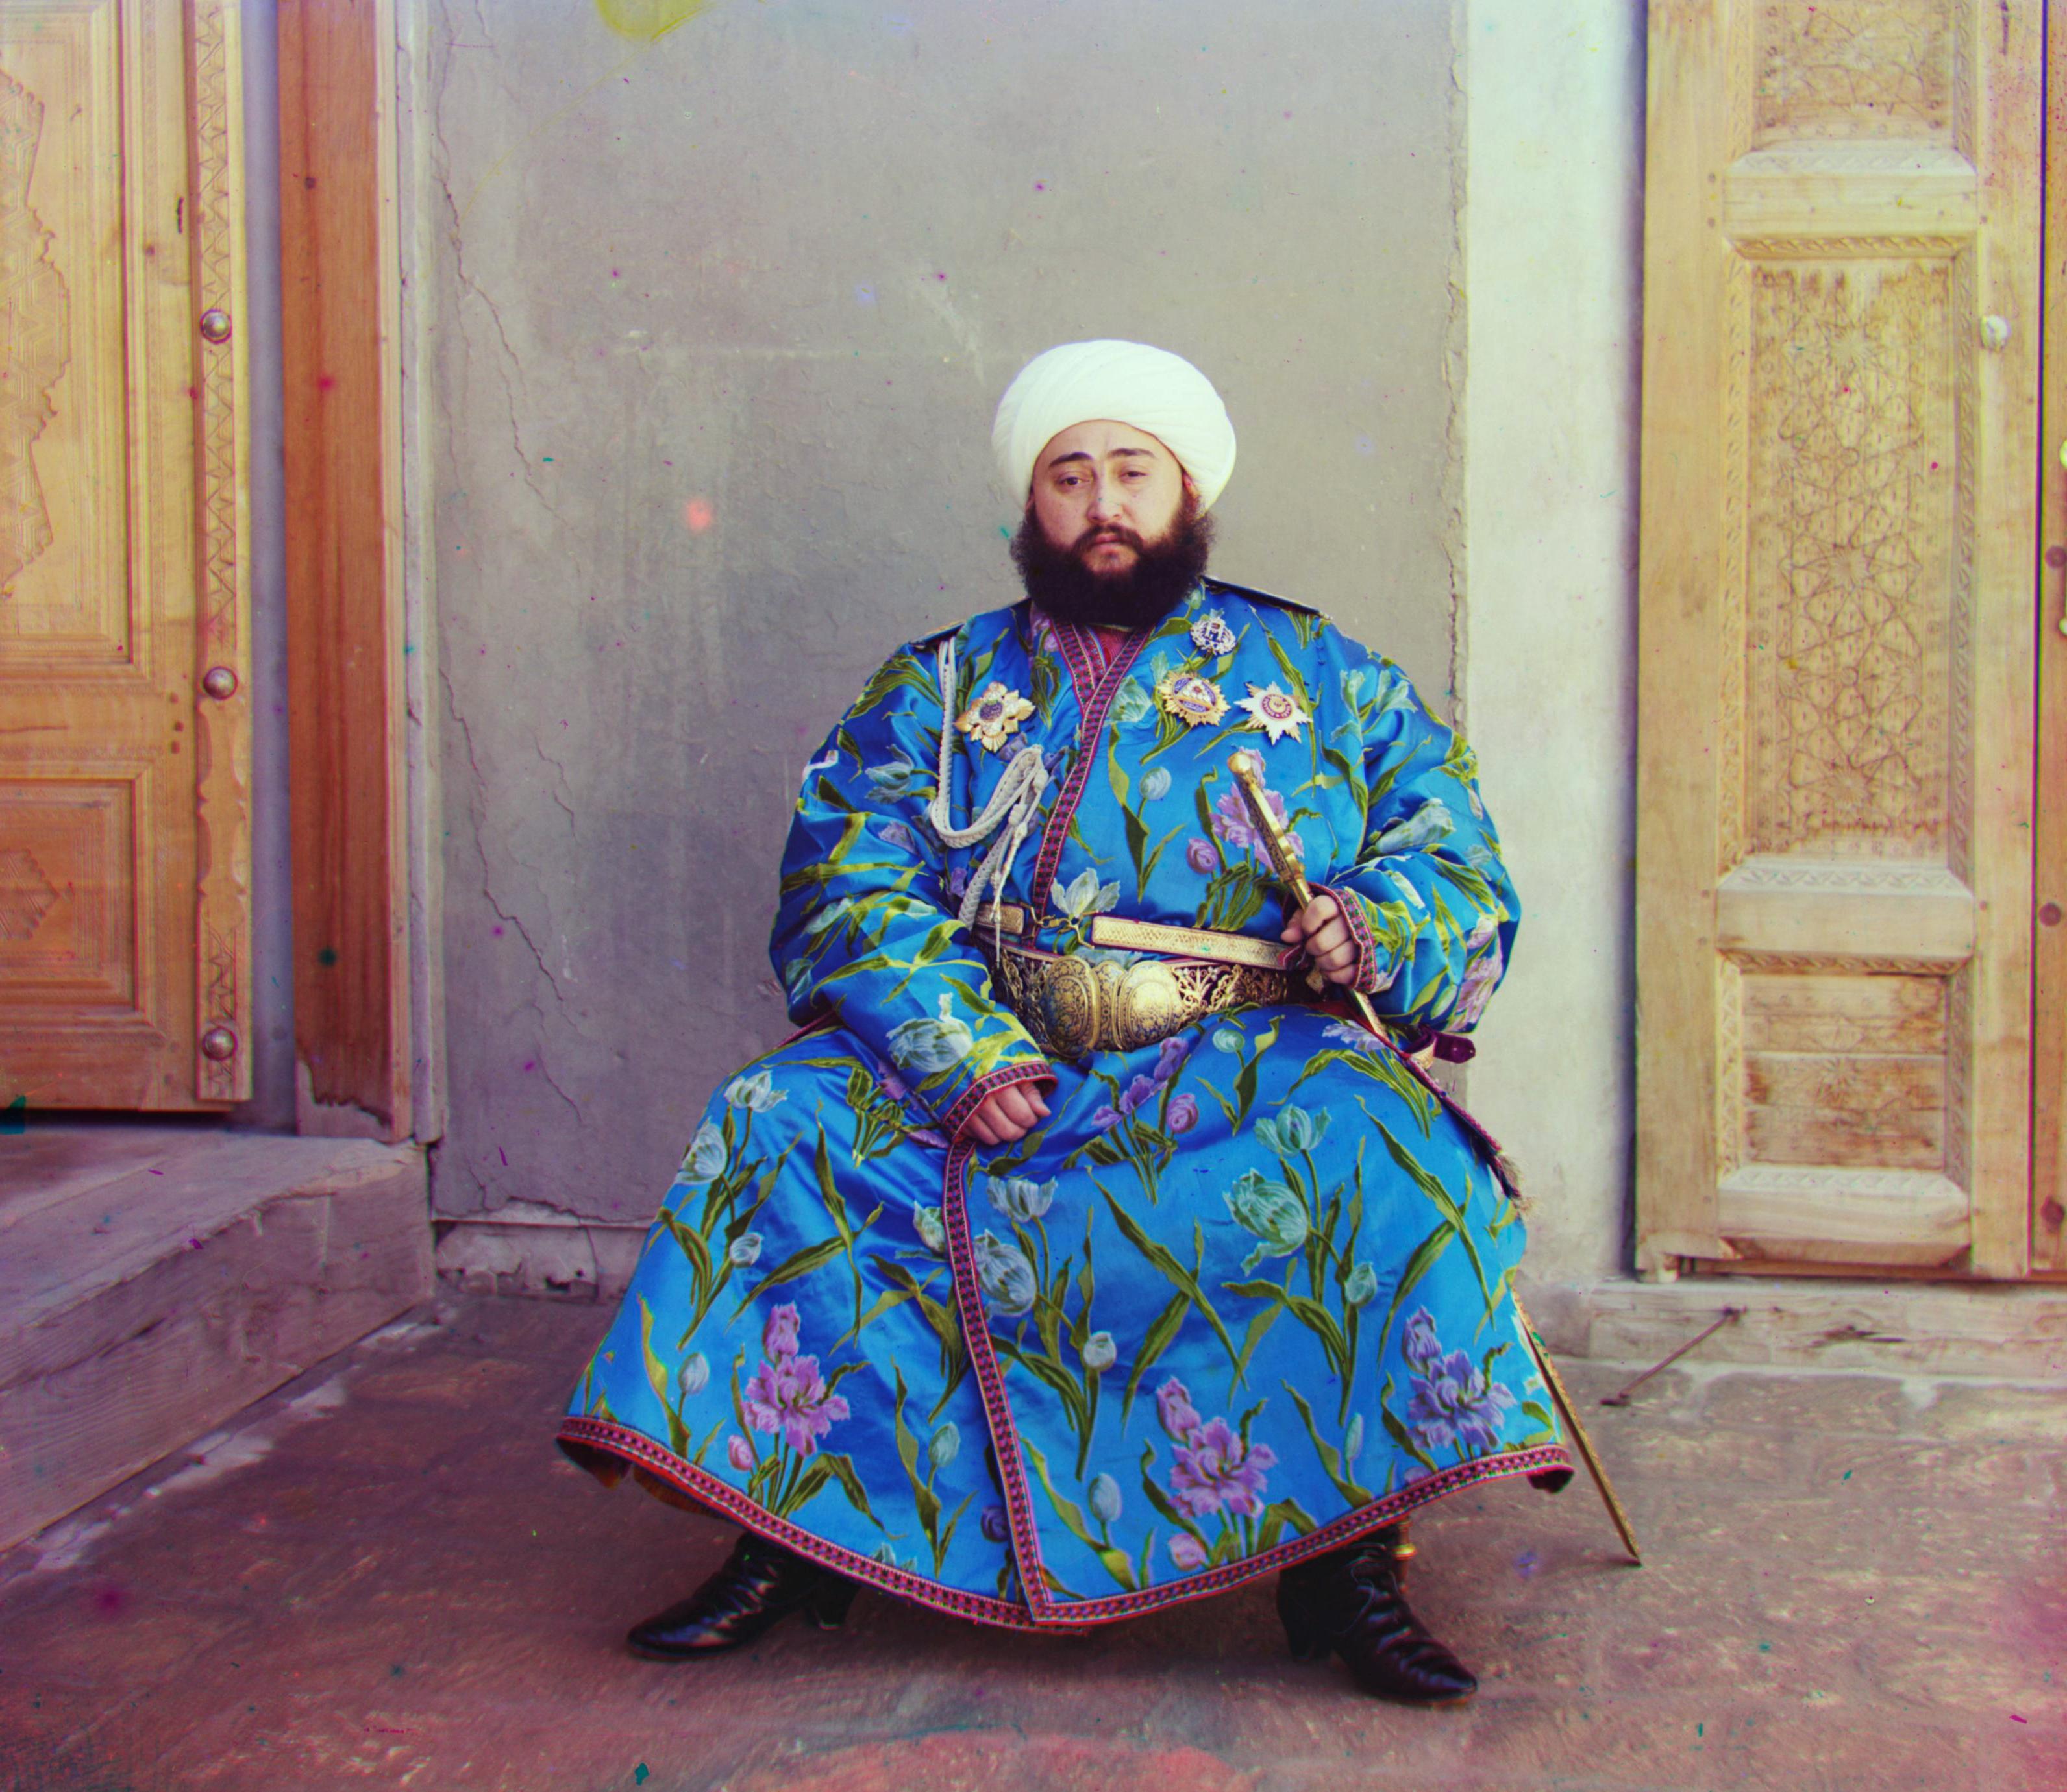
With Auto White Balancing, colors look better
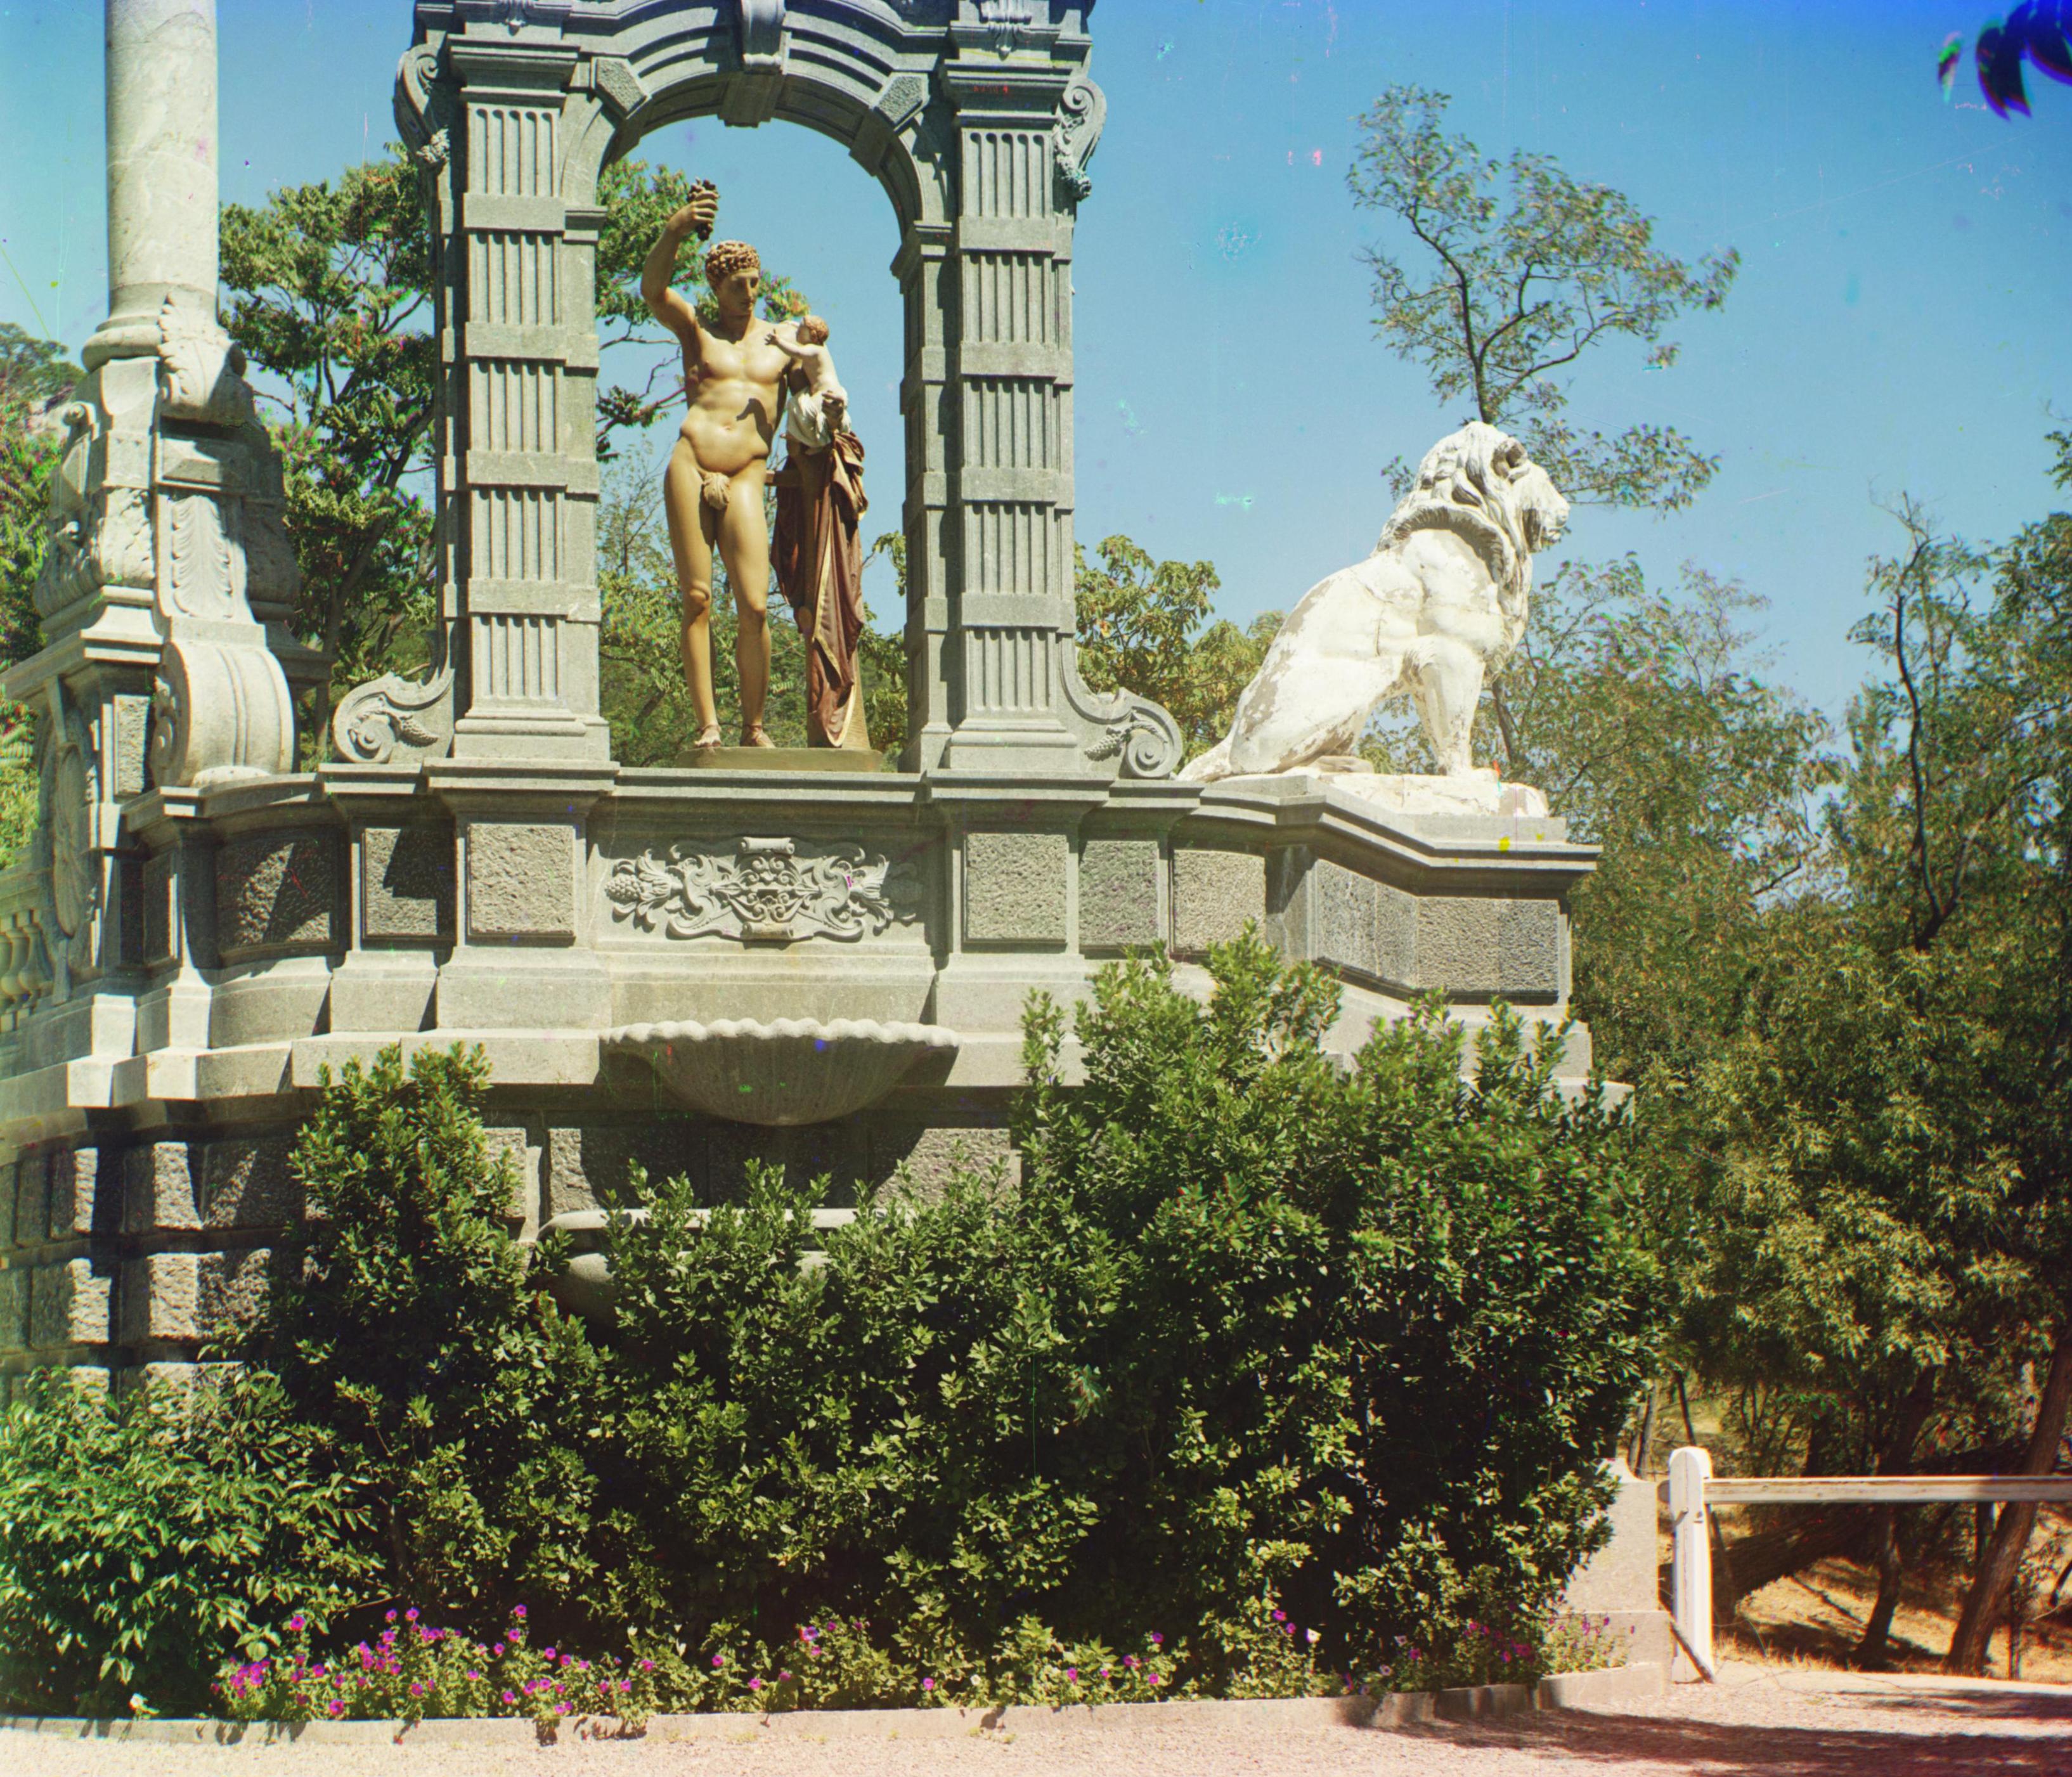
Without Auto White Balancing
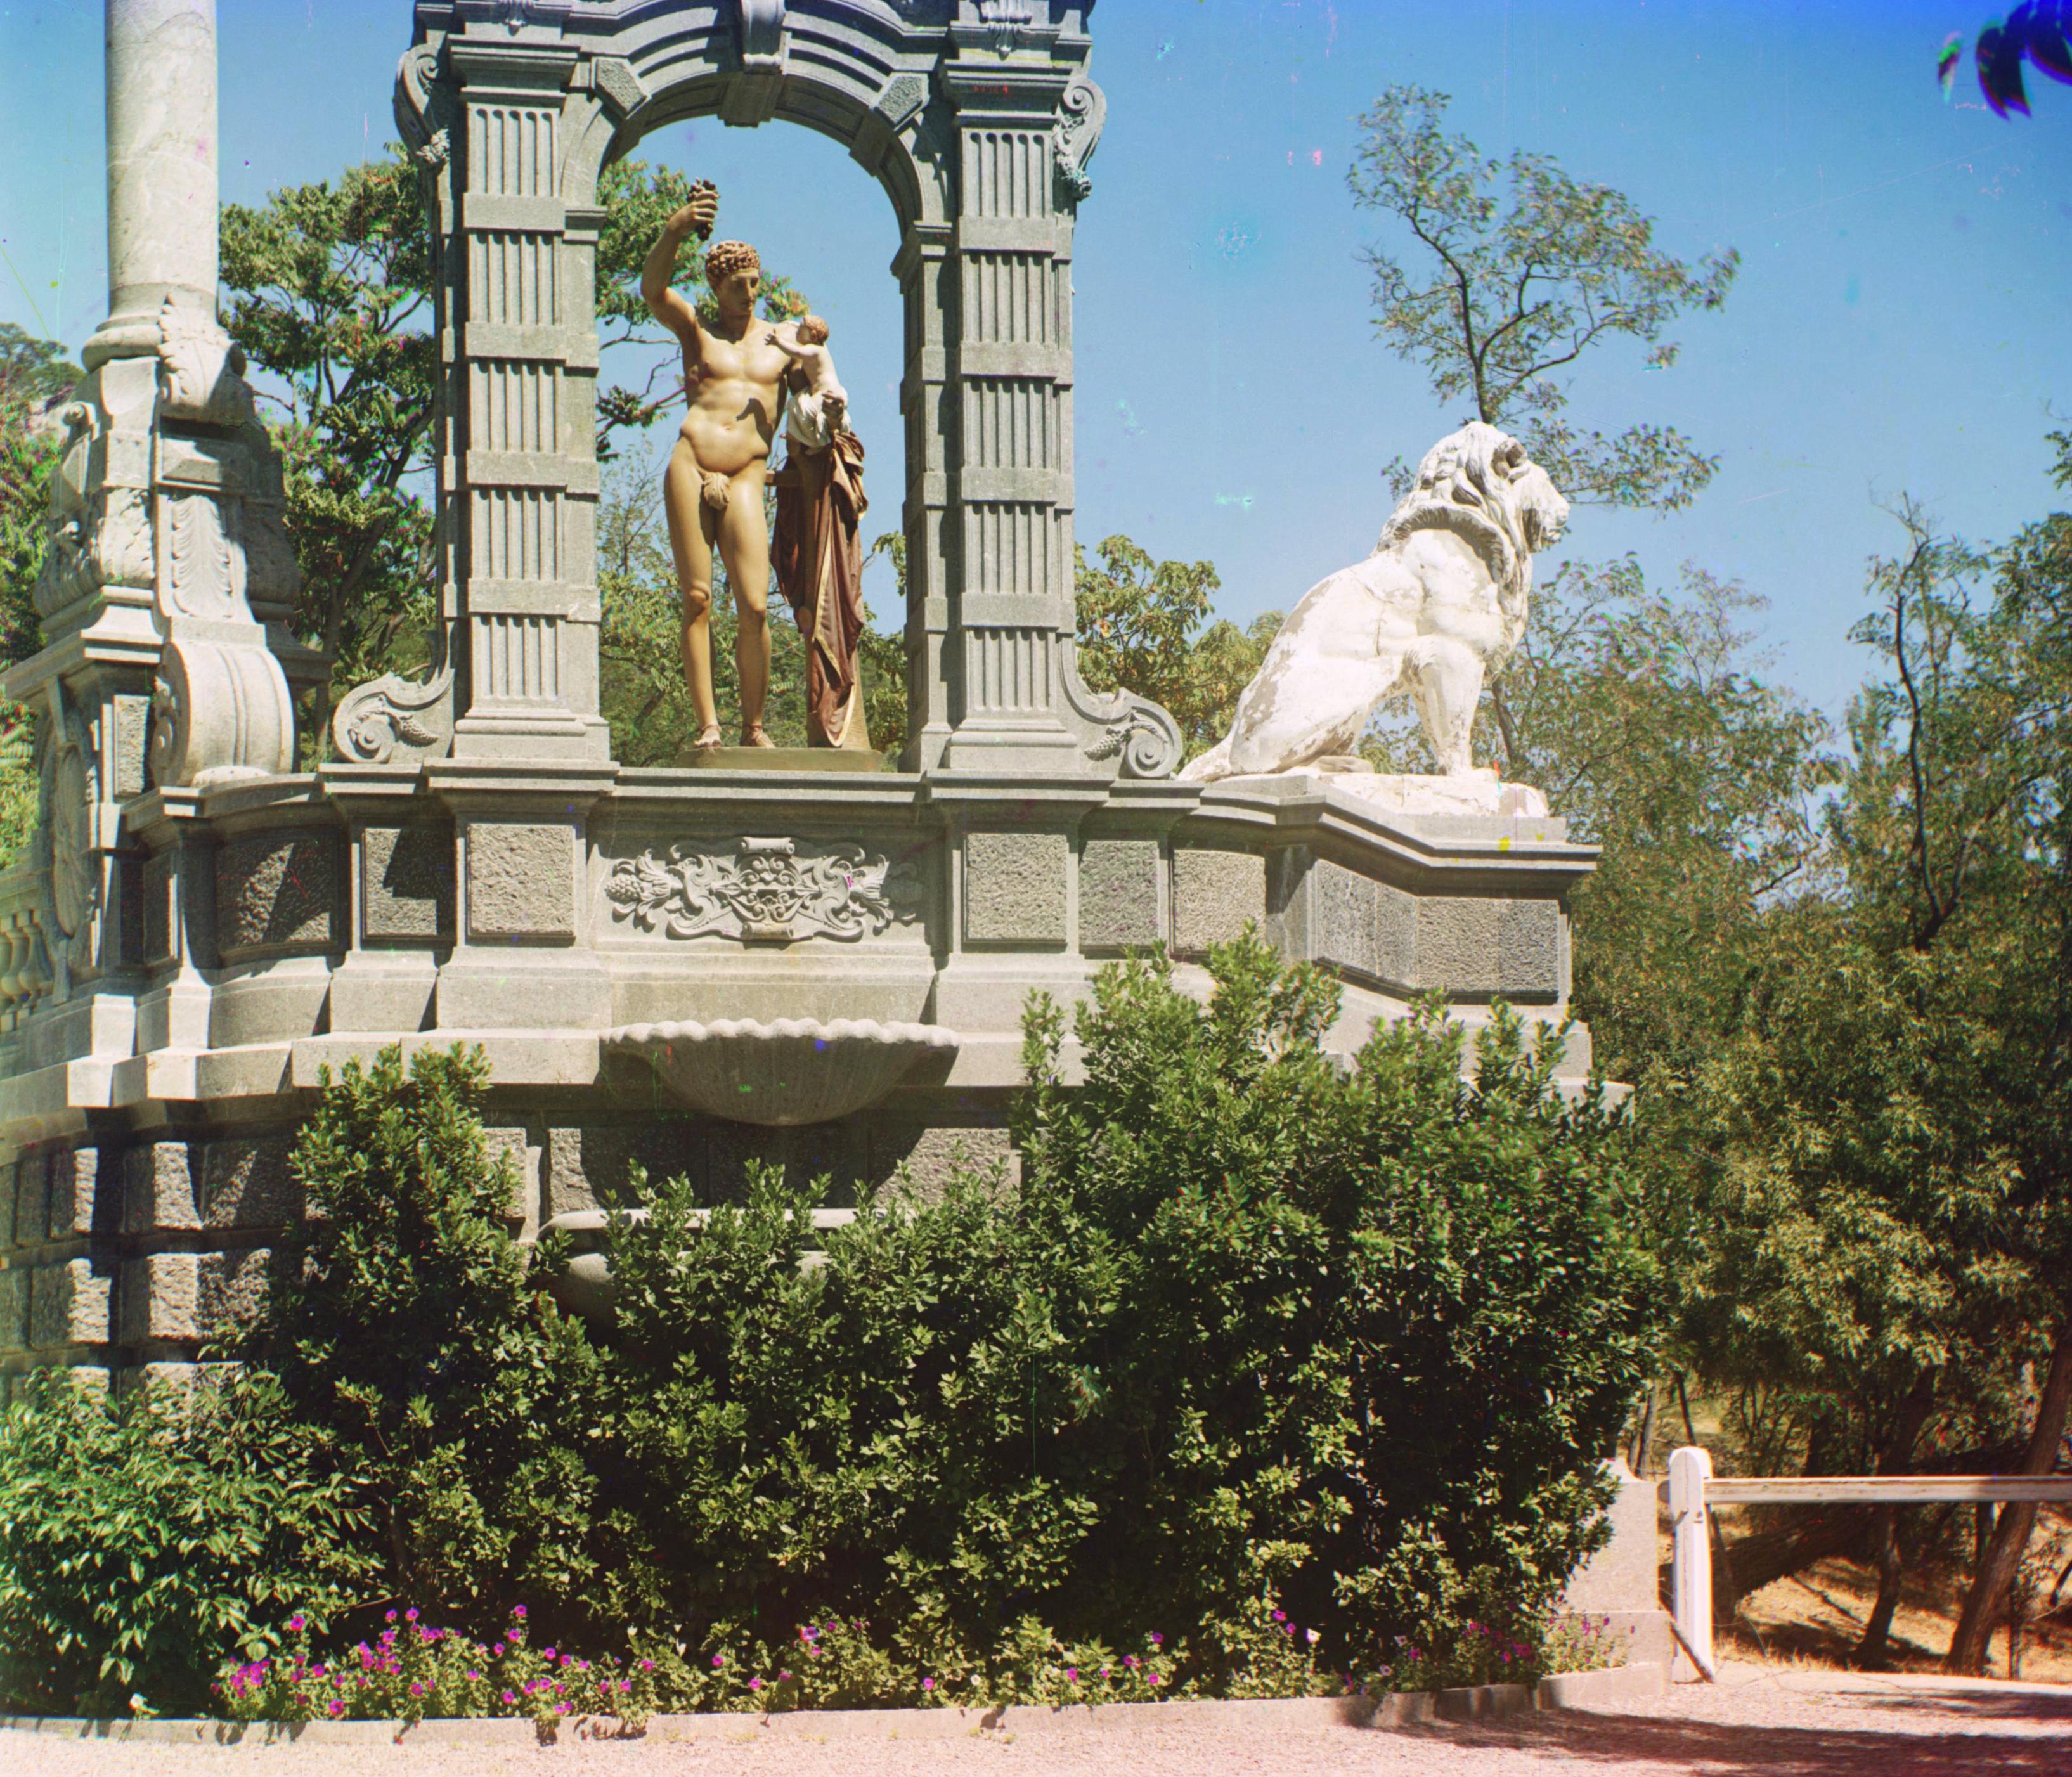
With Auto White Balancing, colors look better
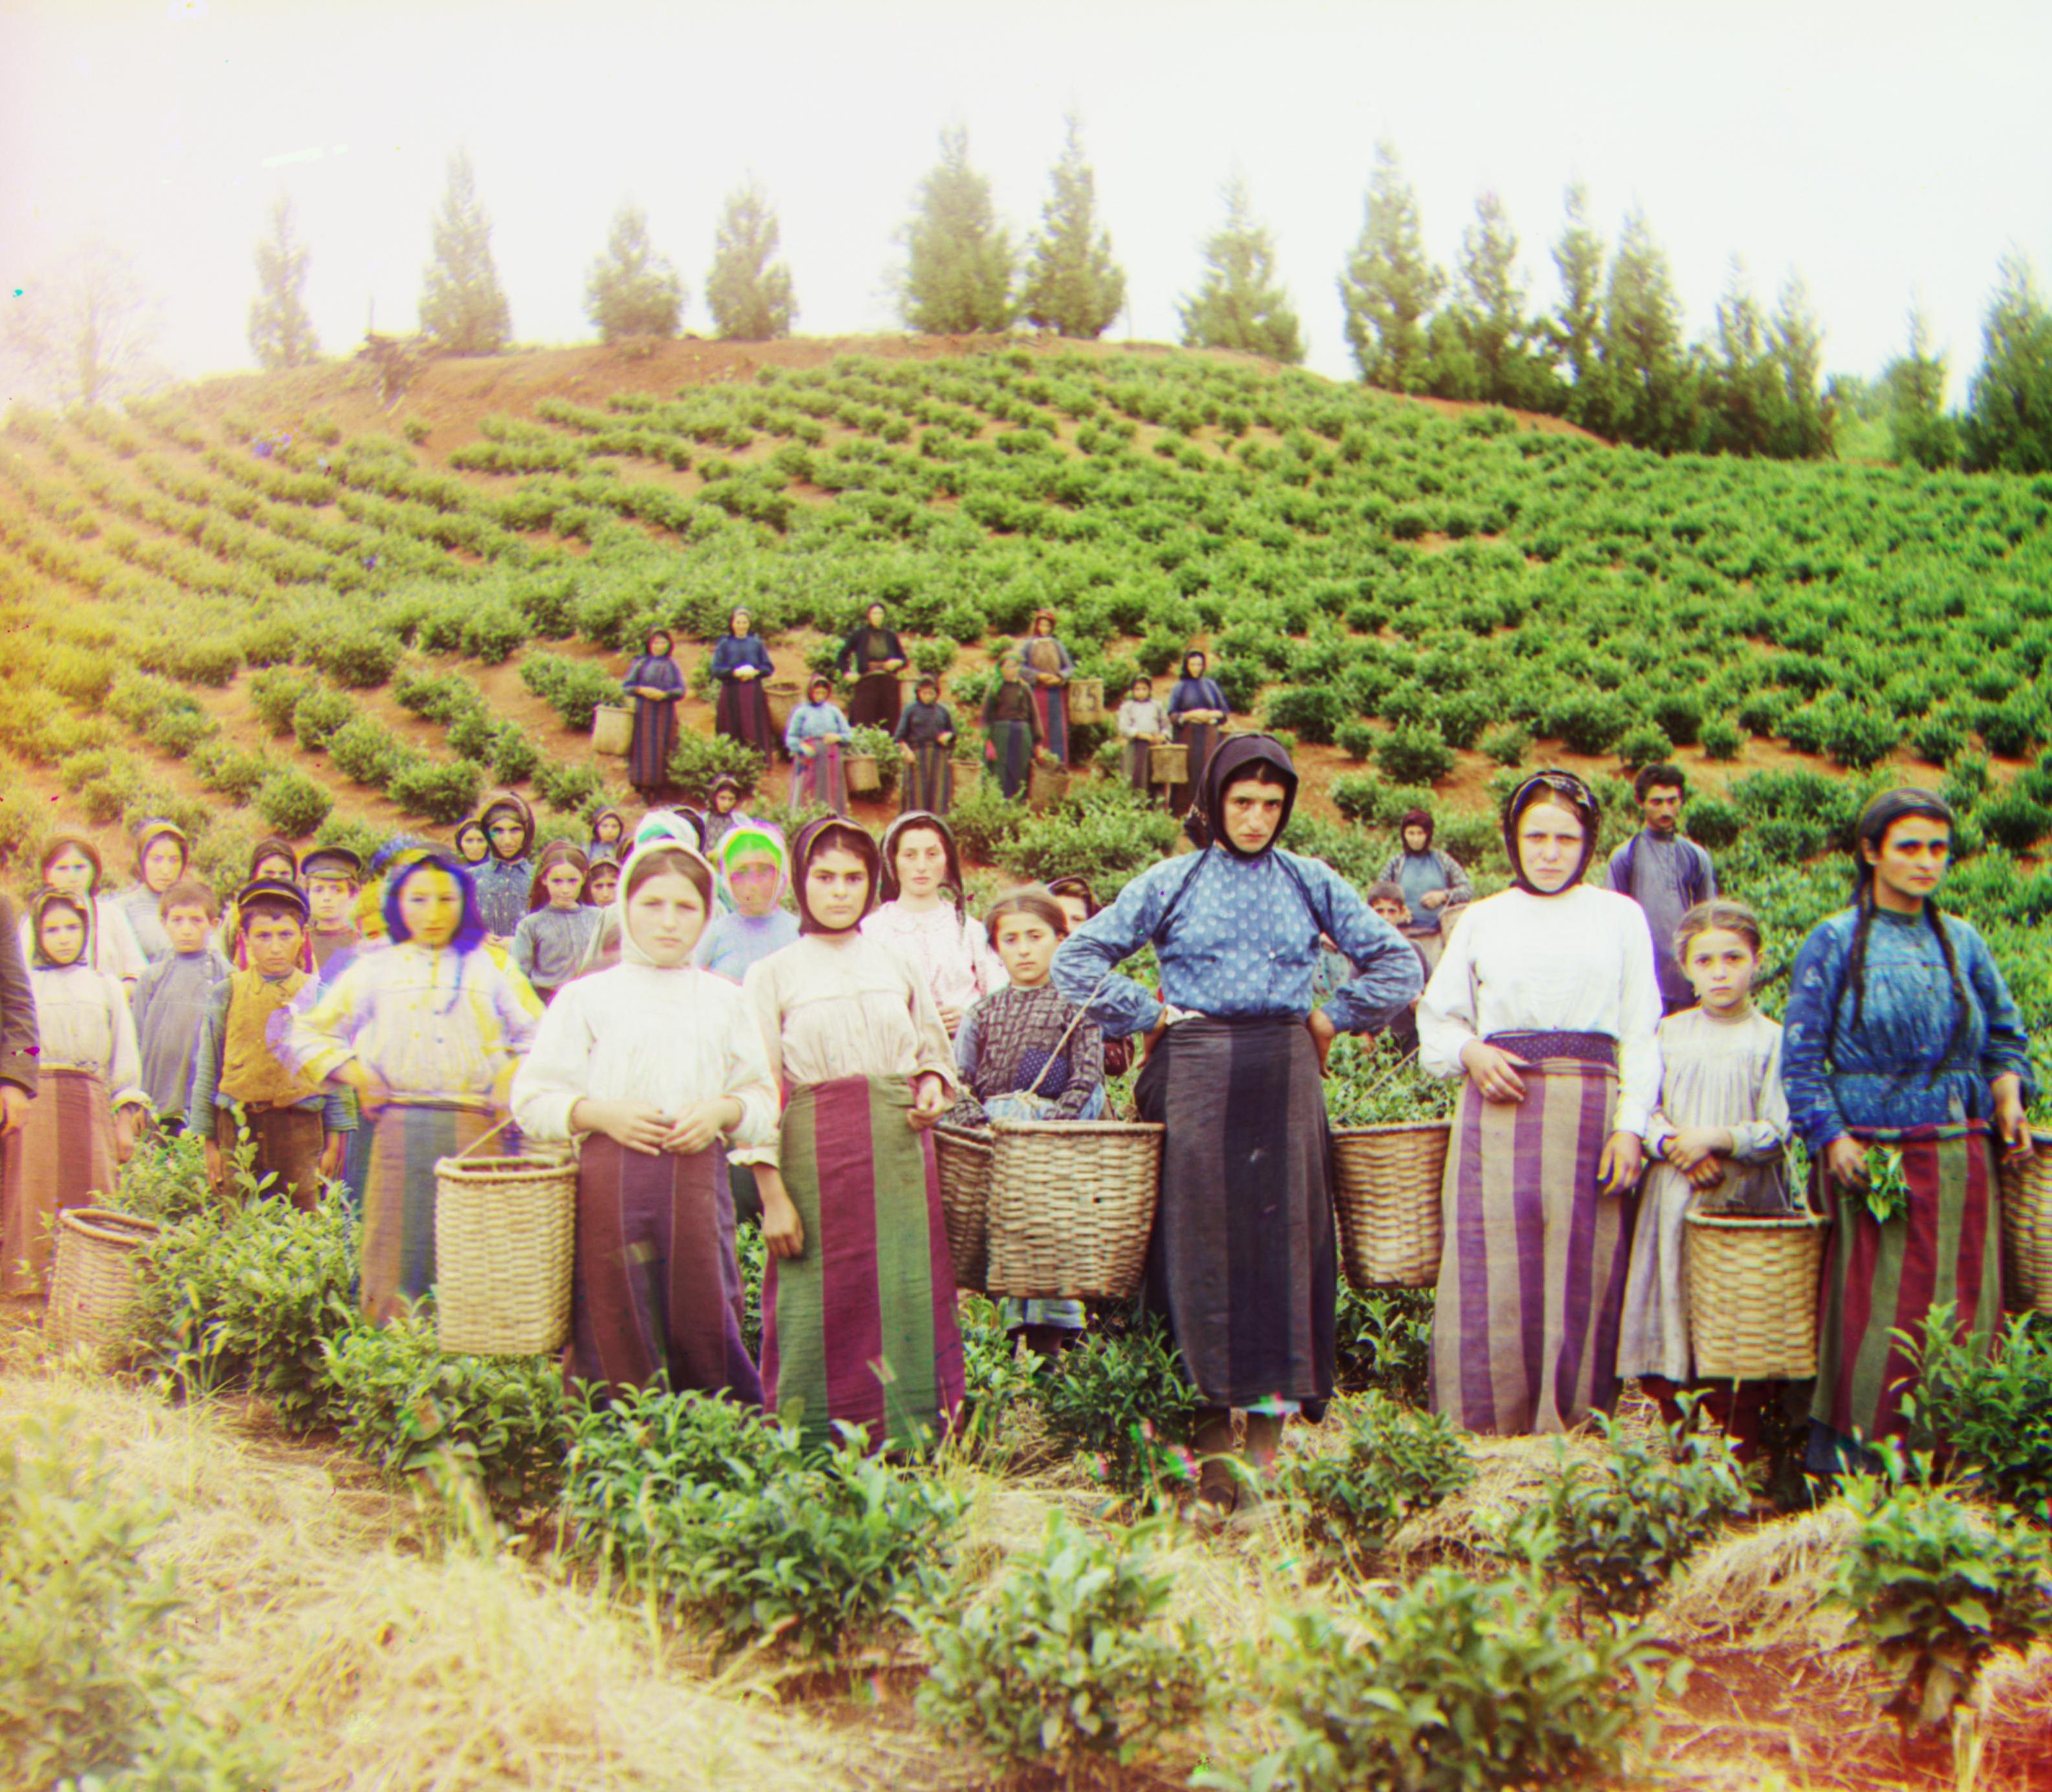
Without Auto White Balancing
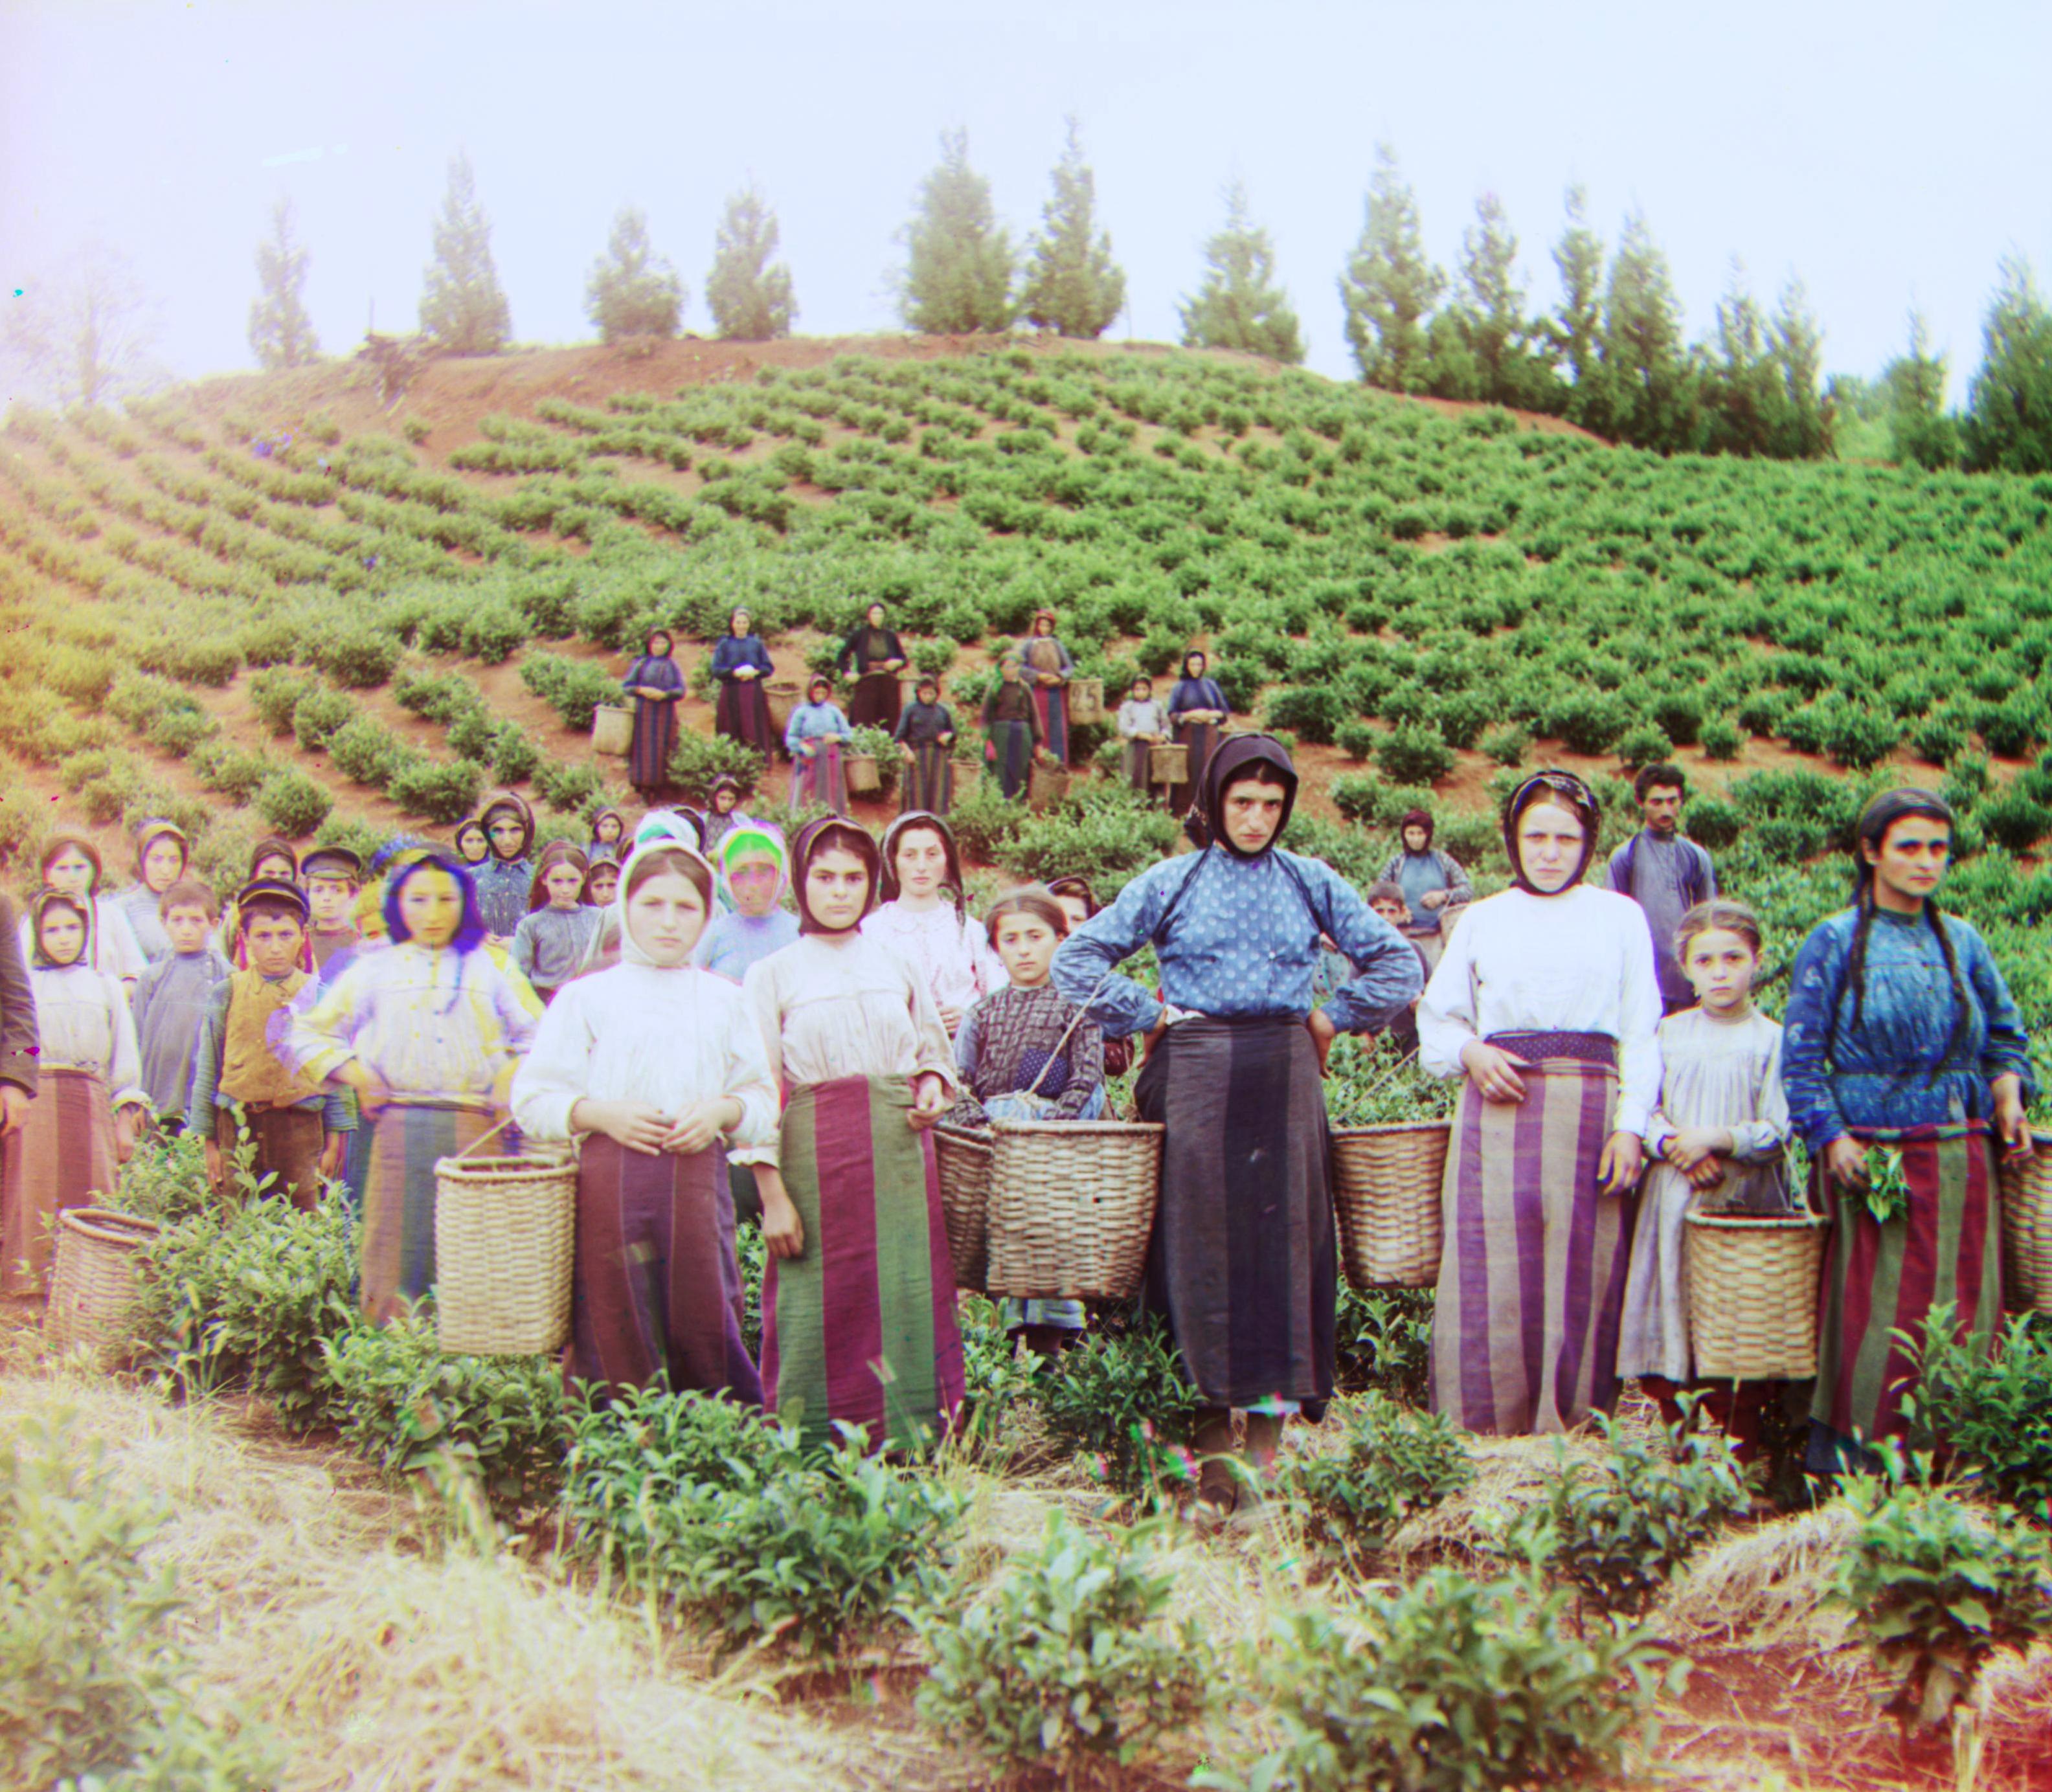
With Auto White Balancing, colors look better
Bells and Whistles -- Automatic Contrasting
After white balancing, the color looks a lot better. However, for some images it seems a little bit too "bright". I have tried to finetune the brightness, but it did not work.
Instead, I implemented automatic contrasting to finetune the contrast of images, so that the color looks more vivid. The way I implemented automatic contrasting is by using the
cv2 equliaze histogram function. It helps to spread the pixel values better on the range.
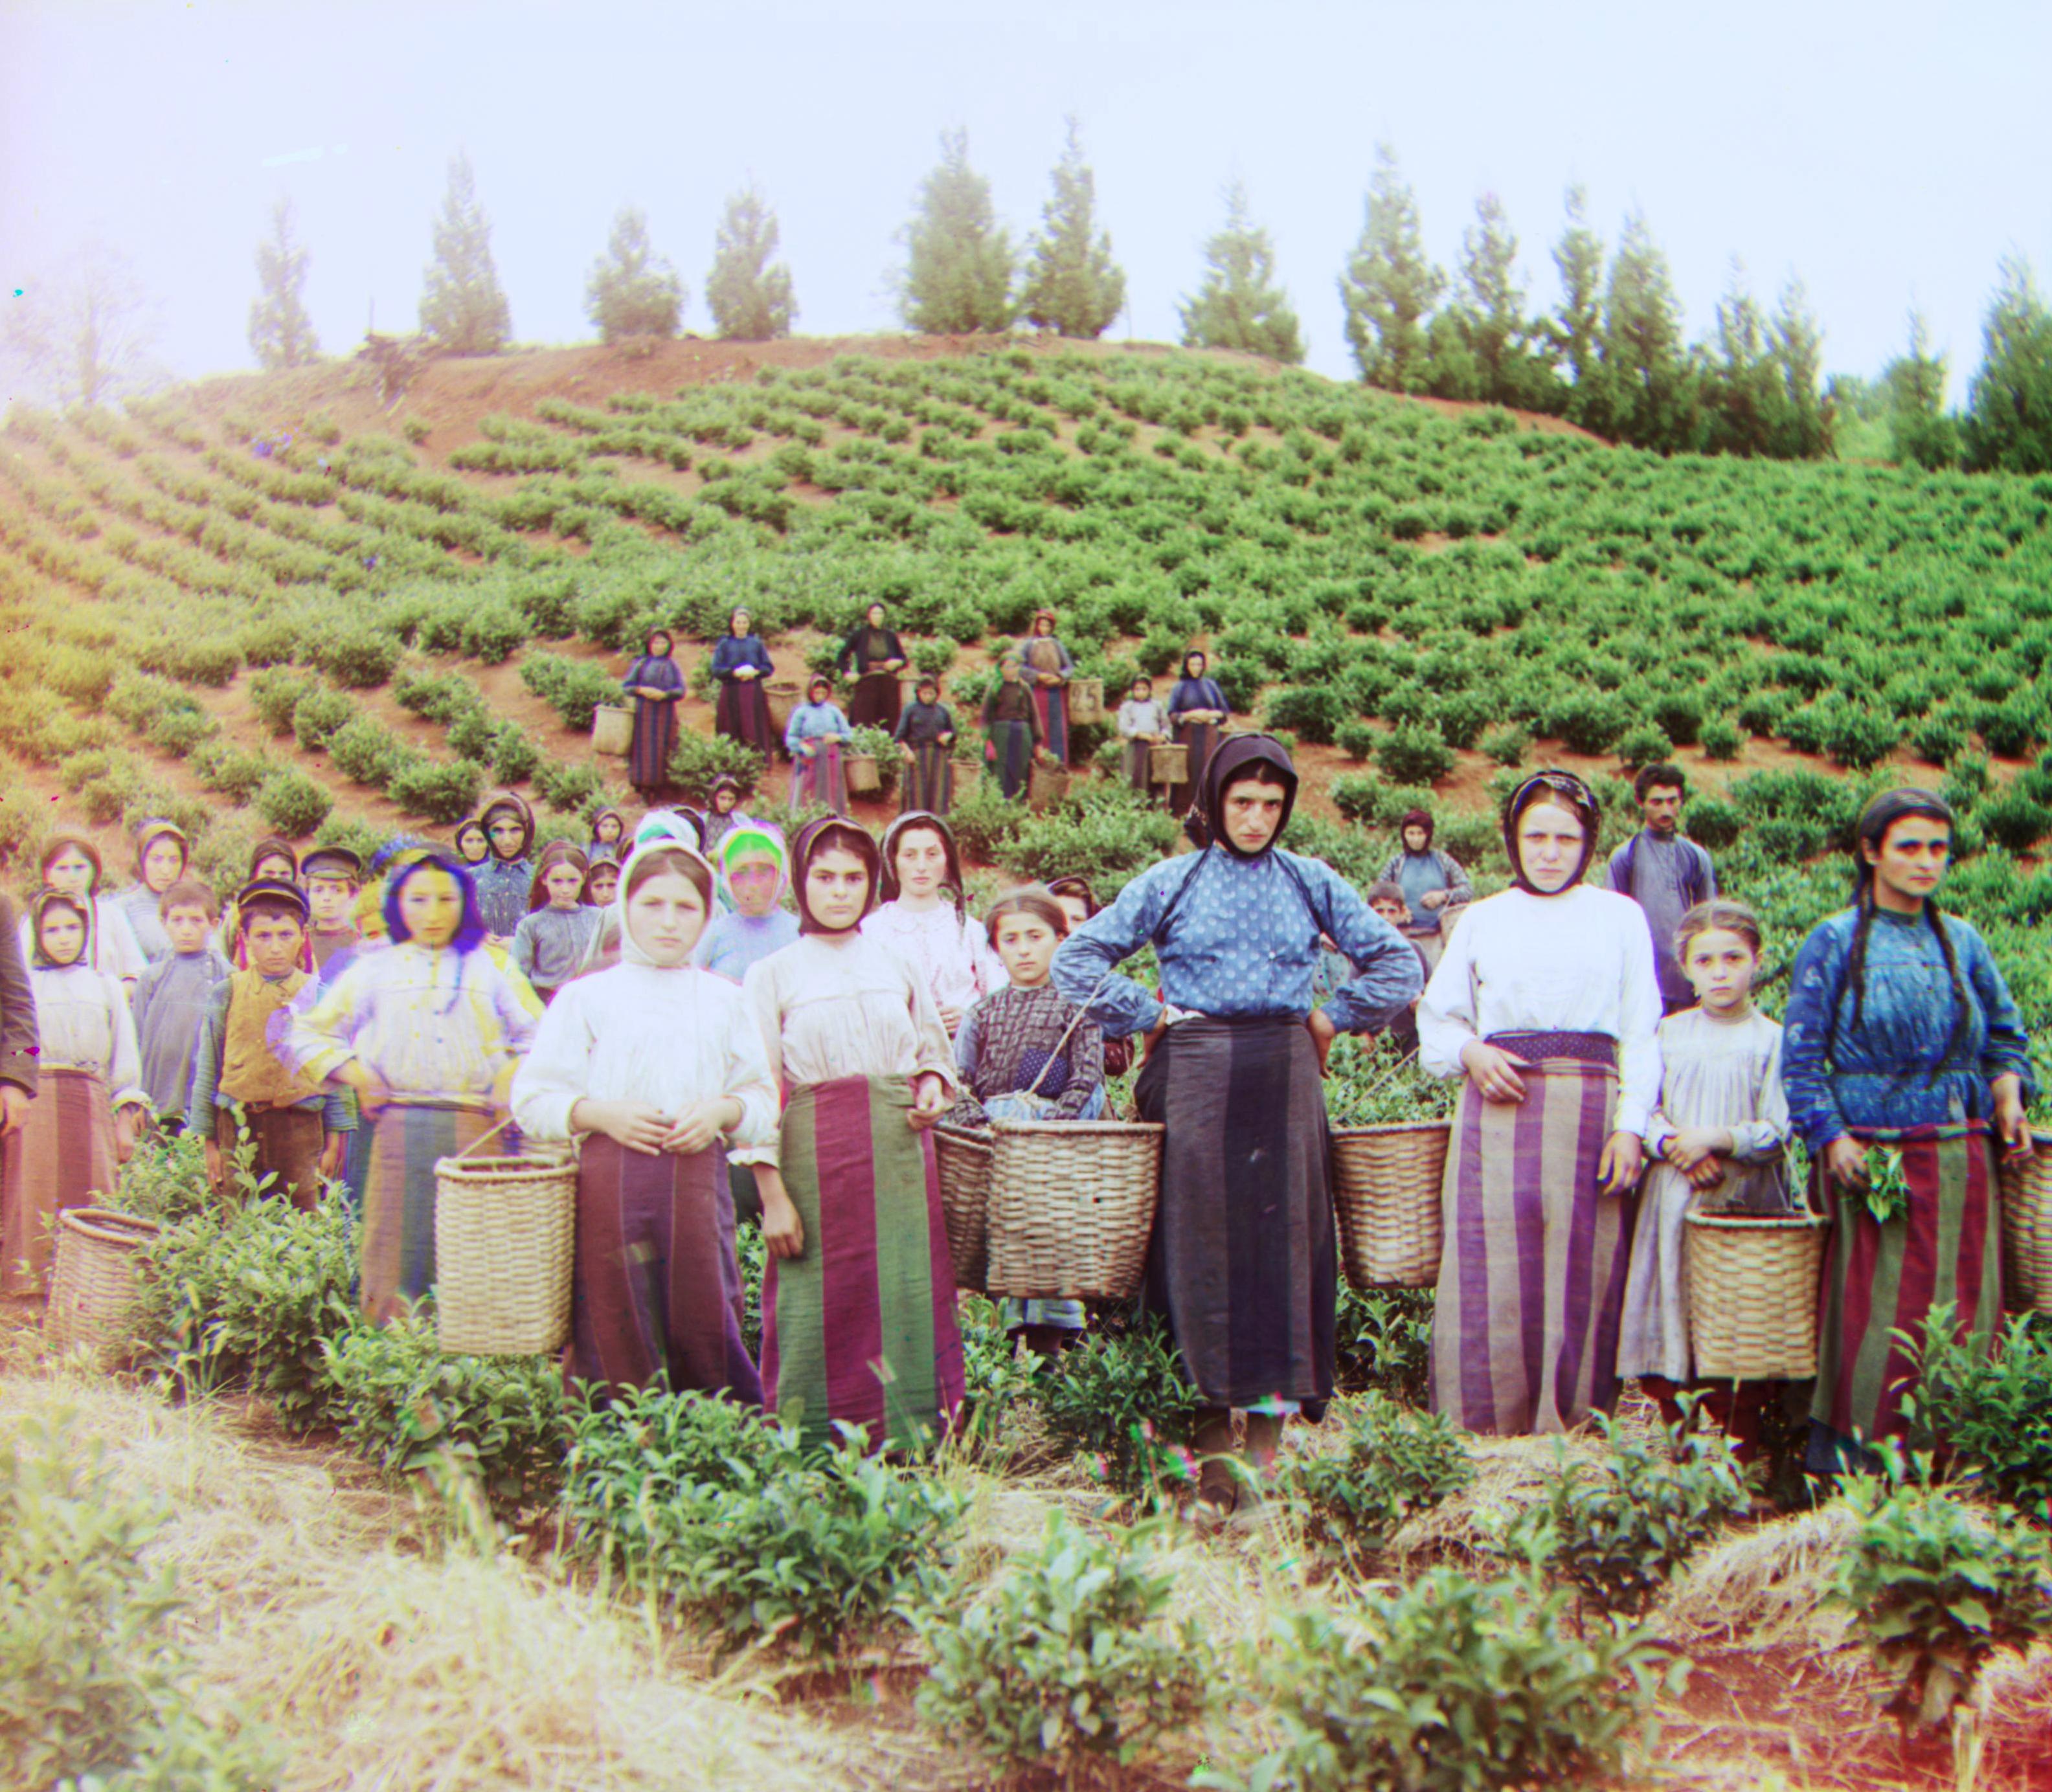
Without automatic contrasting
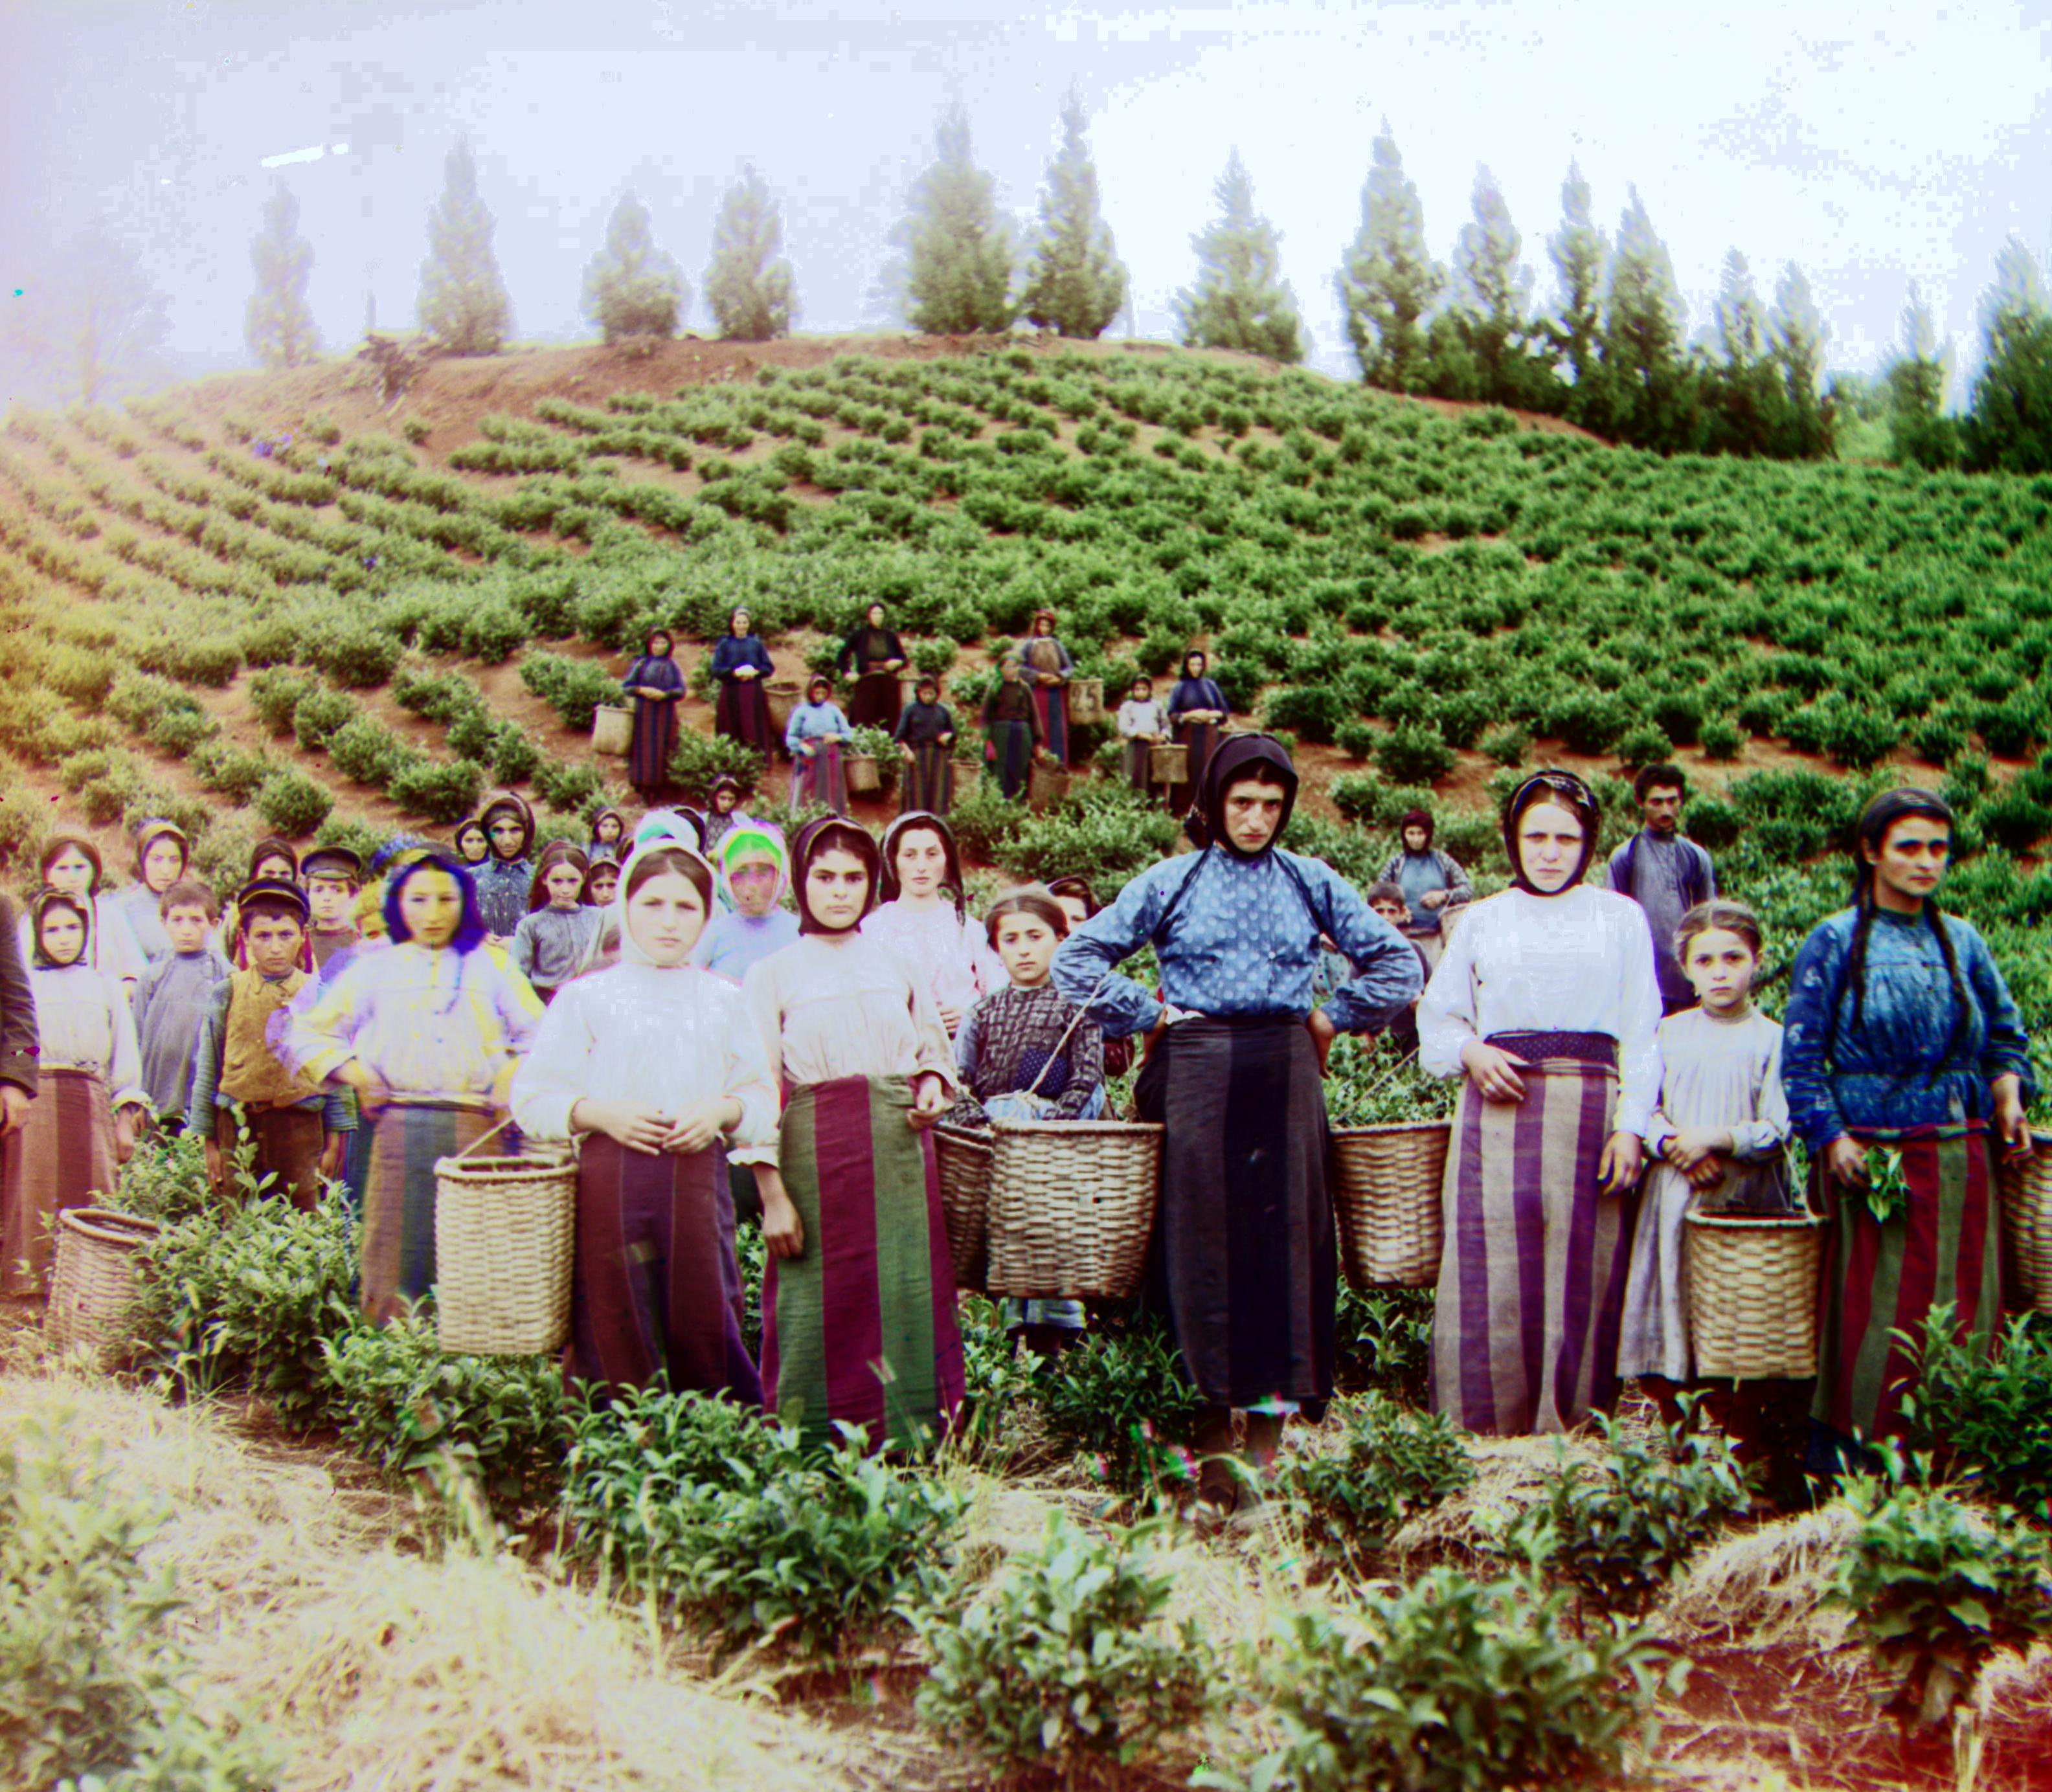
With automatic contrasting
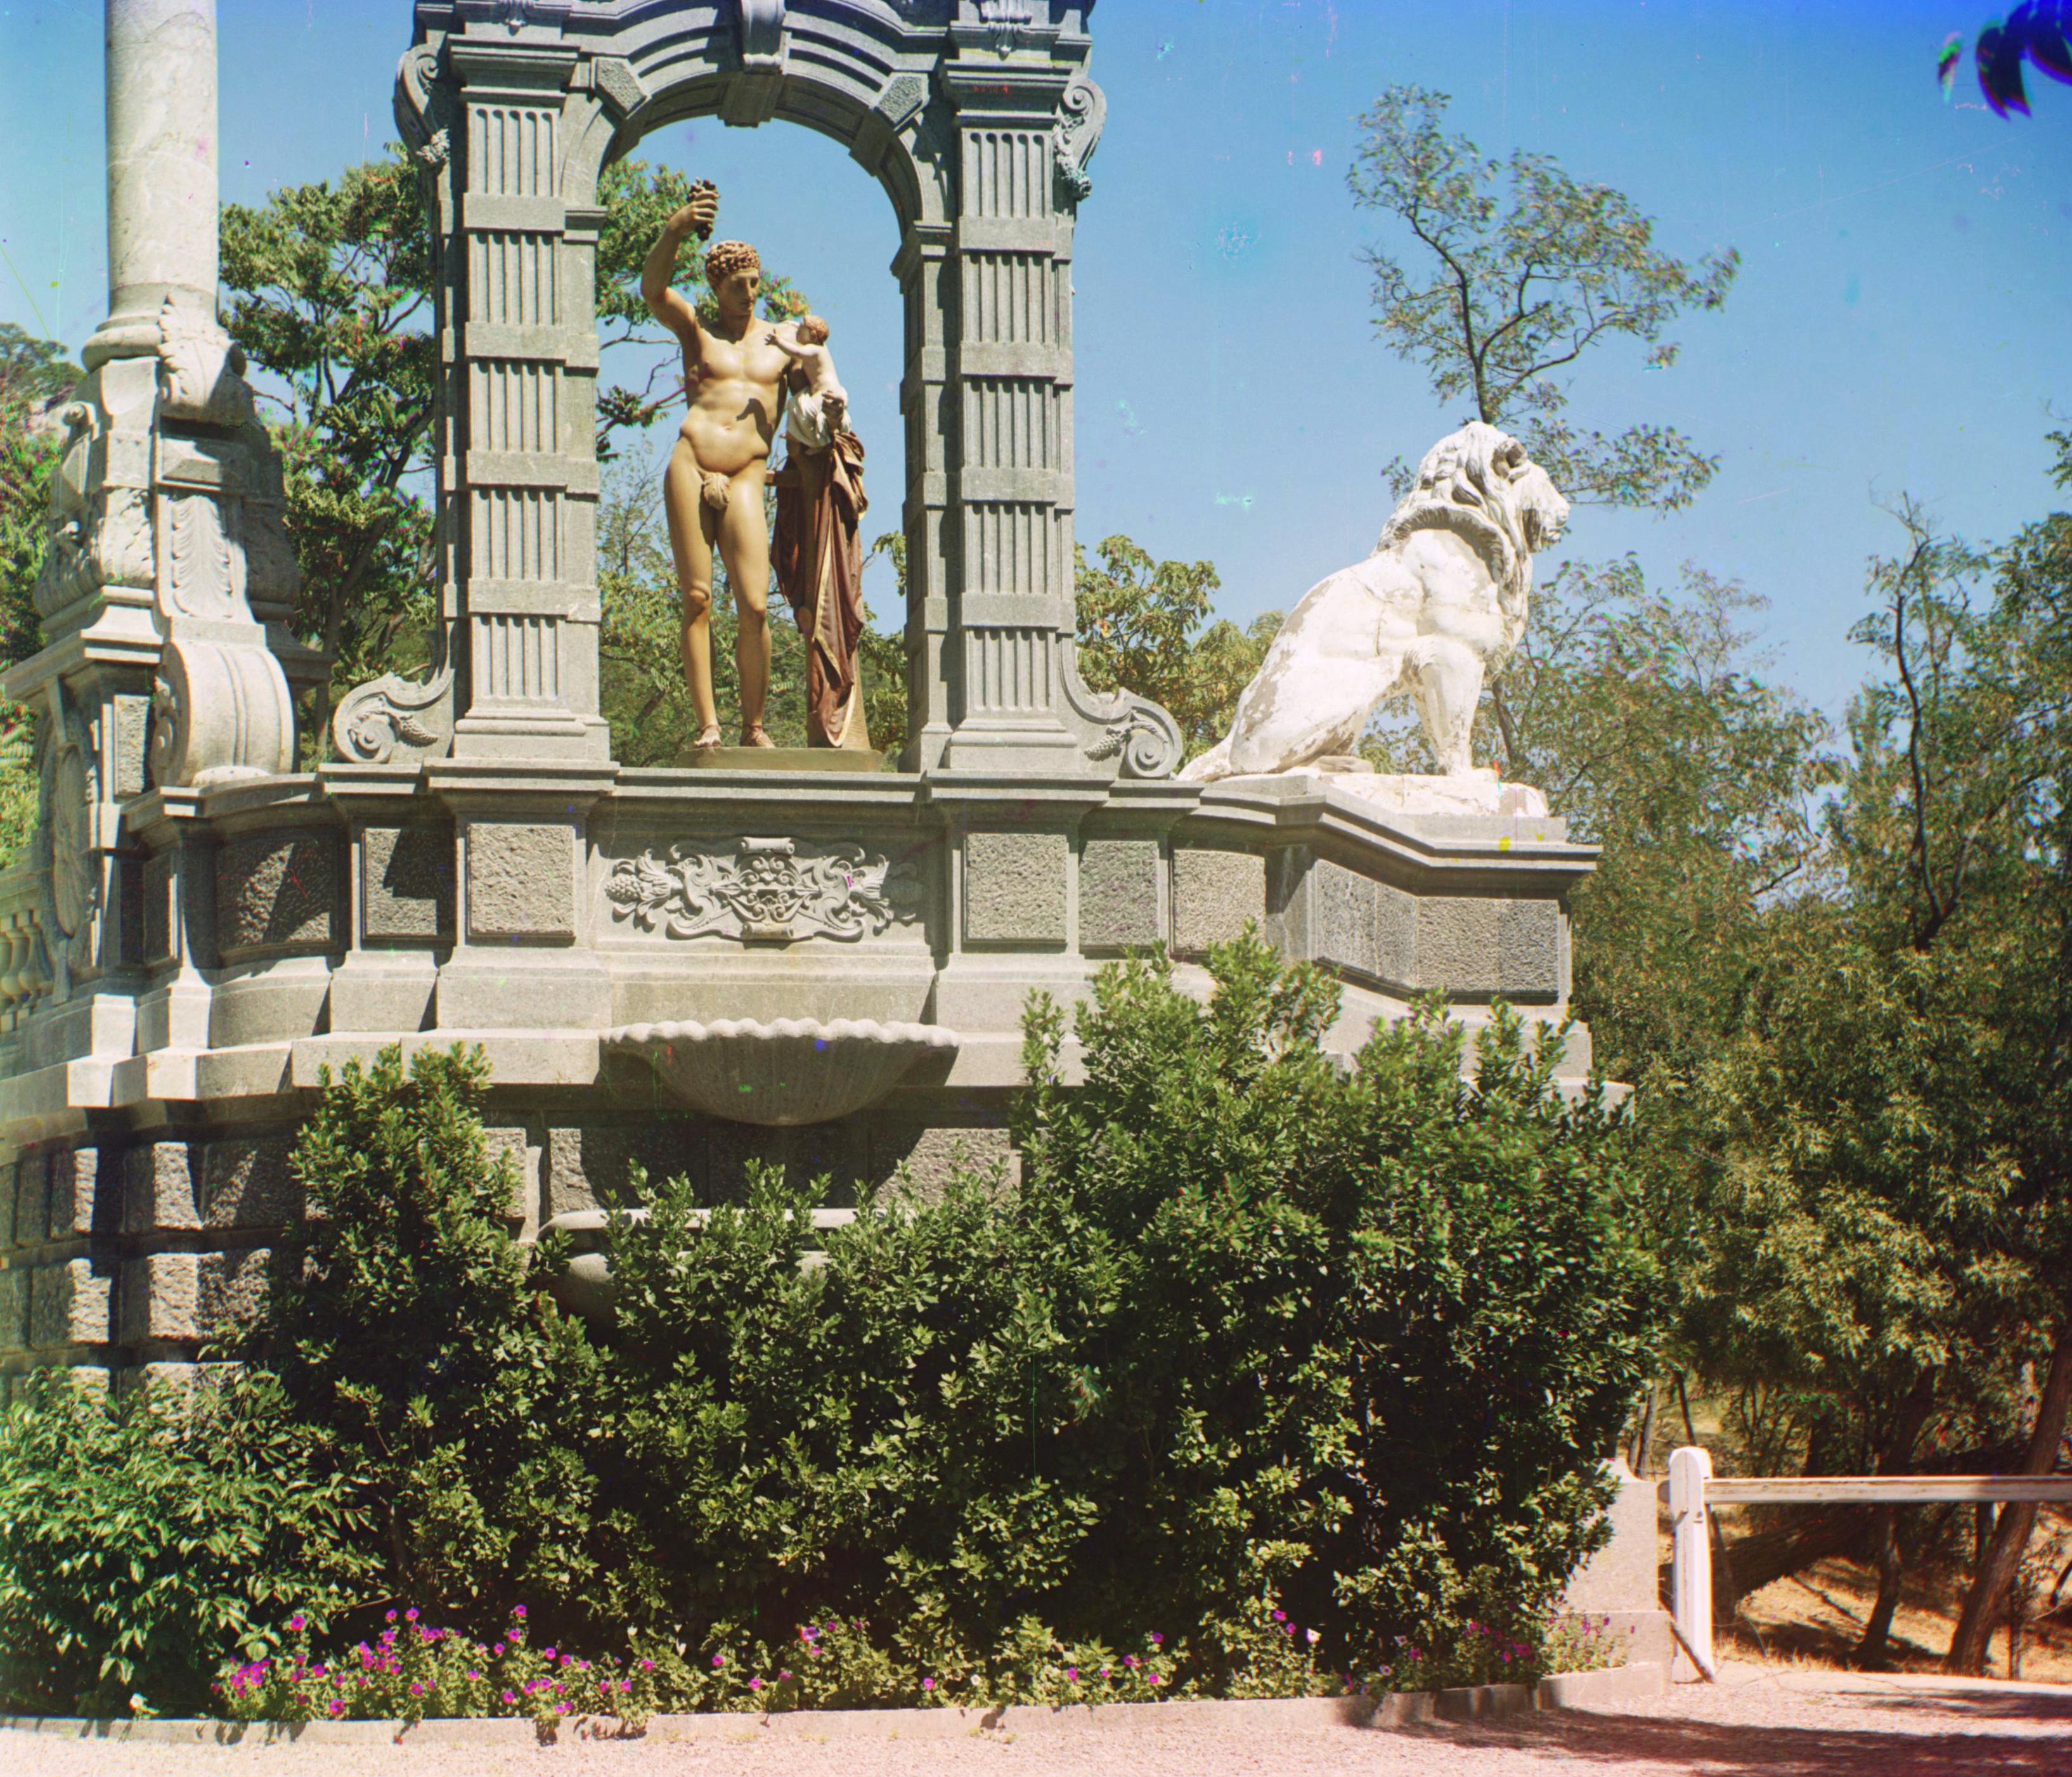
Without automatic contrasting
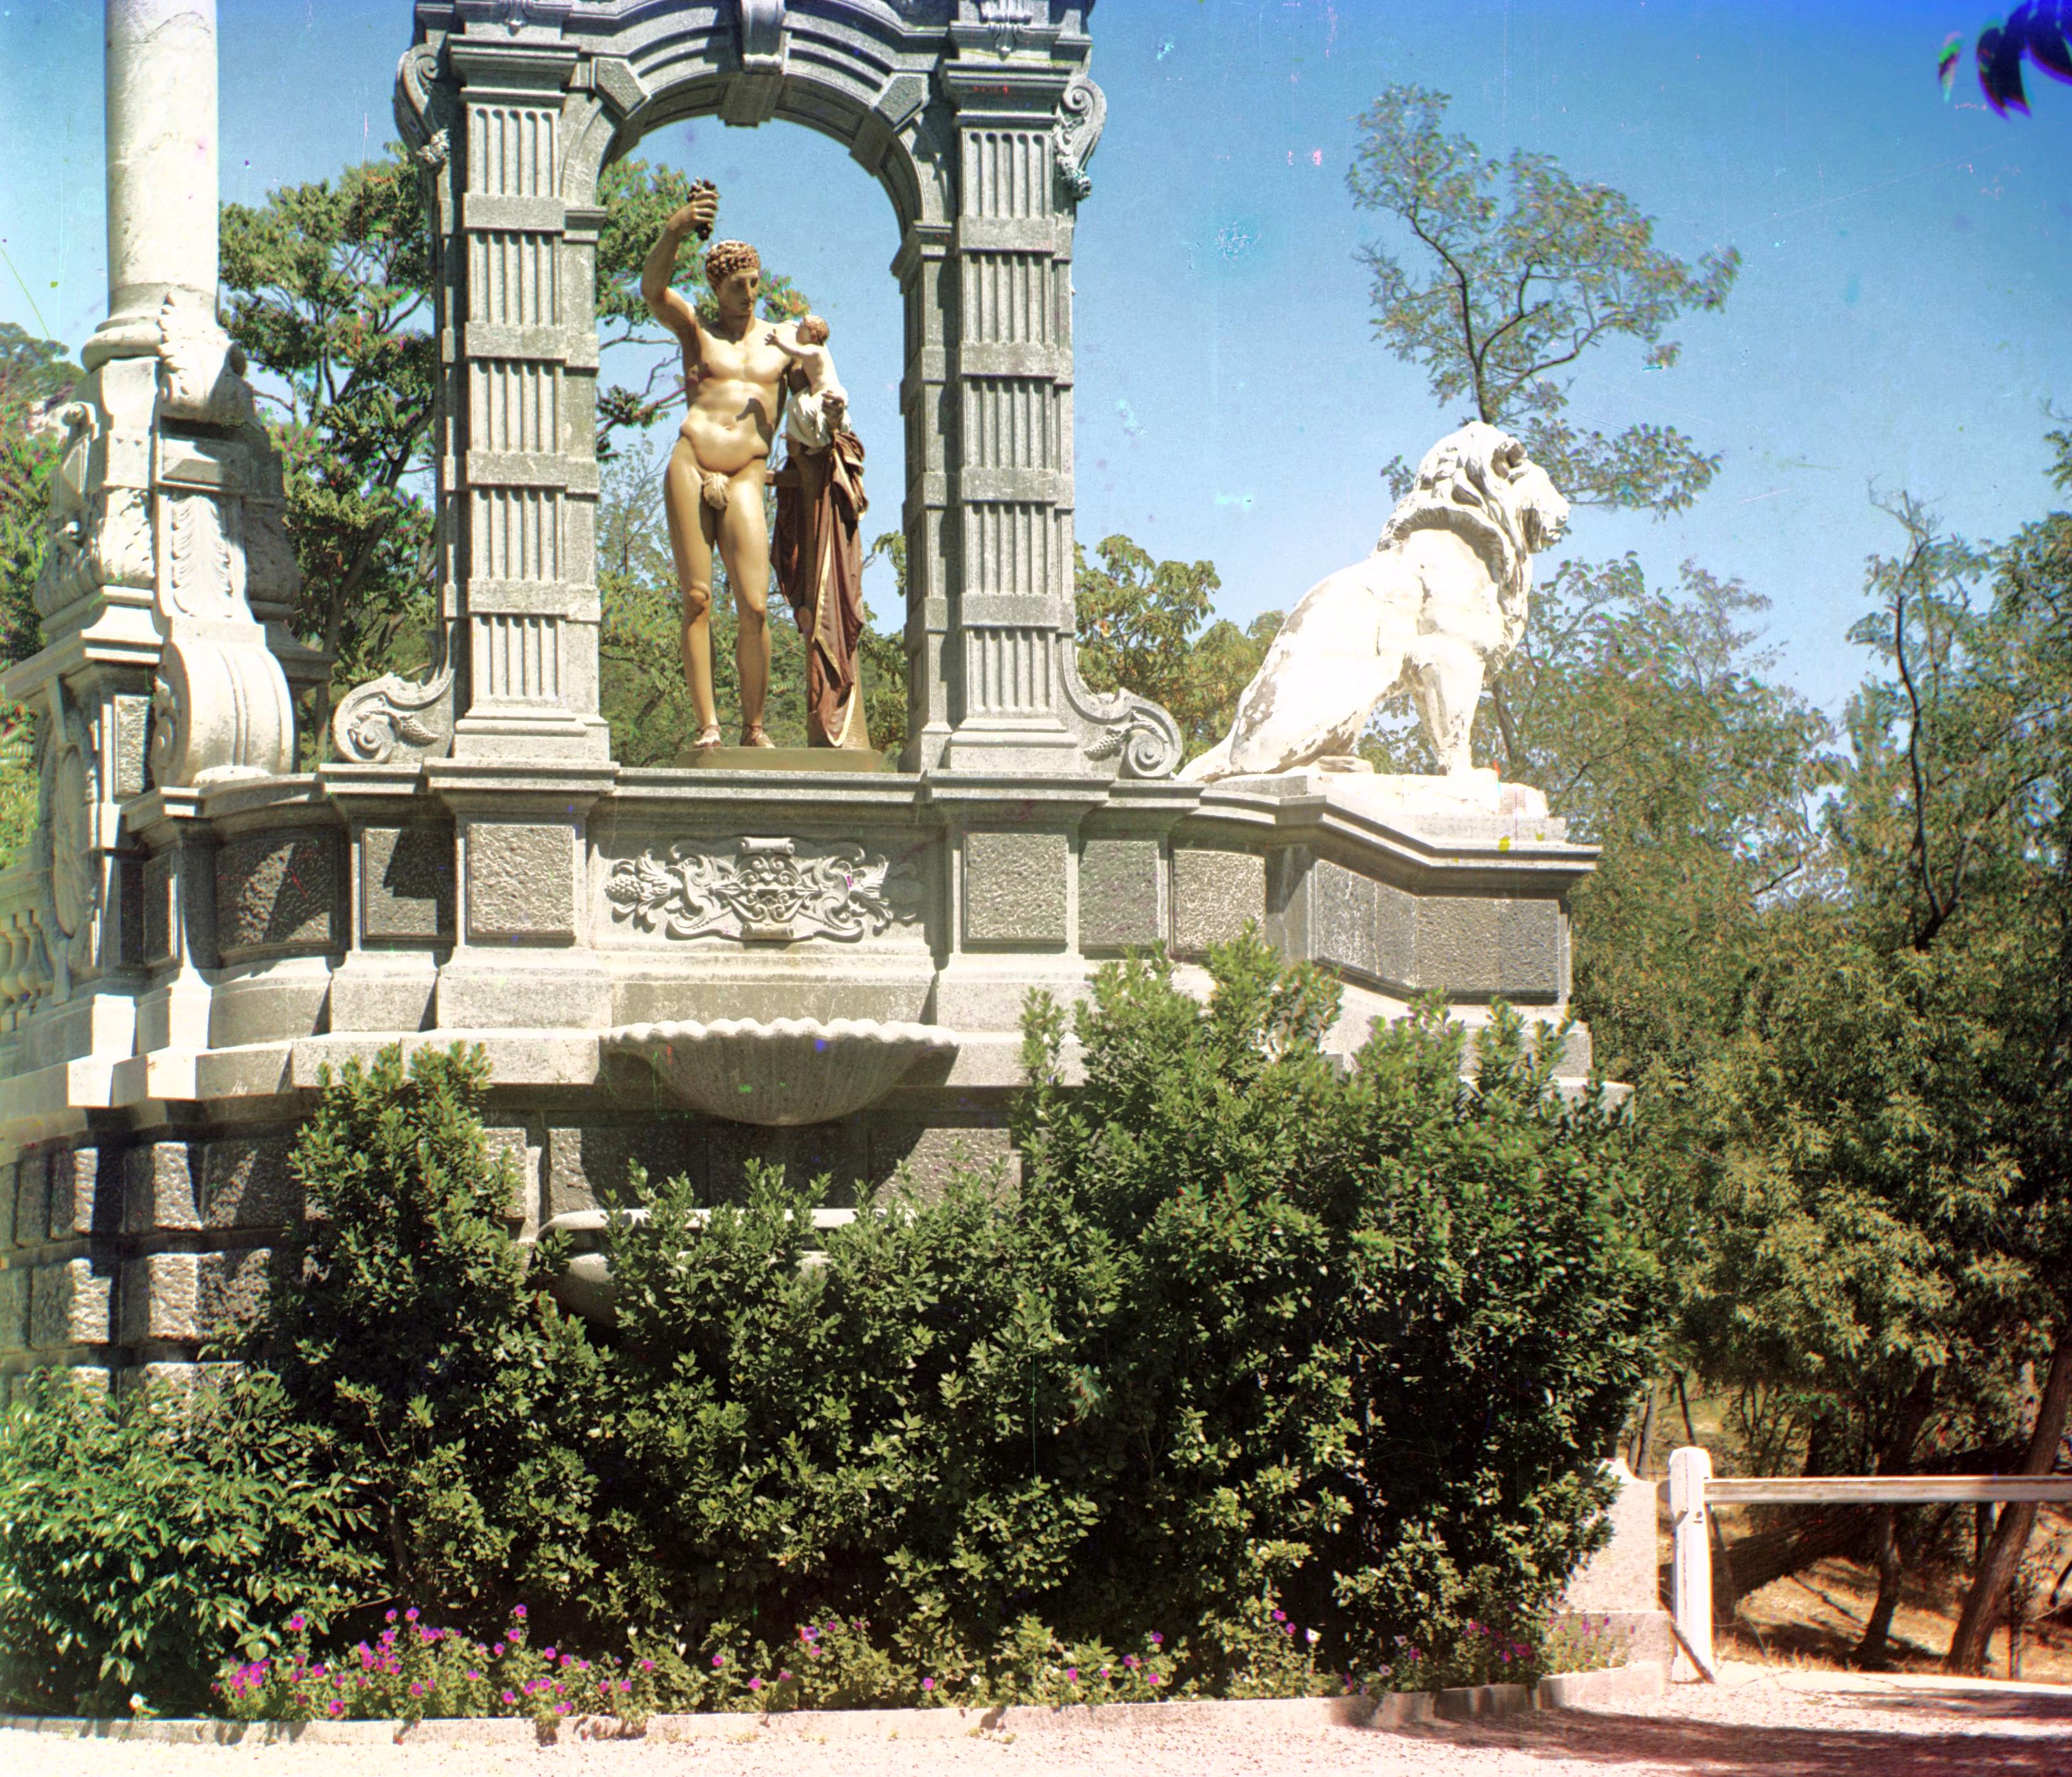
With automatic contrasting
Disclaimer: Some image are cropped manually. I did not implement automatic cropping. However, all methods mentioned in the above Bells and Whistles are implemented as automatic functions, according to project requirements.
