To calculate gradient magnitude, first convolve the original image with finite difference operators D_x and D_y. In below, partial_x = image * D_x and partial_y = image * D_y, where * represents convolving. To get gradient magintude from the partial derivatives, simply take the square root of the sum of the squares of partial_x and squares of partial_y(sqrt(partial_x^2+partial_y^2)) the result gradient magintude is then binarized using a threshold of 0.3 to get rid of noises.
Gradient Magnitude Computation
Part 1.1

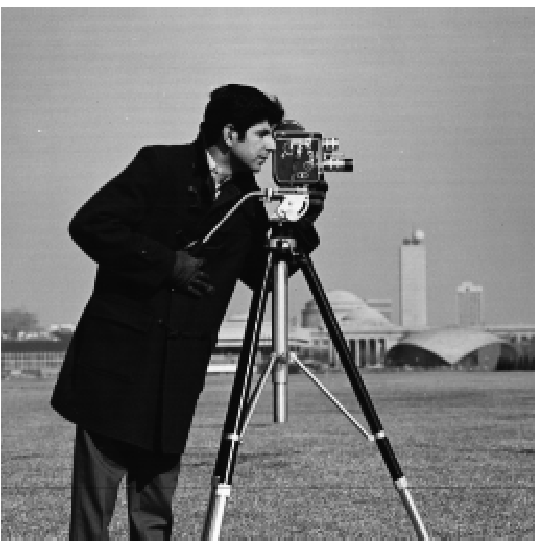
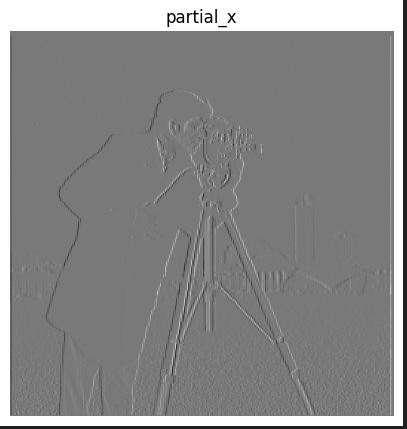
partial x image
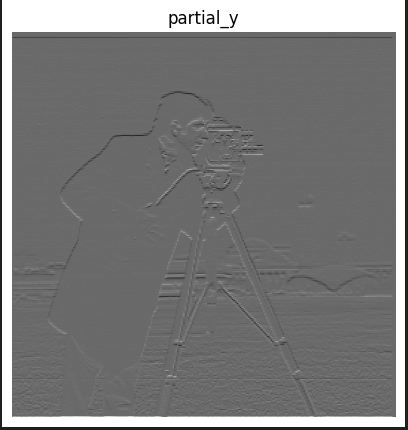
partial y image
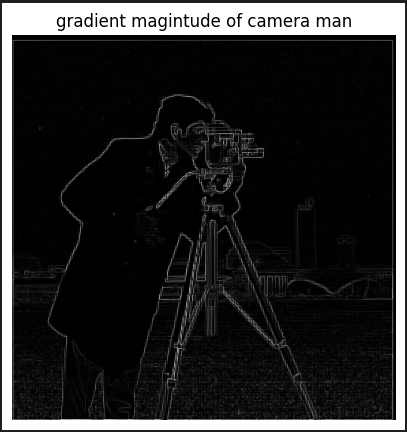
gradient magnitude
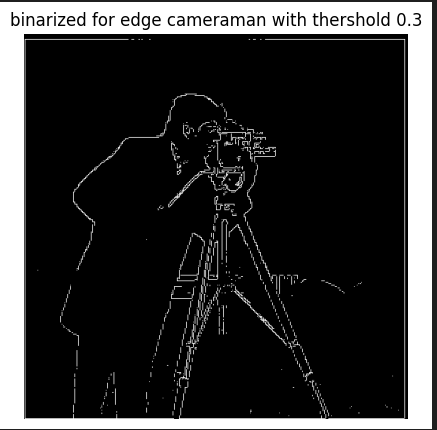
binarized gradient magnitude with threshold 0.3
Part 1.2
The result in previous part is a little bit noisy. To tackle this, first apply a gaussian blur (size 11, sigma 1.0) to the image, and then perform the same steps above.

original image
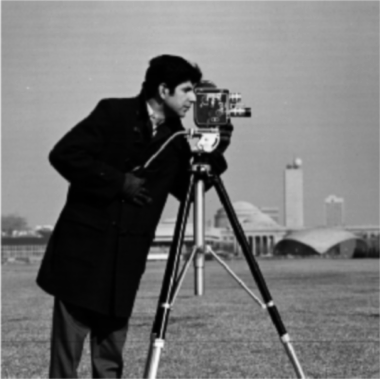
gaussian blurred
After applying gaussian filter, the same steps as above are used:
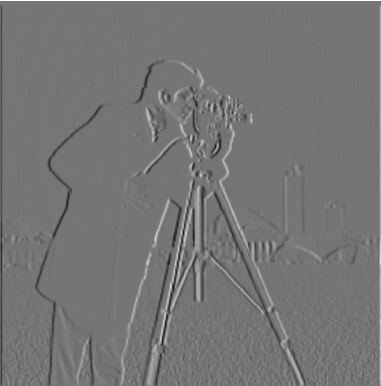
partial x image
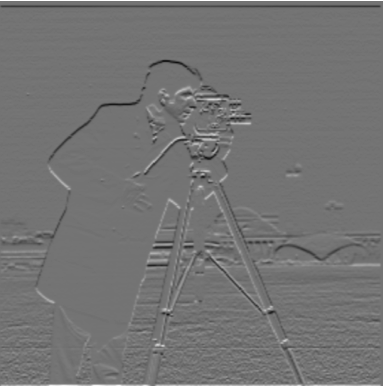
partial y image
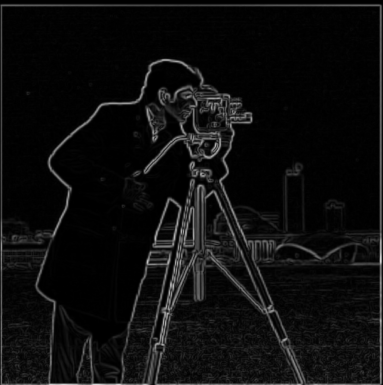
gradient magnitude
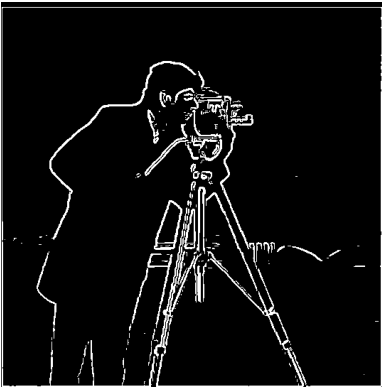
binarized gradient magnitude with threshold 0.1
Notice that after the same procedure, but with the image applied gaussian filter first, we have a smoother edge, and the result is also a lot less noisy.
Using a single convolution
Because convolution is both commutative and associative, we can first convolve the finite difference filters D_y and D_x repectively with Gaussian filter first, then apply the filters to the original image to get exact same result
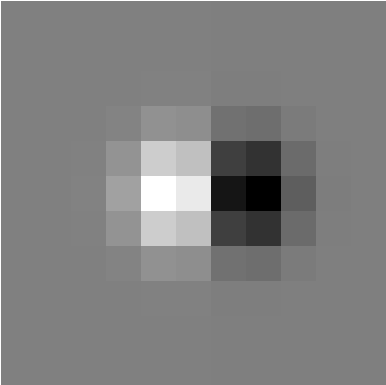
partial x derivative for gaussian filter
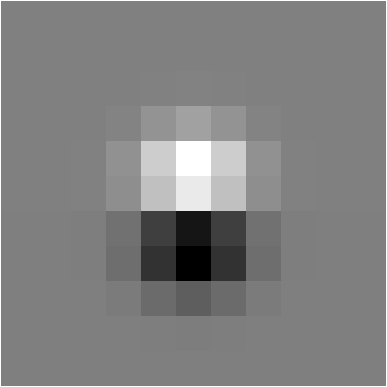
partial y derivative for gaussian filter

binarized gradient magnitude with threshold 0.1
The result of binarized gradient magnitude is exactly the same as calculated above, thus proving the associative/commutative property of convolution
Unsharp Masking
To sharpen an image, I created a unsharp mask filter, which is a single filter that finds the difference between original image and gaussian filtered image, then add alpha times that difference to the original image. Note that the alpha is a parameter that controls how much "high frequency" being added to the picture. So the higher alpha is , the more sharpened the image is. Below are few of the results. In first two rows I applied different alphas to sharpen a given image and another camel image I found online. In third row, I found a clear image, applied gaussian blur, and then performed sharpening.
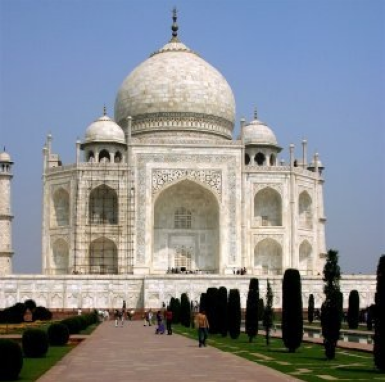
original Taj image
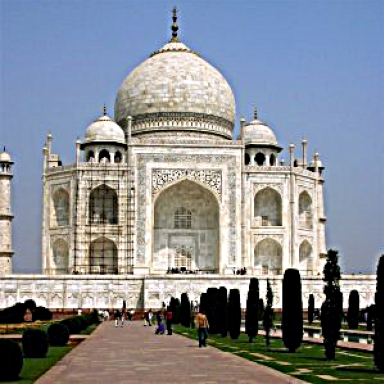
sharpened Taj with alpha = 1
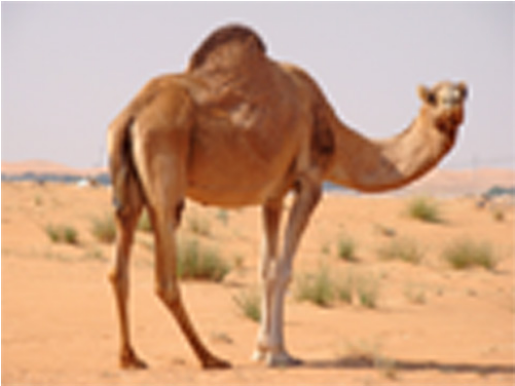
low res camel
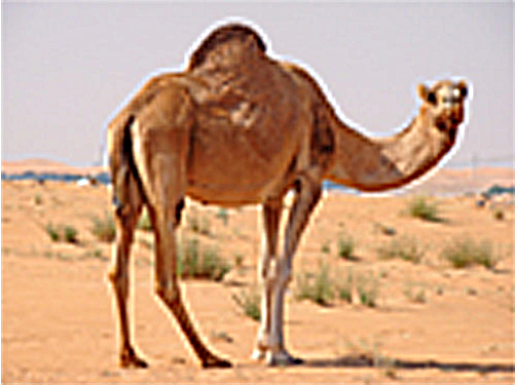
shaprened camel with alpha = 2
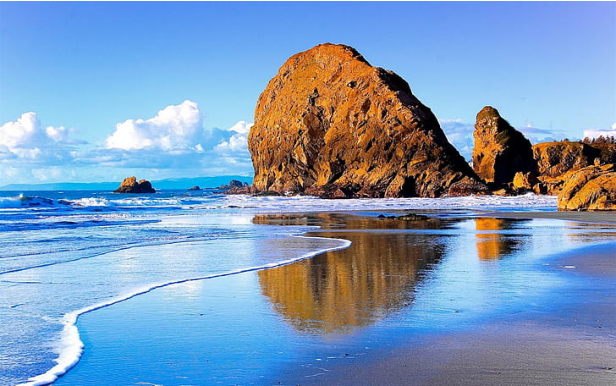
original clear image
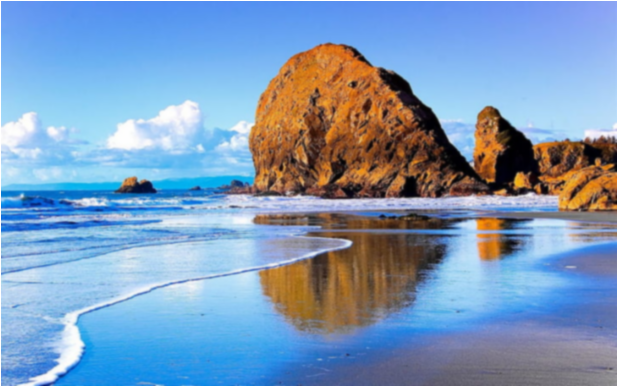
blurred after applying gaussian filter
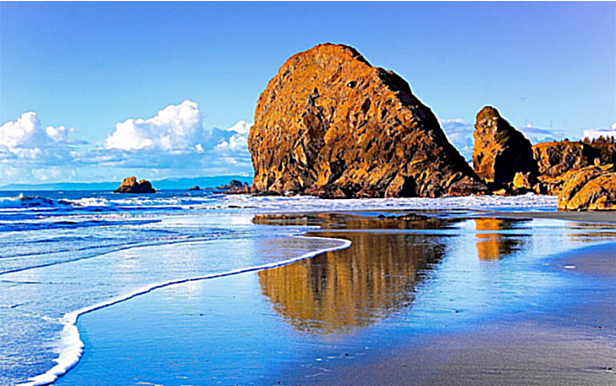
sharpened using alpha = 5
When comparing the result of original image and the sharpened image after blurring, it is obvious that the resharpened image loses lots of the details. Yet from a distance, the sharpened image seems quite more clear then the blurred image! This proves that stronger high frequencies does not actually make the image look more "clear", but instead make it look more sharp, and then perceived to be "clearer".
Hybrid Images & Fourier Analysis
This section showcases hybrid images made by blending the high frequency portion of one image with the low-freqency portion of another image so that the image looks like one image in close distance, but like another when looked from far away.
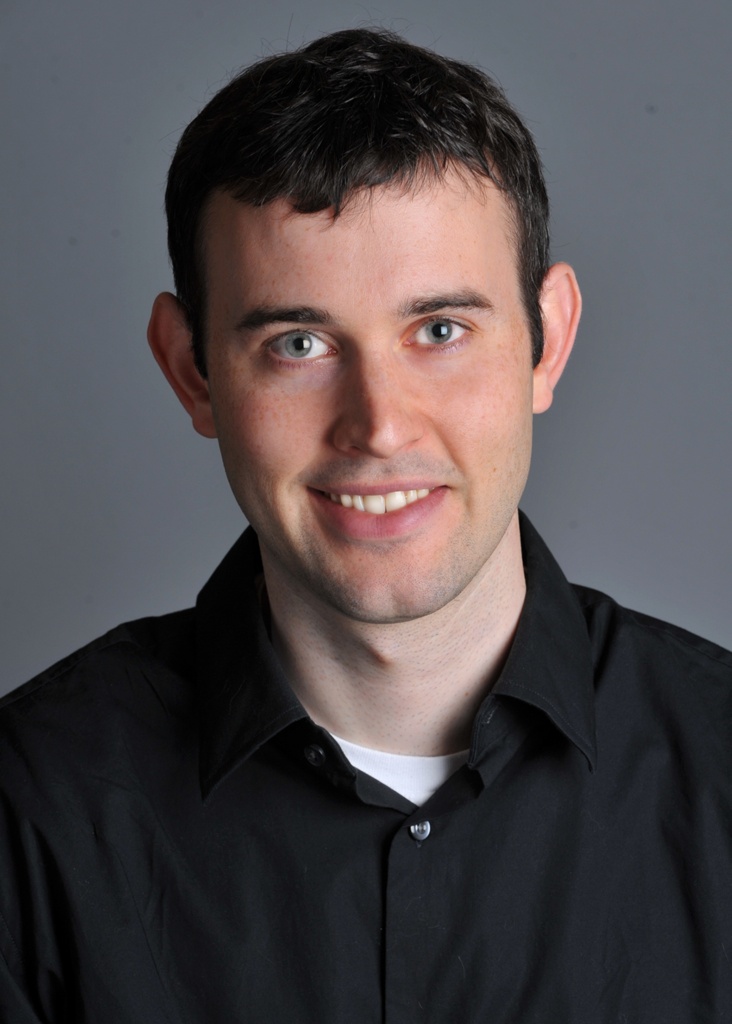
Derek
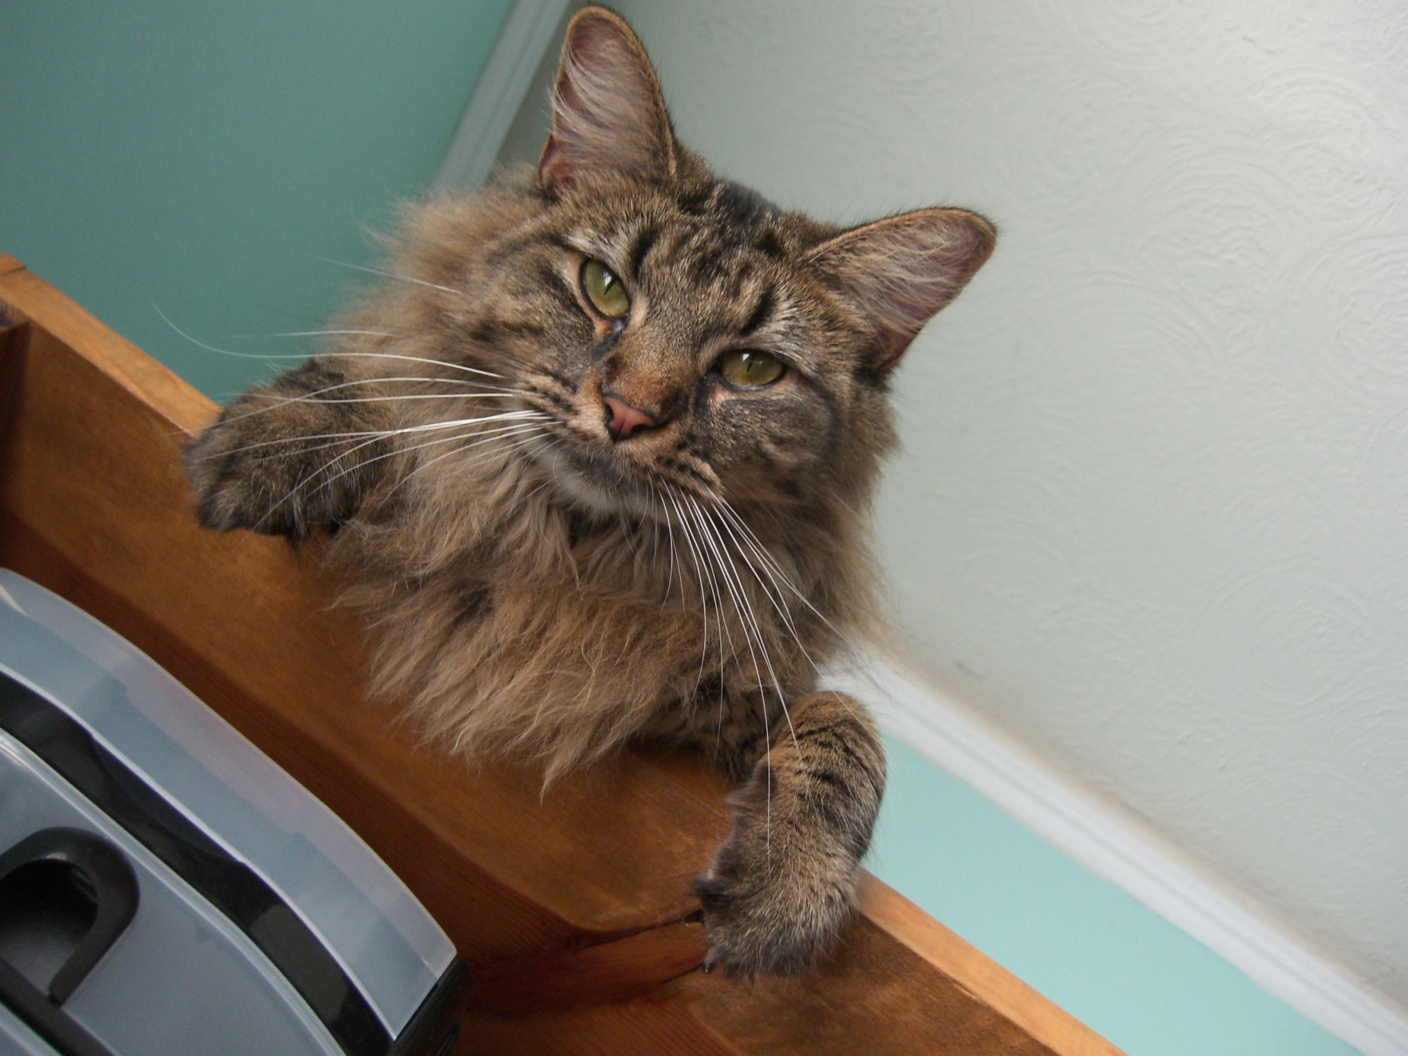
Nutmeg
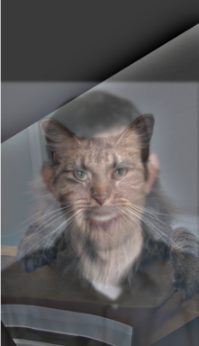
Hybrid
Bells and Whistles
Below is a result of hybrid pictures with both man and cat without color, only cat with color, only man with color, and both with color.
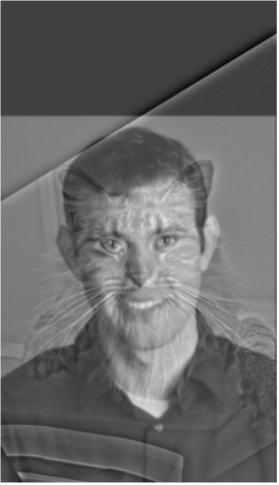
both without color
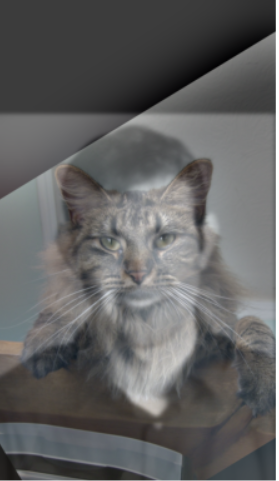
only cat with color
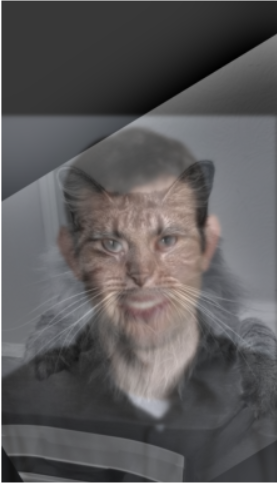
only man with color

both with color
According to above, both image with color seem to generate the best result. Below are few more examples generated using self selected images.
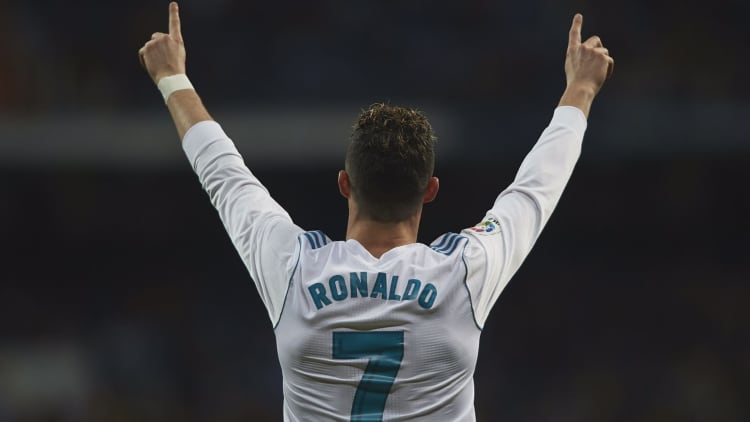
CR7
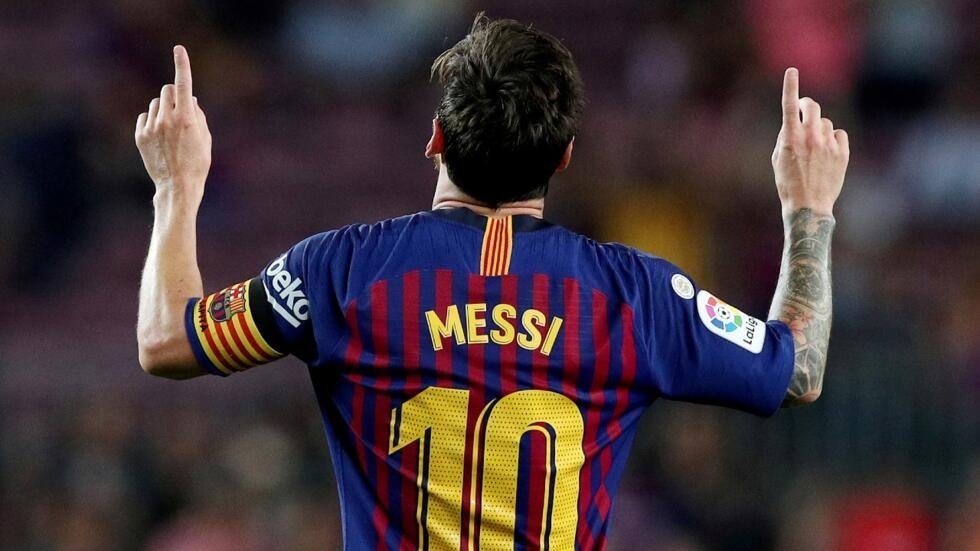
Messi
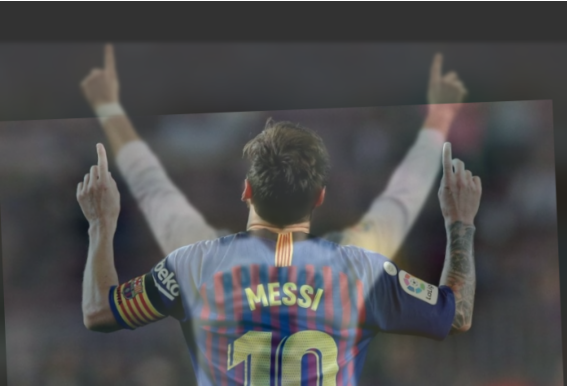
hybrid result

from far
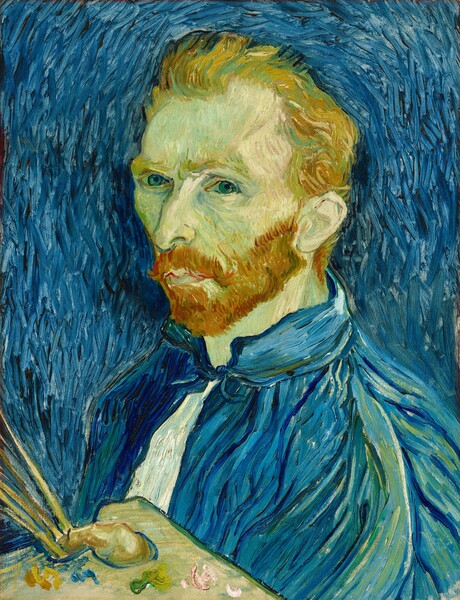
Vincent Van Gogh self portrait
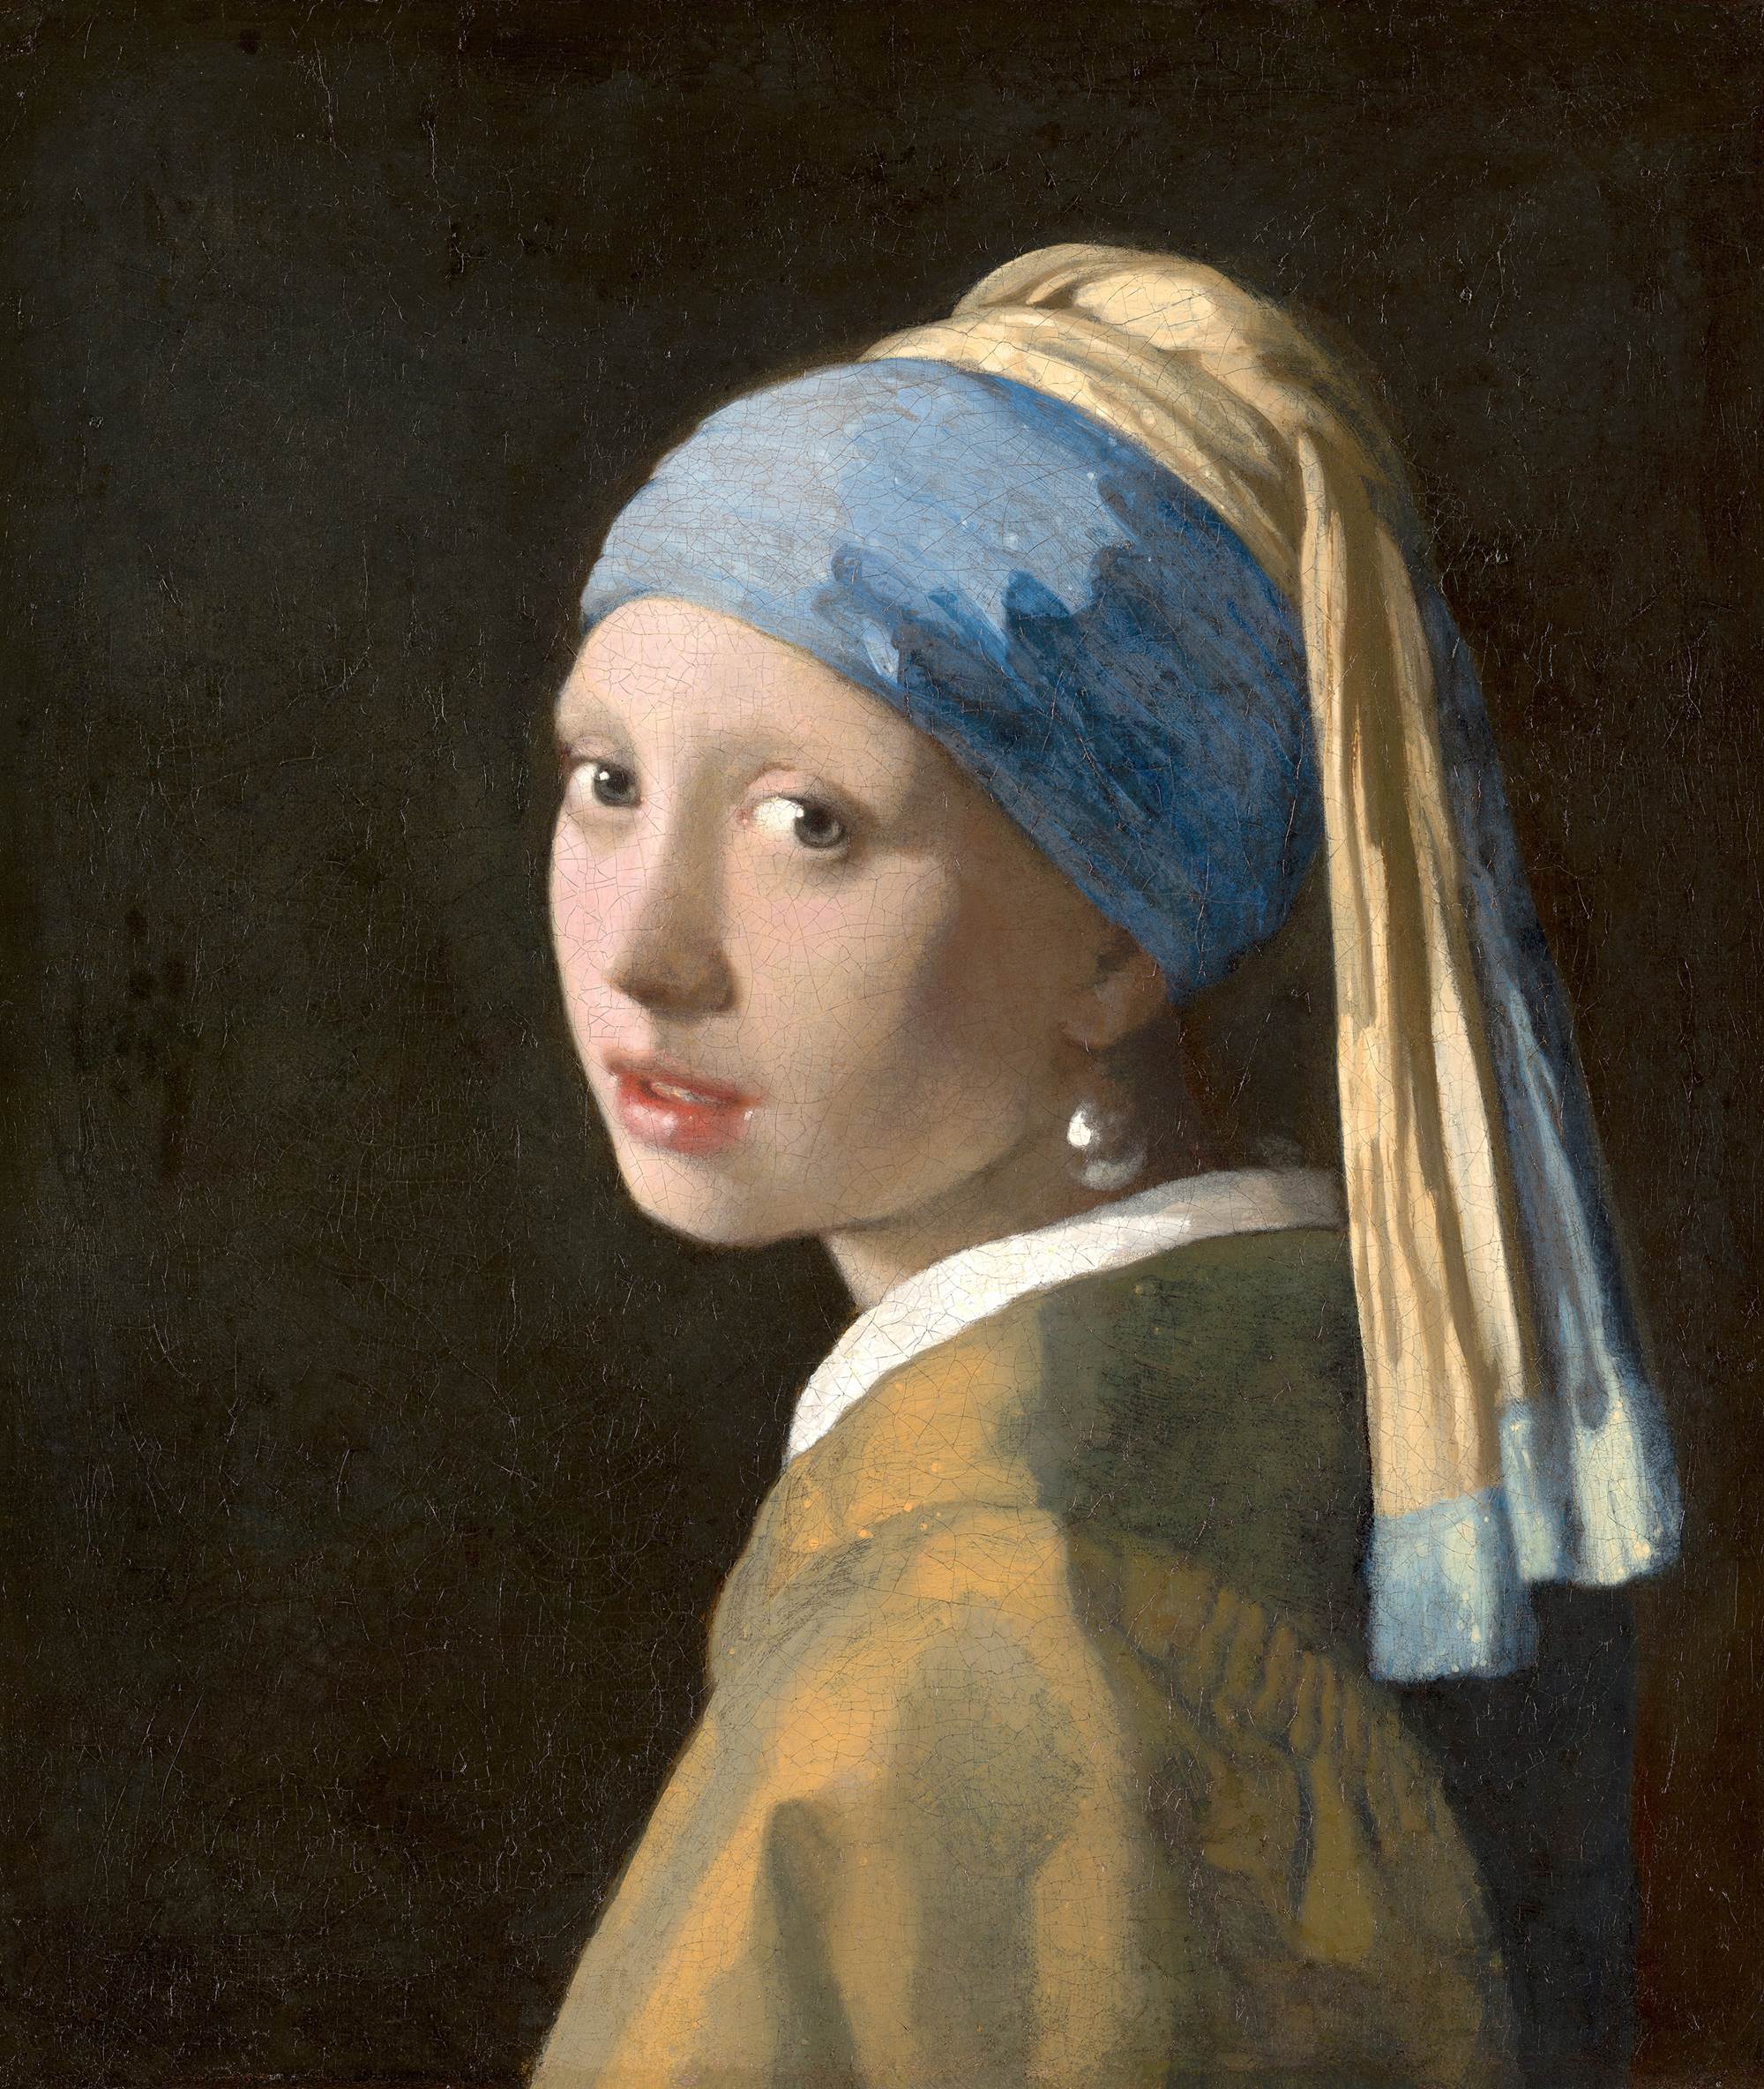
Girl with a Pearl Earring
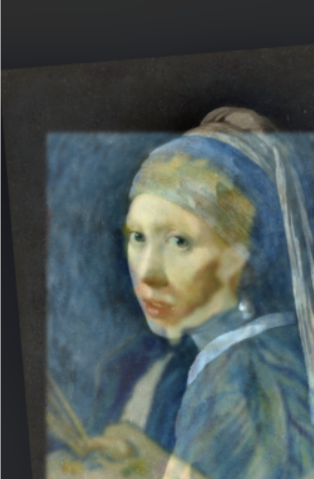
hybrid image

from far
Below is the frequency analysis for the above hybrid process, each graph is the log magnitude for the Fourier transform.
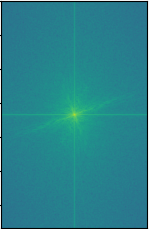
girl with earring
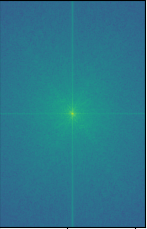
Van Gogh
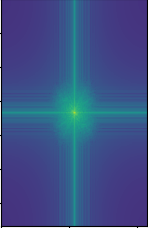
Van Gogh low frequencies
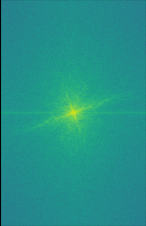
girl high frequencies
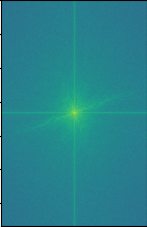
hybrid image
Below is an example that failed, the reason behind this failure is probably because the high frequency of one image is too hard to be distinguished from the low frequency of another image. (Altough this would be pretty cool if it worked!)
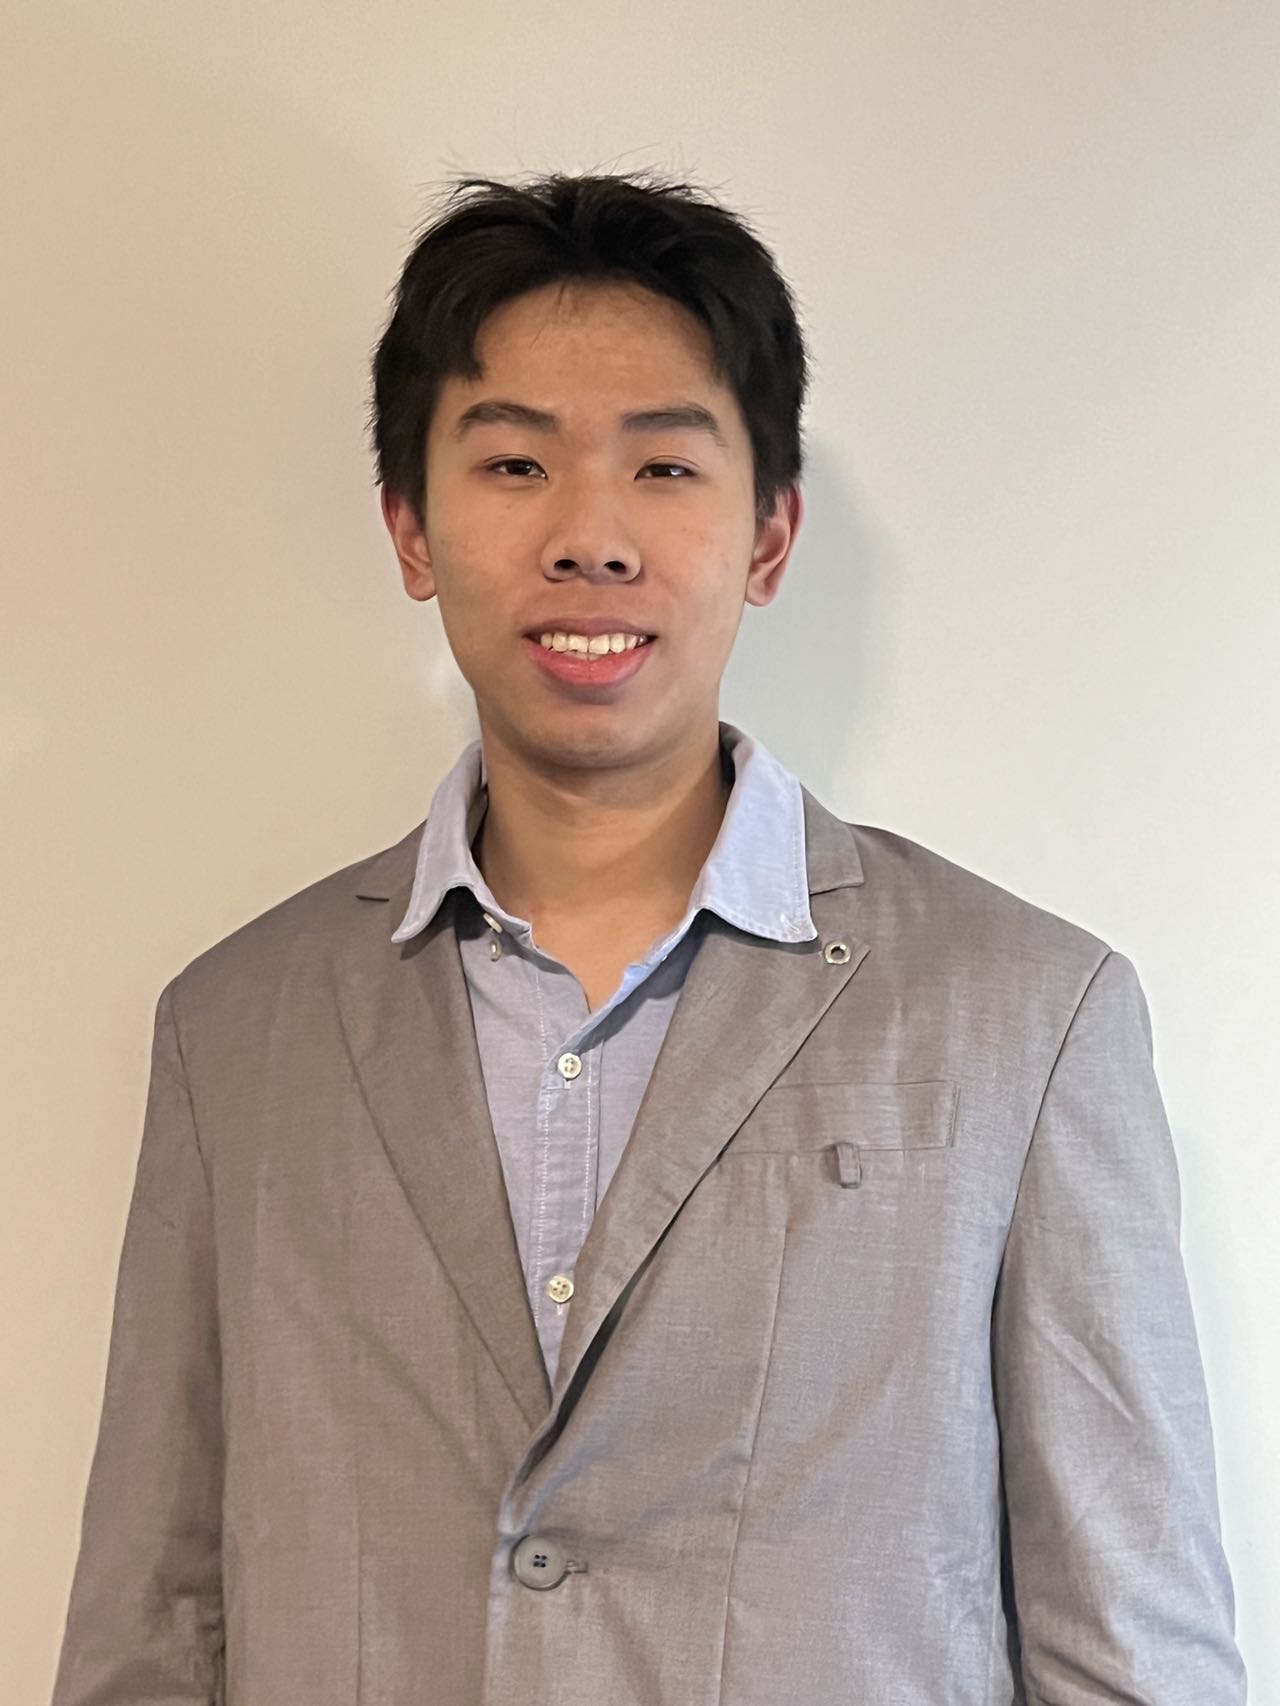
me
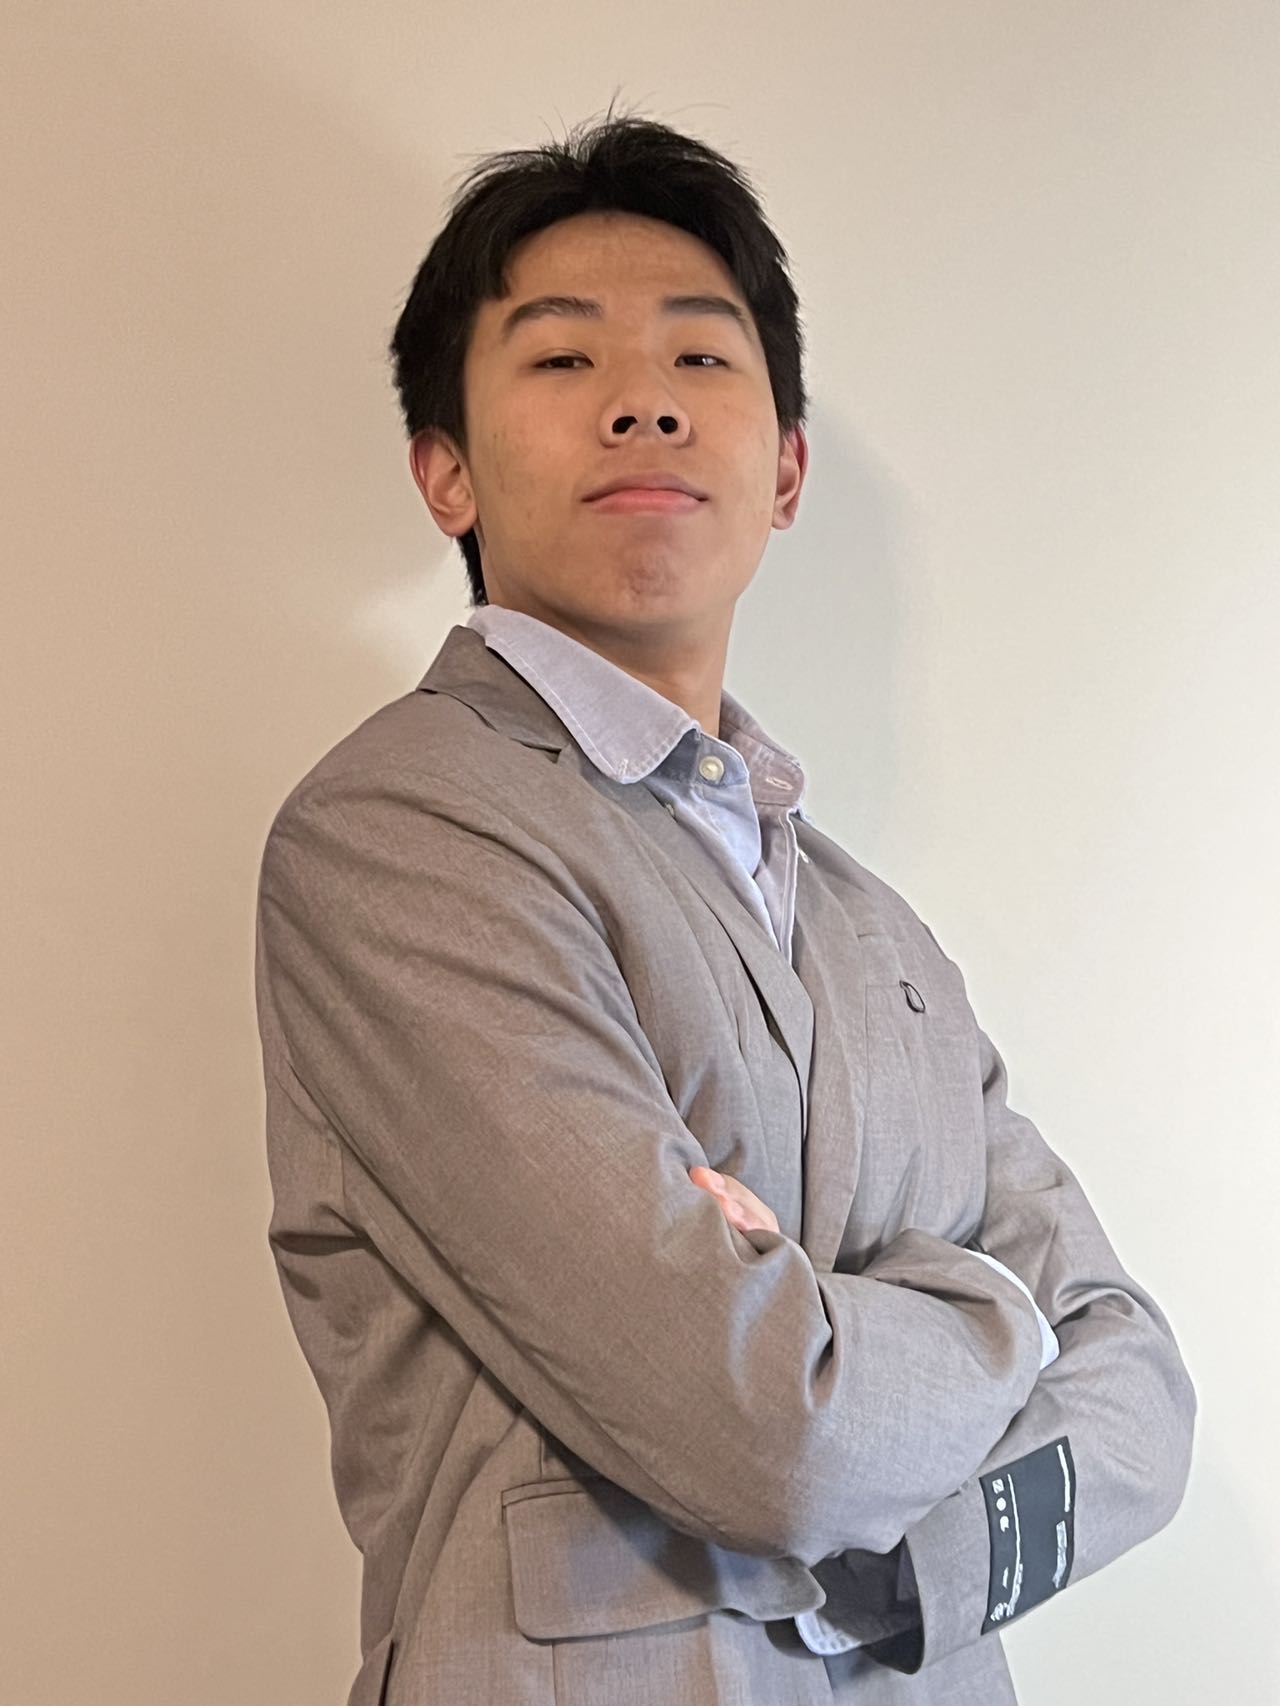
me
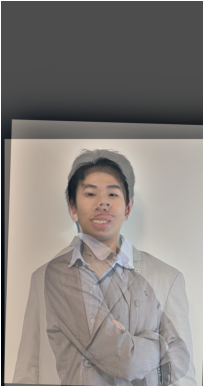
hybrid result

from far
Multiresolution Blending
In this section, I will implement image blending using Gaussian and Laplacian stack, below is a simple visualization of laplacian stack. (normalized for better visualization) Note that the left are the highest frequencies, and the right is the lowest frequencies, and the last image in the stack is the last image in gaussian stack.
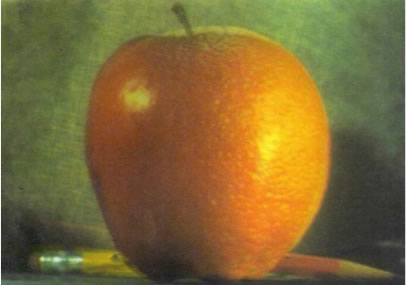
Oraple from 1983 paper by Burt and Adelson

Laplacian stack for apple half

Laplacian stack for orange half

Laplacian stack for oraple
With the Laplacian stack available, we can proceed to reproduce the famous oraple by blending the images in different Laplacian level using a gaussian stack of masks , and then collapse the blended Laplacian stack to get back the image. Below is the result of blending the famous Apple and Orange.
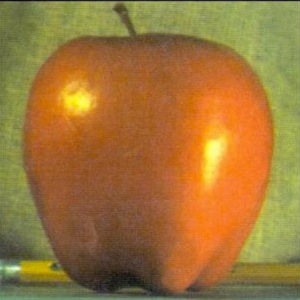
original apple
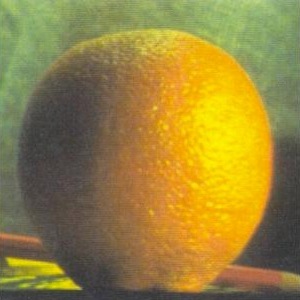
original orange
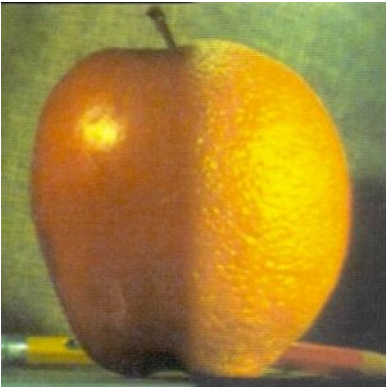
blended result using Laplacian stacks
Below are a few more results using irregular masks. The mask are generated using threshold values on a given image (the images have a white background, which are easy to distinguish simply using a threshold value)
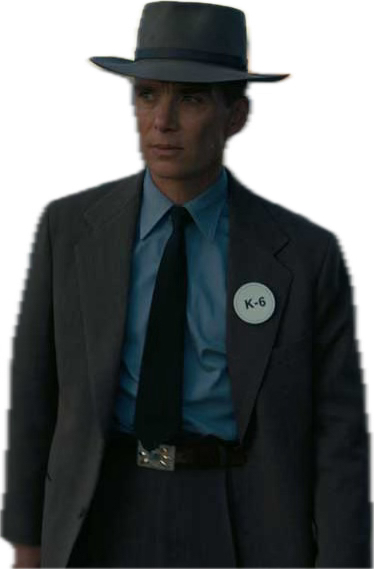
Oppenheimer

Barbie world
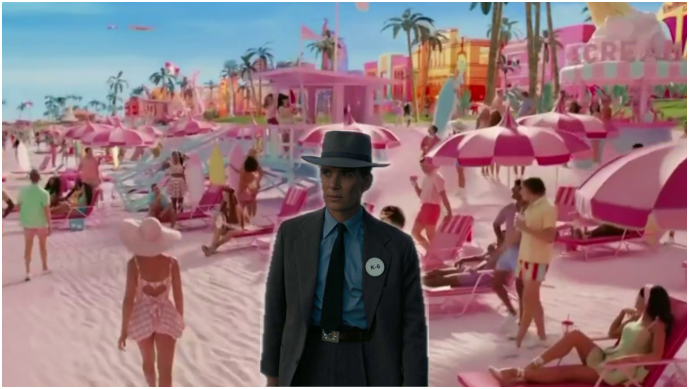
Oppenheimer in Barbie world
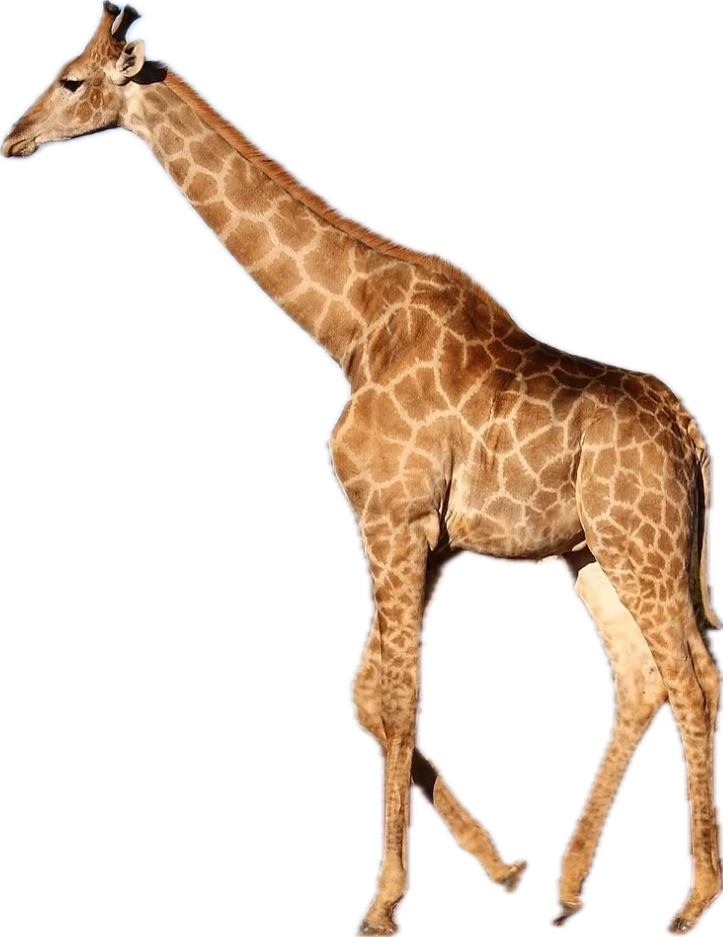
a giraffe
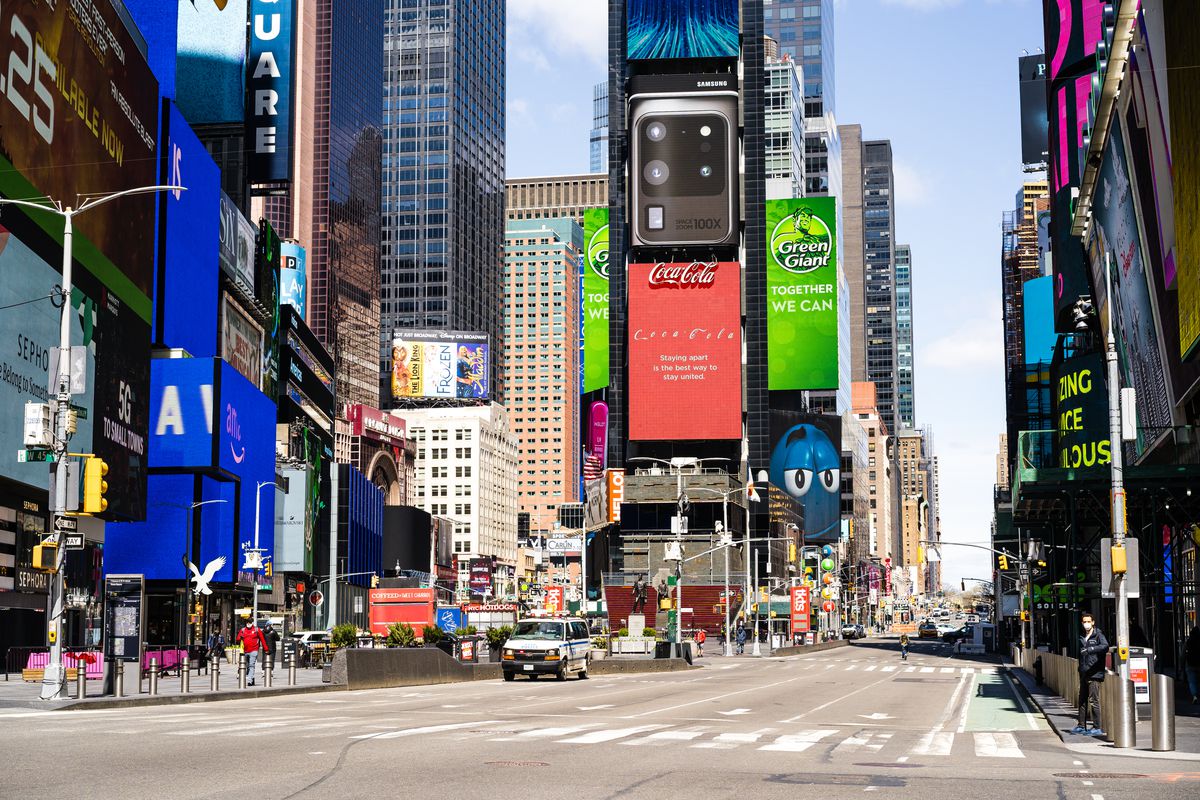
NYC
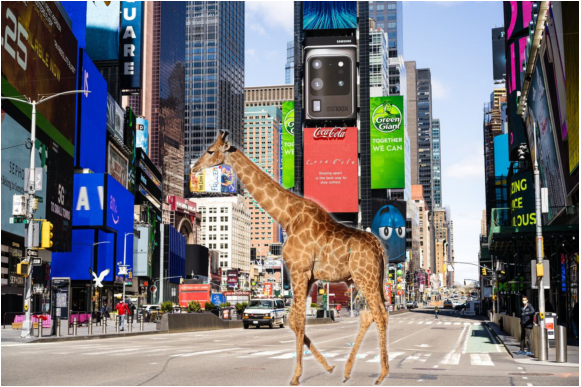
giraffe in NYC
Laplacian stacks for giraffe and NYC

giraffe

NYC

giraffe and NYC blended
Bells and Whistles
For this part, I direcly used the colored images to enhance effect.
Reflection
Overall this is a very fun project. The tasks are intensive, but I feel greatly satisfied once I finished them. I learned a few things from the project. Firstly, there is a lot of "tricks" we can do to fool human eyes because our perception of images may differ from what they really appear to be. For example, during image sharpening, without adding any more information, but simply making the high frequencies stronger, we can make a picture seem more "clear" to human eye. This is very suprising to me. Another thing that I learnt is when managing complicated codes, I need to test my code more often. When I was implemented image blending function, I forgot to mask the last gaussian image in the Laplacian stack. This worked fine for the oraple (probably because it is blurry and dim) but resulted terrible outcome for other images. I spent quite a long time trying different configurations but none of them worked. If I tested my image_blend function more thoroughly, I would have saved much time.